Advertisement
Quick Links
Thank you for using an EXO™ Sonde
for your environmental monitoring!
This document will assist with the initial steps
required to use an EXO Sonde.
Refer to the EXO User Manual for:
• Part numbers and accessories
• Maintenance guidelines
• Sensor calibration instructions
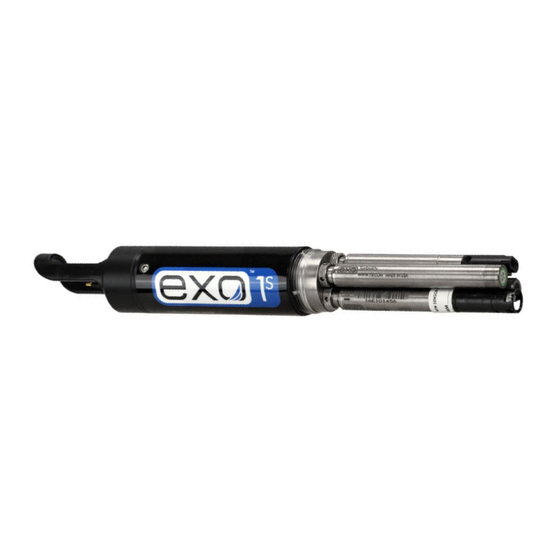
EXO1
• Connecting EXO to a Data Logger
Unpacking and Inspection
Inspect the outside of the shipping container(s)
for damage. If you see any damage, contact the
shipping carrier immediately.
EXO1
S
Remove the equipment from the shipping box.
Some parts are loose in the box, so check the
packing material carefully.
Items Needed
Included in Packaging
• EXO Sonde
• Batteries*
• Battery cover wrench*
EXO2
• Sensor tool with magnet
(to activate Bluetooth®)
• Kor™ Software on USB flash drive
*Applies to EXO Sondes with a battery
EXO2
compartment only.
S
Not Included
• Sensors (Probes)
• EXO Handheld or PC running Kor Software
• USB cable and adapter, field cable,
or EXO GO (sold separately)
Preparing Sonde for Use
EXO3
To prepare the sonde for operation,
you will need to:
• Install probes into the connector ports
on the sonde bulkhead
• Install batteries
• Load Kor Software and drivers onto PC
• Connect sonde to EXO Handheld
EXO3
S
device or PC
See reverse for more information.
Quick Start Guide
Item #603794
Install Sensors
1. Remove buffer bottles and hydration caps
on the sensors (if applicable).
2. Remove the calibration cup and guard
from the sonde.
3. Remove port plugs and install the sensor onto
the bulkhead. Start by finger-tightening each
locking ring until snug. Then use the probe
tool to give the locking ring another quarter
turn until it is fully seated on the bulkhead. Be
careful not to over-tighten or strip the port.
Ports are "universal,'" which means any sensor**
can be plugged into any port.
The Central Wiper must be installed in the
correct port to function properly:
• EXO2 – Port 7
• EXO3 – Port 5
** EXO NitraLED may only be installed on:
• EXO2 – Port 6
• EXO3 – Port 4
Install probes into the sonde bulkhead
Registration
Register your product online to
activate your warranty and keep informed
of software updates: YSI.com/warranty
Keep your serial number on file:
Date of purchase:
Item# 603794 Dwg# 603794
April 2021 Rev D
Advertisement

Related Manuals for YSI EXO1


Summary of Contents for YSI EXO1
- Page 1 EXO GO (sold separately) Register your product online to activate your warranty and keep informed Preparing Sonde for Use of software updates: YSI.com/warranty EXO3 To prepare the sonde for operation, you will need to: Keep your serial number on file: •...
- Page 2 Troubleshooting Communication Establish Bluetooth link (Windows OS) Connect Sonde to Computer The EXO1 and EXO3 Sondes use two (2) D-cell via USB Cable alkaline batteries and the EXO2 Sonde uses four 1. Check your version of Windows for the (4) D-cell alkaline batteries as the recommended 1.