Advertisement
Quick Links
Technical Support
Register your product:
www.ysi.com/warranty
Check for software updates:
www.EXOwater.com
Contact technical support:
info@ysi.com
or +1 937-767-7241
Connect to an EXO Sonde
YSI
1725 Brannum Lane
Yellow Springs, OH 45387
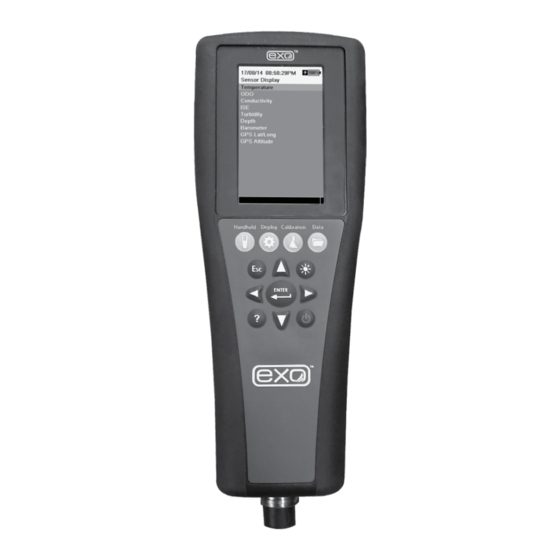
EXO Handheld Instrument
TM
Quick Start Guide
A superior handheld for
superior water quality
monitoring.
This document will assist the user with
initially setting up an EXO Handheld.
The EXO Handheld is a rugged,
compact device that allows the user
to display sonde readings, configure
sondes, calibrate probes, store and
retrieve data, and transfer data from
sondes to a computer.
The EXO Handheld is shipped with
a lithium-ion battery pack pre-
installed. The battery ships at ~30%
full capacity, so it should be charged
before taking it out in the field. The
handheld charge period is 9 hours.
Plug the USB connector into the
AC power adapter, computer USB
connector or external USB battery
pack, and then plug the micro USB
connector into the EXO Handheld
instrument to charge the battery.
Connecting to the Sonde
1. Attach the cable to the sonde.
Press in the male 6-pin
connector, then screw down the
retaining collar. Attach the cable's
strain relief to the sonde's bail
with a carabiner.
2. Attach the cable to the handheld.
Press on the female 6-pin connector,
and then screw down the
retaining collar.
(800) 765-4974, (937) 767-7241
info@ysi.com
For full instructions, please refer
to the integrated help screens.
Powering on the
EXO Handheld
Connecting the EXO Handheld to an AC power supply.
Unpacking and Inspection
Your new EXO Handheld shipment
contains the following:
• EXO Handheld • Micro USB cable
• USB female to micro USB male adapter
• AC power supply
Remove the equipment from the shipping
box. Check the packaging carefully to
ensure that all components are present.
If the handheld or any of the accessories
are damaged or if a part is missing, please
contact
info@ysi.com
For fastest charging, ensure the handheld
is turned on initially when plugged in.
To turn the instrument on,
press the green power key.
The Dashboard will appear after powering
on the instrument. To power off, press and
hold the power key for 1.5 seconds.
When the EXO Handheld is turned
on, the GPS function will initiate
a fix of the location. This may take some
time, and the handheld should remain
stationary and have a view of the sky.
Wet mate connectors should be
properly lubricated at all times to
ensure a proper seal.
3. The EXO handheld will automatically
connect to the sonde when the field
cable is secured.
item# 599973REF dwg# 599973
April 2016 Rev A
(v2)
or +1 937-767-7241.
YSI.com
Advertisement

Related Manuals for YSI EXO


Summary of Contents for YSI EXO
- Page 1 Check for software updates: www.EXOwater.com Contact technical support: info@ysi.com or +1 937-767-7241 Connecting the EXO Handheld to an AC power supply. Connecting to the Sonde 1. Attach the cable to the sonde. Wet mate connectors should be Press in the male 6-pin...
-
Page 2: Menu Functions
Navigation The EXO Handheld has a menu-based interface: Keypad Press the Esc key to return to the Dashboard screen or to exit an alpha/numeric entry screen. Press the hot keys to access the Handheld, Deploy, Calibration, and Data menus. Use the left arrow key to go back one screen.
Need help?
Do you have a question about the EXO and is the answer not in the manual?
Questions and answers