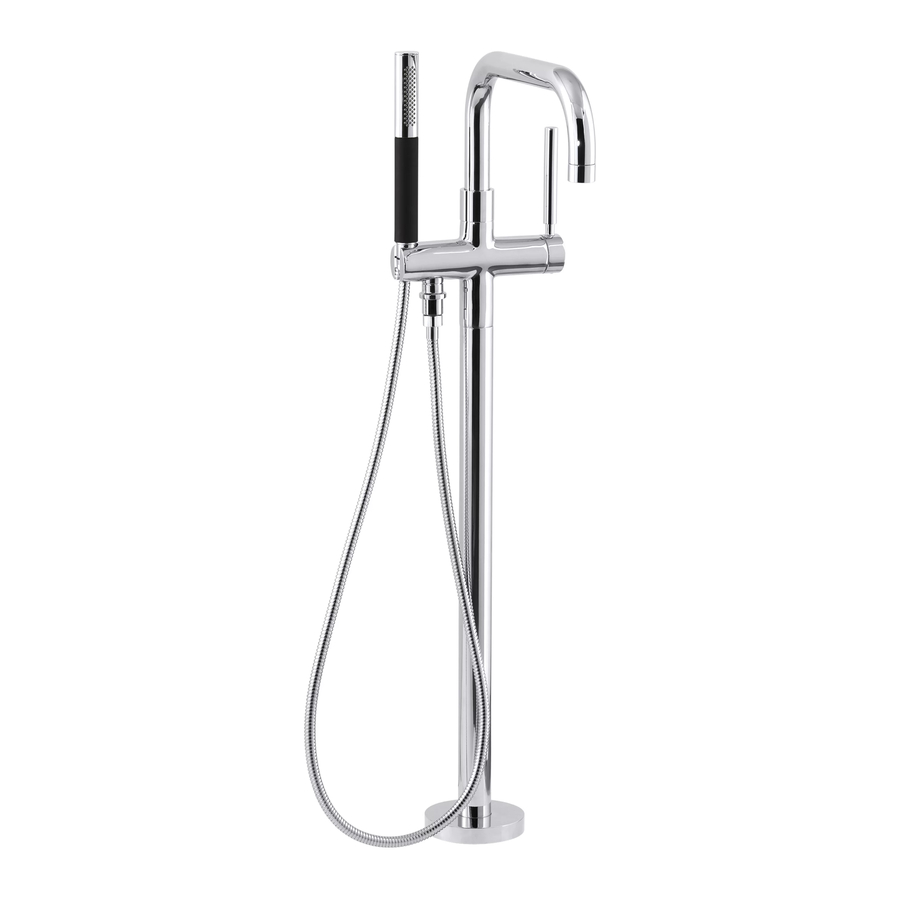
Kohler PURIST 10129T-4 - Floor-Mount Bath & Shower Faucet Installation
- Installation instructions (2 pages)
Advertisement
BEFORE YOU BEGIN
All information is based on the latest product information available at the time of publication. Kohler Co. reserves the right to make changes in product characteristics, packaging, or availability at any time without notice.
Please leave these instructions for the consumer. They contain important information.
 NOTES:
- Flush the water supply pipes thoroughly to remove debris.
- Inspect the supply tubing for damage. Replace as necessary.
- Observe local plumbing codes.
- The minimum inlet water pressure for the diverter is 0.05MPa(0.5bar).
- Check for leaks before covering the pipes, repairs as needed.
- The highest working pressure for handspray is 0.5MPa(5bar). If it exceeds 0.5MPa(5bar), a pressure reducer is needed. The highest water and environment temperature is 60ºC. Please keep handspray, shower head and the shower arm away from heater, or it may become damaged and cause injury to the user.
HANDLE OPERATION
Turn the handle gently. Turning for hot and cold water as shown below.
STANDARD APPLICABLE
Special model meets or exceeds the following at date of manufacture: TIS
ROUGH-IN DIMENSIONS

INSTALLATION
How To Install The Base

Remove plug(2) from base(1). Remove the protector(3) from flange(6).
Rehearse the faucet installation for mounting location determination.
NOTE: Keep the faucet vertical to base, to avoid damaging the o-rings at bottom. Slide up escutcheon(8). Connect the faucet to the base with screws(4) and washers(5) through flange. Determine a suitable location 8 according to tub. Adjust the faucet: keep the spout pointing to tub, make 3 the blue mark facing to cold pipe(13) and the base being in the 4 convenient position to connect cold pipe(13) and hot pipe(12). Secure the 5 6 flange with screws by hex wrench(7).
Mark base mounting hole locations on the floor according to determined location and base mounting dimensions (as shown). Loose screws. Remove the faucet and the connectors with o-rings. Drill holes on the floor with Ø10 spade drill bit. Press the anchors(9) into the holes. Screw the self-tapping screws(10) with the washers(11) into the anchors through the base. Use a level to ensure that base is horizontal (refer to Fig.1). Tighten self-tapping screws to secure the base.

Supply enough tape or sealant on pipe threads. Connect G1/2˝ cold and hot water supply pipes(13, 12, not provided) to base.

NOTE: The end with blue mark is connected to cold water. If the base level is broke by fixing pipes, readjustment is needed.
Install plug(2) onto the base. Increase hot and cold water supply pressures to 1MPa. Inspect for leaks.
Secure protector(14) onto the base with screws(15).

Make sure the distance between bottom of protector and top surface of tiles is within 13~33mm (top surface of tiles is between the MIN and MAX line on the protector). Drill Ø75mm hole on the tile. Lay out the tiles. Cut away the extending part of protector in accordance with the tile surface.

How To Install The Faucet

Shut off water supply. Remove plug(2) from base. Slide up escutcheon(8). Remove the protector(3). Install the faucet.
NOTE: Keep the faucet vertical to base, to avoid damaging the o-ring at bottom. Fix the flange(6) on the base with screws(4) and washers(5).
NOTE: Don't tighten the screws at the moment. Adjust the faucet, keep the spout pointing to tub. Tighten the screws with hex wrench(7).
How To Install The Handspray

Remove the protector from diverter kit(16). Connect hose(18) to handspray(19) with washers(17). Tighten all the connections. Hang the handspray on the bracket(20) of the faucet.
INSTALLATION CHECKOUT

Ensure that all coupling nuts are tight. Ensure that the handle is in the off position.
Turn on the main water supply, and check for leaks. Repair as needed.
Remove the handspray(19) and aerator(21). Turn on faucet handle. Run hot and cold water through spout for about one minute to remove any debris. Check for leaks at this time. Remove any debris. Shut off the faucet. Reinstall the handspray and aerator.
CLEANING INSTRUCTIONS
All Finishes: Clean the finish with mild soap and warm water. Wipe entire surface completely dry with clean soft cloth. Many cleaners may contain chemicals, such as ammonia, chlorine, toilet cleaner etc, which could adversely affect the finish and are not recommended for cleaning.
Do not use abrasive cleaners or solvents on Kohler faucets and fittings.
SERVICE PARTS
10129T-4 Floor-Mount Bath & Shower Faucet


Documents / ResourcesDownload manual
Here you can download full pdf version of manual, it may contain additional safety instructions, warranty information, FCC rules, etc.
Download Kohler PURIST 10129T-4 - Floor-Mount Bath & Shower Faucet Installation
Advertisement


Need help?
Do you have a question about the PURIST 10129T-4 and is the answer not in the manual?
Questions and answers