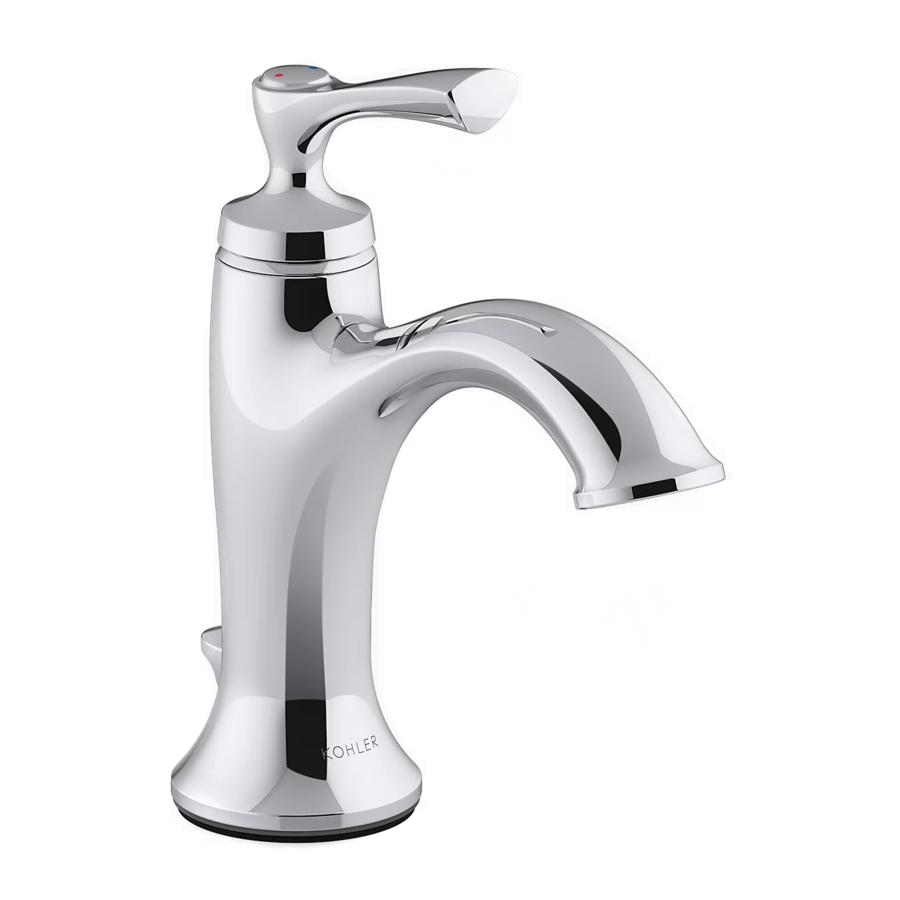
Kohler ELLISTON 72782T-4 - Single Handle Lavatory Faucet Installation Manual
- Installation instructions (2 pages)
Advertisement
BEFORE YOU BEGIN
All information is based on the latest product information available at the time of publication. Kohler Co. reserves the right to make changes in product characteristics, packaging, or availability at any time without notice.
Please leave these instructions for the consumer. They contain important information.
NOTES:
- Flush the water supply pipes thoroughly to remove debris.
- Inspect the supply tubing for damage and leakage. Replace and maintain as necessary.
- Observe local plumbing codes.
- If possible, install this faucet before installing the lavatory.
- Shut off the water supplies to the fitting.
HANDLE OPERATION
Lift handle gently. Turn clockwise for hot water, counter-clockwise for cold water.
ROUGH-IN DIMENSIONS

INSTALLATION
How to Install the Spout

Install the stud(1) and washer(2) into the bottom of faucet(3). Insert hoses(4) and stud into the hole of lavatory. Insert the lift rod(5) into the hole at the rear of the faucet.
From underside of the lavatory, fit the bracket(6) onto the stud. Position the faucet. Install the washer(7) and nut(8) onto the stud, tighten the nut by tool(9) to secure the faucet.
Attach the hoses to water supplies, the hose with "COLD" label connects to cold water.
How to Install the Drain

Remove stopper(15), flange(10) and washer(11) from drain body(14). Insert drain body kit into the lavatory from underside, and make sure the drain lever hole(12) facing to the back of the lavatory. Screw the flange with washer into the drain body. Tighten the locknut(13) by hand from the underside of the fixture.
NOTE: If needed, apply a ring of plumbers putty around the underside of the drain flange(10), instead of using washer(11).
Place stopper(15) into drain body aligning the flat side of stopper hole(16) with the drain lever hole.

Remove the retaining nut(18) and 'V'-clip(17). Fit the plastic washer(19) and retaining nut onto the ball lever(20). Insert the ball lever assembly into the drain lever hole and through the stopper hole. Tighten the retaining nut.
Be sure that the ball lever(20) points to the back of the lavatory, tighten the locknut(13) on the drain body by wrench.
NOTE: Do not reposition the drain if plumbers putty applied after the locknut is tightened, or you may break the putty seal. Wipe away excess plumbers putty.

Assemble thumb screw(21) to link(22), and link onto ball lever(20) with 'V'-clip(17).
Slide lift rod(5) through the hole of the link. Push the ball lever down into the open position. Position the lift rod. Tighten thumb screw(21).
INSTALLATION CHECKOUT

Ensure that all coupling nuts are tight. Ensure that the lever handle is in the off position.
Turn on the main water supply and drain, and check for leaks. Repair as needed.
Remove the aerator(22) by key(23). Run hot and cold water through faucet for about one minute to remove any debris. Check for leaks. Repair as needed. Remove any debris from the aerator. Shut off the faucet. Reinstall the aerator.
CLEANING INSTRUCTIONS
All Finishes: Clean the finish with mild soap and warm water. Wipe entire surface completely dry with clean soft cloth. Many cleaners may contain chemicals, such as ammonia, chlorine, toilet cleaner etc, which could adversely affect the finish and are not recommended for cleaning.
Do not use abrasive cleaners or solvents on Kohler faucets and fittings.
SERVICE PARTS

**Color code must be specified when ordering

Documents / ResourcesDownload manual
Here you can download full pdf version of manual, it may contain additional safety instructions, warranty information, FCC rules, etc.
Download Kohler ELLISTON 72782T-4 - Single Handle Lavatory Faucet Installation Manual
Advertisement


Need help?
Do you have a question about the ELLISTON 72782T-4 and is the answer not in the manual?
Questions and answers