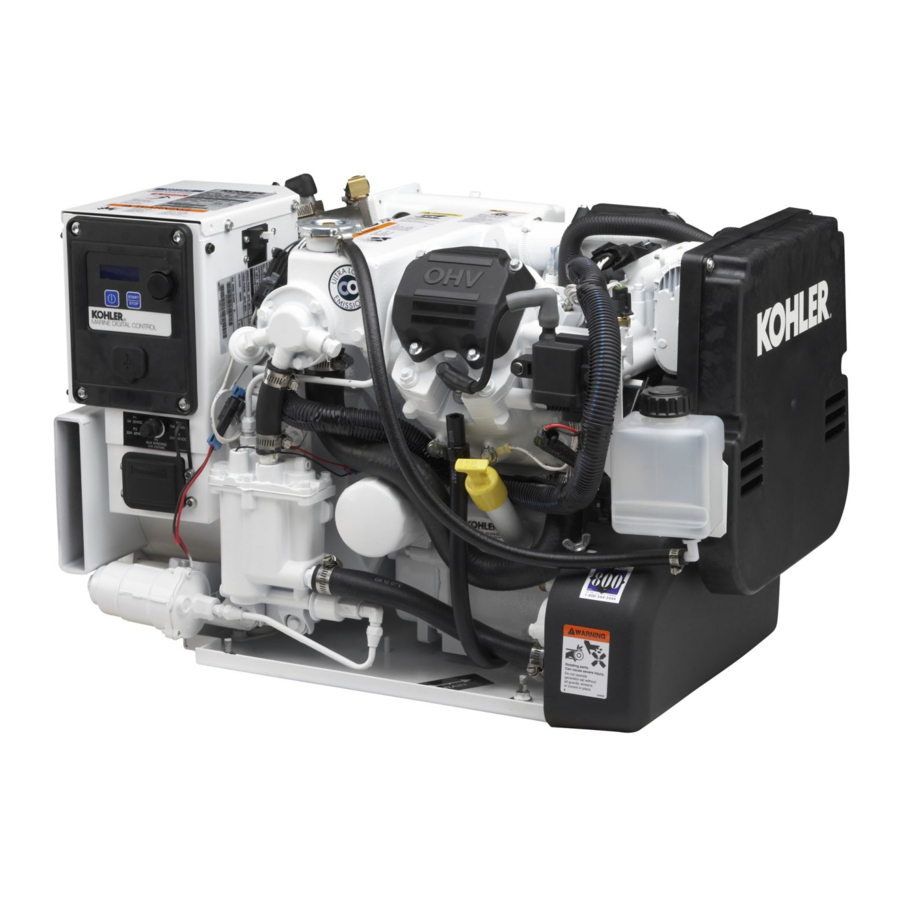
Kohler 13/15.5/20/23EOZD, 11/13/17/20EFOZD Installation Manual
- Installation instructions (2 pages)
Advertisement

Introduction
Use this service kit to replace the existing seawater pump (GM35622) with a new seawater pump design which incorporates a pressed-on pulley. Installation of the service kit involves replacing the seawater pump and bracket.
Note: If impeller replacement is necessary, use impeller kit 229826 for seawater pump service kit GM59333.
Safety Precautions

Accidental starting.
Can cause severe injury or death.
Disconnect the battery cables before working on the generator set. Remove the negative (--) lead first when disconnecting the battery. Reconnect the negative (--) lead last when reconnecting the battery.
Disabling the generator set. Accidental starting can cause severe injury or death.
Before working on the generator set or connected equipment, disable the generator set as follows: (1) Move the generator set master switch to the OFF position. (2) Disconnect the power to the battery charger. (3) Remove the battery cables, negative (--) lead first. Reconnect the negative (--) lead last when reconnecting the battery. Follow these precautions to prevent starting of the generator set by an automatic transfer switch, remote start/stop switch, or engine start command from a remote computer.

Hazardous voltage. Moving parts. Can cause severe injury or death.
Operate the generator set only when all guards and electrical enclosures are in place.
Servicing the generator set when it is operating. Exposed moving parts can cause severe injury or death.
Keep hands, feet, hair, clothing, and test leads away from the belts and pulleys when the generator set is running. Replace guards, screens, and covers before operating the generator set.
Note: Retorque all crankshaft and rotor hardware after servicing. Do not loosen the crankshaft hardware or rotor thrubolt when making adjustments or servicing the generator set. Rotate the crankshaft manually in a clockwise direction only. Turning the crankshaft bolt or rotor thrubolt counterclockwise can loosen the hardware.
Installation Procedure
- Remove the generator set from service.
- Place the generator set master switch in the OFF position.
- Disconnect the power to the battery charger, if equipped.
- Disconnect the generator set engine starting battery(ies), negative (−) lead first.
- Remove and replace the seawater pump.
- Remove and save the belt guard.
- Remove and save the seawater pump belt. See Figure 1.
![Kohler - 13EOZD - Locator Drawing (Typical) Locator Drawing (Typical)]()
- Remove and discard the existing seawater pump, mounting bracket, and seawater pump hardware.
- Mount the seawater pump (GM46936) to the new bracket (GM53017) using 2 bolts (X-125-31) and 2 nuts (X-6210-7) as shown in Figure 2.
- Mount the new bracket/pump assembly to the engine using the hardware shown in Figure 2.
- Replace the seawater pump belt. Consult the operation manual for the belt tensioning procedure.
- Attach the pipe adapters to the seawater pump and cut to fit the hose attached to the bottom of the seawater pump. See Figure 2.
![Kohler - 13EOZD - Seawater Pump Installation Seawater Pump Installation]()
- Bolt (X-125-31 qty. 2) and nut (X-6210-7 qty. 2)
- Pipe adapter (GM58848) and 90_ connector (X-391-31)
- Seawater pump (GM46936)
- Pipe adapter (GM58848) and hose connector (X-582-16)
- Screw (M931-08070-60), washer (M125A-08-80), and nut (M6923-08-80)
- Use existing hardware and spacers (X-400-74 qty. 2) behind bracket as required.
- Mounting bracket (GM53017)
- Screw (M931-08100-60), washer (M125A-08-80) and spacer (X-400-74). Locate spacer between bracket and gear cover.
- Replace the belt guard.
- Restore the generator set to service.
- Check that the generator master switch is in the OFF position.
- Reconnect the generator set engine starting battery, negative (−) lead last.
- Reconnect the power to the battery charger, if equipped.
Parts List
| Seawater Pump Kit GM59333 | ||
Qty. | Description | Part Number |
| 1 | Pump, seawater | GM46936 |
| 2 | Bolt (5/16-18 x 0.875 in.) | X-125-31 |
| 2 | Nut, flanged (5/16-18 in.) | X-6210-7 |
| 1 | Bracket, mounting | GM53017 |
| 2 | Adapter, pipe | GM58848 |
| 2 | Washer, plain (8.4 mm ID x 16 mm OD) M125A-08-80 | |
| 1 | Nut, hex (8 mm) | M6923-08-80 |
| 1 | Screw, hex cap (M8 x 70 mm) | M931-08070-60 |
| 1 | Screw, hex cap (M8 x 100 mm) | M931-08100-60 |
| 1 | Connector, 90_ | X-391-31 |
| 3 | Spacer (0.344 ID x 0.625 OD x 0.25 in.) X-400-74 | |
| 1 | Connector, hose | X-582-16 |
Documents / ResourcesDownload manual
Here you can download full pdf version of manual, it may contain additional safety instructions, warranty information, FCC rules, etc.
Download Kohler 13/15.5/20/23EOZD, 11/13/17/20EFOZD Installation Manual
Advertisement


Need help?
Do you have a question about the 13EOZD and is the answer not in the manual?
Questions and answers