
Related Manuals for Schacht WOLF PUP 8.10


Summary of Contents for Schacht WOLF PUP 8.10
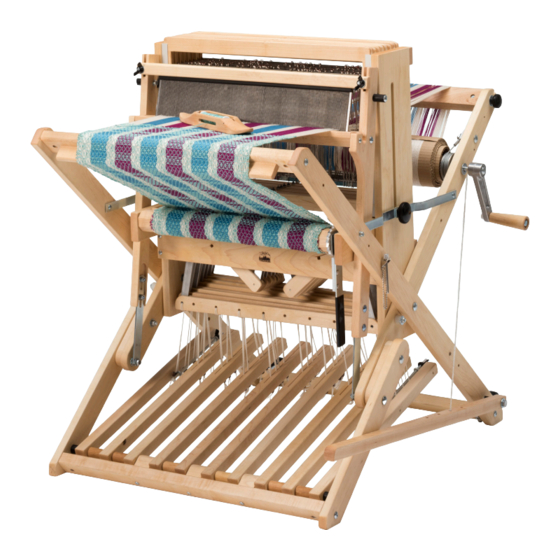
- Page 1 FL3008 FL3010 WOLF PUP 8.10 ssembly Find out more at schachtspindle.com Schacht Spindle Company 6101 Ben Place Boulder, CO 80301 303.442.3212 © 2023 Schacht Spindle Company, Inc. 06.23...
- Page 2 WOLF PUP 8.10 ssembly shafts castle side beater brake ratchet advance lever outside leg inside leg brake release pedal BEFORE YOU BEGIN ■ All Wolf looms assemble in a similar way. Watch the Baby Wolf assembly video on our Youtube channel (www.youtube.com/user/schachtspindle).
- Page 3 Hardware bag 2: PARTS 3/8" cap nut Wrapped onto warp beam: 3/8" washer apron bars #12 SAE washers lease sticks (with holes) 1/4-20 slim lock nuts heddle bars 1/4-20 x 2" Phillips truss head machine screws Accessory pack: 1" plastic beater pegs Maintenance &...
- Page 4 UNFOLDING THE LOOM front beam extension facing outward Slightly loosen the black fold knobs on front beam each side of the loom (Figure 1, page 3). screw Generally, a single turn will do. Loosening the knobs all the way or removing them can cause the loom to collapse, which could result in injury.
- Page 5 Repeat on the other side of the beater. After both pegs are installed, remove the string tying the beater to the castle. ATTACHING THE WARP BEAM 3/8" washer CRANK HANDLE cap nut The warp beam crank handle attaches to a threaded rod on the right inside leg (Figure 5).
- Page 6 INSTALLING HEDDLES hex nut & O-ring Remove the shafts from the loom by removing the rubber O-rings and unscrewing the small hex nuts from the jack pin jack pins (Figure 7). Pull the shaft straight shaft up and out of the loom. When you put the frame shaft back in the loom, be sure to insert the jack pin back into the hole and secure...
- Page 7 The 2 outer treadles on the 8.10 do not have slots like the 8 inner treadles; they have a hex bolt and thumb screw instead (Figure 9). To attach tie-ups to these treadles, remove the thumb screw and push the hex bolt towards the front of the loom until its shaft sits between the two eye bolts.
- Page 8 REMOVING THE BACK BEAM back beam knob The back beam can be removed for better access to the heddles when you thread the loom. Loosen the back beam knobs on each side of the back beam and lift the beam out (Figure 13). To replace the back beam, slide the beam back into the legs and tighten the knobs.
Need help?
Do you have a question about the WOLF PUP 8.10 and is the answer not in the manual?
Questions and answers