Advertisement
Quick Links
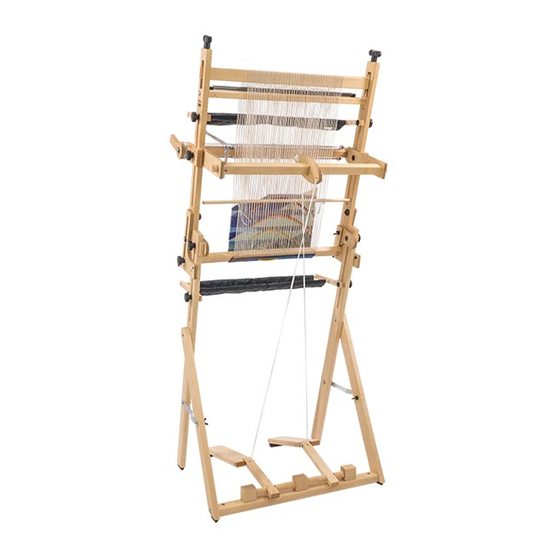
ARRAS TREADLE KIT
A
ssembly
ARRAS LOOM, ARRAS STAND, AND ARRAS BEAM KIT ALL SOLD SEPARATELY.
ASSEMBLING THE TREADLE KIT WITH THE STAND
You can install the Treadle Kit as you assemble your Arras Stand. Follow the
instructions given in the Arras Stand manual, adapting as follows:
■ Follow Stand assembly Steps 1 through 5.
■ Before attaching the treadle support to the Stand legs, install treadles as in Steps 1
through 3 in this manual.
■ Follow the remaining Stand assembly steps to install the loom on the stand.
■ Return to this manual, following Steps 4 to the end.
Find out more at schachtspindle.com
Schacht Spindle Company 6101 Ben Place Boulder, CO 80301
303.442.3212
© 2023 Schacht Spindle Company, Inc.
SL2231
TM
11.23
Advertisement

Related Manuals for Schacht ARRAS TREADLE KIT SL2231


Summary of Contents for Schacht ARRAS TREADLE KIT SL2231
- Page 1 ■ Follow the remaining Stand assembly steps to install the loom on the stand. ■ Return to this manual, following Steps 4 to the end. Find out more at schachtspindle.com Schacht Spindle Company 6101 Ben Place Boulder, CO 80301 303.442.3212 © 2023 Schacht Spindle Company, Inc.
-
Page 2: Assembly Note
1/4-20 slim lock nuts PARTS 8-32 x 5/8" Phillips truss head metal treadle bar machine screw left treadle block knobs with 1-1/4" shafts center treadle block cotter pins right treadle block clevis pins treadle dowels #12 SAE washers treadle extensions cord guide block with empty holes left treadle cord guide block with hardware... - Page 3 treadle blocks treadle extensions treadles wide spacing asymmetrical treadle dowel one side narrow spacing INSTALL THE TREADLES Lay the stand on its back so you can reach the underside of the treadle support. center treadle block—hole goes through both sides Identify the center treadle block—it has a large hole going all the way through for the metal treadle bar—and the pilot hole for...
- Page 4 treadle blocks with #8 x 1-1/2" Phillips left treadle block right treadle block truss head sheet metal screws (Figure 2). If you wish to rearrange treadle extensions and dowels, you only need to remove the left and right treadle blocks, move treadle extensions and dowels, then reattach the left and right treadle blocks.
- Page 5 extended heddle rod support FIGURE 6: INSTALL EXTENDED HEDDLE ROD SUPPORT IN SHEDDING DEVICE Install one extended heddle rod shedding device riser support in its place, with the longer end at slot in loom the top as shown in Figure 6, and use the upright screw from Step 5 to attach it.
- Page 6 Orient the transfer cam so the long transfer cam ends of the oval are parallel to the floor and slide it to the center of the transfer beam (Figure 9A). Place the end of the transfer beam into the installed transfer beam extension, with the extended heddle rod support next to the extension and its longer end at the top (Figure 9B).
- Page 7 FIGURE 11: INSTALL THE METAL TRANSFER ROD INSTALL THE CORD GUIDE 1/4-20 x 2-1/4" Phillips truss head machine screw (FOR LOOMS WITH THE BEAM KIT— 3/4" nylon spacer OTHERWISE SKIP TO STEP 15) Attach the cord guide blocks: One cord guide block has two empty holes;...
- Page 8 ATTACH THE TREADLE CORDS TO THE TRANSFER CAM Set the shedding device in neutral, so the transfer cam’s long ends are parallel to the floor. Insert the free end of a treadle cord through a hole in the transfer cam arrow peg (it doesn’t matter which hole).
Need help?
Do you have a question about the ARRAS TREADLE KIT SL2231 and is the answer not in the manual?
Questions and answers