Advertisement
Quick Links
Advertisement

Related Manuals for Whitewood Furniture SH-3223A


Summary of Contents for Whitewood Furniture SH-3223A
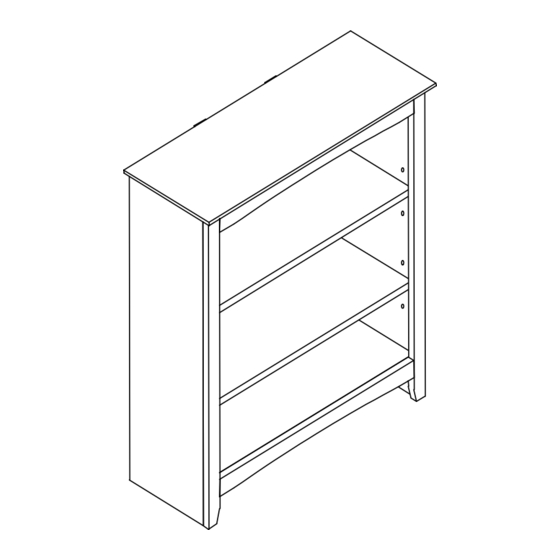
- Page 1 Serious or fatal injuries can occur from furniture tip over. Use tip over restraint (provided) to secure this product to the wall. Description : 32 X 12 X 36 HIGH BOOK CASE Item No. : SH-3223A ITEM NO.: SH-3223A Printed in Vietnam REVISED 30 MAR, 2020 - 1 -...
-
Page 2: Before Assembly
Protect the surface of the product with cloth if you are using any product with rubber feet or base. ASSEMBLY TOOLS REQUIRED NOT INCLUDED ITEM NO.: SH-3223A Printed in Vietnam REVISED 30 MAR, 2020 - 2 -... -
Page 3: Parts List
When unpacking, please be careful not to discard any parts with the packaging. Before continuing, please make sure you have the following parts: Description Q’ty Sketch Description Q’ty Sketch Side panel (L-R) Bottom panel Adjustable shelf Back Connecter panel ITEM NO.: SH-3223A Printed in Vietnam REVISED 30 MAR, 2020 - 3 -... -
Page 4: Hardware List
Short Pan head screw Steel Tip Bracket (M4 x 15mm) Medium Pan head screw Flat Nylon Tie (M4 x 20mm) Long Pan head screw (M4 x 50mm) ITEM NO.: SH-3223A Printed in Vietnam REVISED 30 MAR, 2020 - 4 -... - Page 5 Remove the paper strip and attach sticky side of the connecters (F) to the back of the unit. Then attach connecter (F) to the top (A) and bottom panel (C) with screws (9) as show below. Tighten with a screwdriver. ITEM NO.: SH-3223A Printed in Vietnam REVISED 30 MAR, 2020...
- Page 6 Lace the end of flat nylon ties (10) through the larger holes in each mounting bracket. Bring both ends together and slide the flat ends through the locking ends and draw it through until all slack is removed. Confirm that the strap is securely laced and locked. ITEM NO.: SH-3223A Printed in Vietnam REVISED 30 MAR, 2020...
Need help?
Do you have a question about the SH-3223A and is the answer not in the manual?
Questions and answers