Advertisement
INSTRUCTION MANUAL
IMPORTANT SAFEGUARDS
When using electrical equipment, basic safety precautions should always be followed, including the following:
READ AND FOLLOW ALL SAFETY INSTRUCTIONS
CAUTION – To prevent electrical shock, do not mate unit connector until installation is complete and A.C. power
1.
is supplied to the unit.
2.
CAUTION – This fixture provides more than one power supply output source. To reduce the risk of electrical
shock, disconnect both normal and emergency sources by turning off the A.C. branch circuit and by disconnect-
ing the unit connector.
CAUTION – This is a sealed unit. The integral, high temperature Ni-Cad battery is not replaceable. Replace the
3.
entire unit when necessary and recycle or dispose of the nickel-cadmium battery properly.
4.
DO NOT USE OUTDOORS. The I-320 is for use with grounded, UL Listed, damp location rated, indoor fixtures.
Not for use in heated air outlets or hazardous locations.
The I-320 requires an unswitched A.C. power source of either 120 or 277 volts. Properly cap the unused A.C. lead.
5.
When the I-320 is installed on the same branch circuit, refer to Illustration 3, Figures A and B for input wiring. When
6.
installed on separate branch circuits, refer to Illustration 3, Figures C and D for input wiring. Per NEC, the I-320 and
A.C. ballast must be on the same panel board.
7.
Do not mount near gas or electric heaters.
8.
The I-320 should be mounted in locations and at heights where it will not readily be subjected to tampering by
unauthorized personnel.
The I-320 will cold strike and operate one 14W through 54W T5 or 2´-4´ T8 instant start or rapid start fluorescent
9.
lamp, including energy saving and 4-pin compact lamps for 90 minutes.
10.
The I-320 is compatible with most A.C. ballasts (including multiple lamp) as follows:
Magnetic ballasts – one lamp emergency operation.
Electronic ballasts – one lamp emergency operation.
11.
Suitable for use in damp locations and in enclosed and gasketed fixtures.
12.
For use in 0° C minimum, 50° C maximum ambient temperatures.
13.
The use of accessory equipment not recommended by the manufacturer may cause an unsafe condition, will
void warranty, and result in non-compliance with UL specifications .
14.
Do not use this equipment for other than intended use.
15.
Install in accordance with the National Electrical Code and local regulations.
16.
Installation and servicing should be performed by qualified personnel.
17.
Lighting fixture manufacturers, electricians, and end-users need to ensure product system compatibility
before final installation.
SAVE THESE INSTRUCTIONS
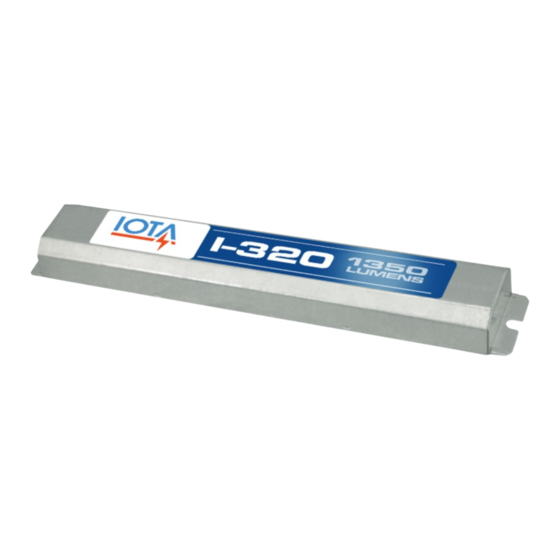
I-320
TBTS SERIES AC
EMERGENCY
LIGHTING EQUIPMENT
Advertisement
Table of Contents

Related Manuals for IOTA I-320


Summary of Contents for IOTA I-320
- Page 1 The I-320 requires an unswitched A.C. power source of either 120 or 277 volts. Properly cap the unused A.C. lead. When the I-320 is installed on the same branch circuit, refer to Illustration 3, Figures A and B for input wiring. When installed on separate branch circuits, refer to Illustration 3, Figures C and D for input wiring.
-
Page 2: Installation Instructions
5. WIRING THE A.C. INPUT A. When the I-320 is installed on the same branch circuit, refer to Illustration 3, Figures A and B for input wiring. When installed on separate branch circuits, refer to Illustration 3, Figures C and D for input wiring. Per NEC, the I-320 and A.C. -
Page 3: Completing Installation
OPERATION Normal Mode – A.C. power is present. The A.C. ballast operates the fluorescent lamp(s) as intended. The I-320 is in the standby charging mode. The TBTS will be lit providing a visual indication that the battery is being charged. -
Page 4: Typical Wiring Diagrams
Wiring and Troubleshooting Tips are available on-line 1. ONE LAMP RAPID START BALLAST 5. ONE LAMP INSTANT START BALLAST ONE LAMP RAPID START BALLAST ONE LAMP INSTANT START BALLAST SWITCHED OR UNSWITCHED LINE BLUE BLUE BLACK I-320 I-320 WHITE BLUE BLUE/WHT A.C. EMERGENCY RED/WHT BALLAST Ballast... -
Page 5: Additional Wiring Diagrams
For wiring diagrams of ballasts not shown, consult our Customer Service. Wiring and Troubleshooting Tips are available on-line 1. THREE LAMP RAPID START BALLAST THREE LAMP RAPID START BALLAST SWITCHED OR UNSWITCHED LINE BLACK BLUE BLUE/WHT I-320 WHITE EMERGENCY ORANGE RED/WHT A.C. ORANGE BLUE BALLAST...
Need help?
Do you have a question about the I-320 and is the answer not in the manual?
Questions and answers