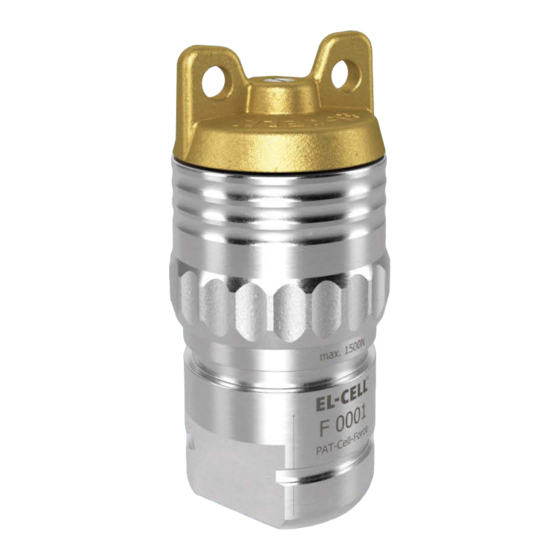
Summary of Contents for EL-CELL PAT-Cell-Force
- Page 1 Setup Guide Release 1.0 PAT-Cell-Force Electrochemical test cell © 2023 EL-Cell GmbH...
- Page 2 The information in this manual has been carefully checked and believed to be accurate; however, no responsibility is assumed for inaccuracies. EL-Cell GmbH maintains the right to make changes without further notice to products described in this manual to improve reliability, function, or design. EL -Cell GmbH does not assume any liability arising from the use or application of this product.
-
Page 3: Table Of Contents
Setup Guide PAT-Cell-Force Content Technical data ....................... 4 Safety Precautions ......................4 Assembly ........................5 Cell assembly for use with liquid electrolytes ................5 Force adjustment and further assembly ..................7 Disassembly and Cleaning ..................... 9 Technical Support ......................10 Warranty ........................ -
Page 4: Technical Data
Setup Guide PAT-Cell-Force 1 Technical data Specifications Diameter 49.5 mm Height 104 mm Weight 0.8 kg Separator diameter 21.6 mm Electrode diameter 18 mm Temperature sensor -20 to 80 °C Force sensor up to 1500 Newton (up to 5.9 MPa at 18 mm... -
Page 5: Assembly
Setup Guide PAT-Cell-Force 3 Assembly Please note: All assembly steps will be carried out in an inert glove box atmosphere. All components must be dried in a vacuum oven at 80°C (120°C for parts made of PPS) for at least 12 hours. - Page 6 Setup Guide PAT-Cell-Force Align the contact spring of the sleeve with the horizontal contact pin inside the cell base. Then insert the assembly into the cell base. Evenly dispense approx. 100 µL of electrolyte on top of the separator with a pipette. Note: The...
-
Page 7: Force Adjustment And Further Assembly
Setup Guide PAT-Cell-Force Please note: The PAT-Cell-Force uses a special version of the upper plunger with a smaller diameter, as seen in the image. 3.2 Force adjustment and further assembly Insert the cell assembly into the PAT Socket of the PAT-Terminal-1. - Page 8 Setup Guide PAT-Cell-Force Remove the PAT-Cell-Force from the PAT-Terminal-1 and insert it into the cell assembly block for final steps. Insert a new sealing ring to the lid. For best tightness, use an aluminum seal. Attach the lid. Use the Screw cap torque wrench to tighten it until the set torque is reached.
-
Page 9: Disassembly And Cleaning
Setup Guide PAT-Cell-Force 4 Disassembly and Cleaning When working with aprotic, moisture-sensitive electrolytes such as LiPF , it is best to always leave the cell base and cell lid in the glove box and only expose the PAT core components to room air for cleaning or disposal. -
Page 10: Technical Support
6 Warranty For a period of one year from the date of shipment, EL-Cell GmbH (hereinafter Seller) warrants the goods to be free from defects in material and workmanship to the original purchaser. During the warranty period, Seller agrees to repair or replace defective and/or nonconforming goods or parts without charge for material or labor, or, at the Seller’s option, demand return...


Need help?
Do you have a question about the PAT-Cell-Force and is the answer not in the manual?
Questions and answers