Table of Contents
Advertisement
Quick Links
Advertisement
Table of Contents

Related Manuals for Pepperl+Fuchs R2000


Summary of Contents for Pepperl+Fuchs R2000
- Page 1 2-D LiDAR Sensor R2000 Measuring Sensors Brief Instructions...
- Page 2 Phone: +49 621 776 - 0 E-mail: info@de.pepperl-fuchs.com North American Headquarters Pepperl+Fuchs Inc. 1600 Enterprise Parkway Twinsburg, Ohio 44087 Phone: +1 330 425-3555 E-mail: sales@us.pepperl-fuchs.com Asia Headquarters Pepperl+Fuchs Pte. Ltd. P+F Building 18 Ayer Rajah Crescent Singapore 139942 Phone: +65 6779-9091 E-mail: sales@sg.pepperl-fuchs.com https://www.pepperl-fuchs.com...
-
Page 3: Table Of Contents
2-D LiDAR Sensor Contents Introduction ................4 Purpose of These Brief Instructions........4 Product documentation on the internet ......4 Intended Use ................ 4 Safety ..................5 Laser Class 1 ............... 5 Product Description..............6 Indicators and Operating Elements........6 Interfaces and Connections ..........6 Scope of Delivery .............. -
Page 4: Introduction
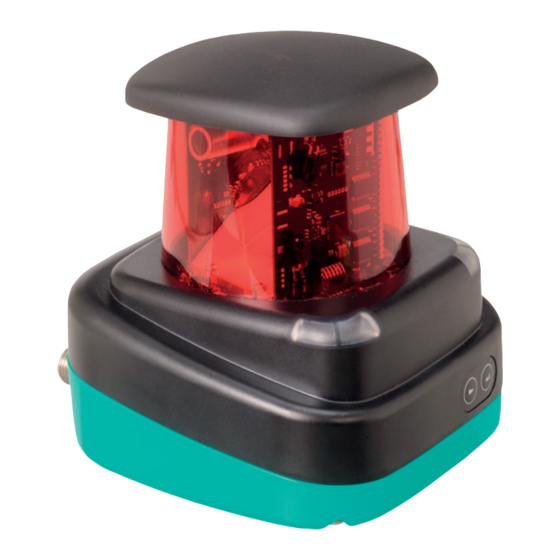
A list of all available documents is displayed. Intended Use The R2000 2-D LiDAR sensor is a 360° measuring instrument with an all-round display. It is used on automated transport systems or other movable machinery in intralogistics. It is also used on stationary equipment in the area of factory and building automation. -
Page 5: Safety
2-D LiDAR Sensor Safety Safety Laser Class 1 Class 1 Laser Product This sensor is certified according to laser protection class 1. Warning! Class 1 laser light The laser light can be an irritant, especially in a dark environment. Do not point lasers at people! Maintenance and repairs should only be carried out by authorized service person- nel! -
Page 6: Product Description
2-D LiDAR Sensor Product Description Product Description Indicators and Operating Elements Figure 3.1 Indicators and Controls Description Color Operating indicator Green Fault indicator "Next" menu button "Return" menu button "Q2" signal indicator Yellow "Q1" signal indicator Yellow Laser beam outlet Ethernet activity indicator Yellow Ethernet link indicator... - Page 7 2-D LiDAR Sensor Product Description Ground (GND) I/Q1 MultiPort There is an 8-pin M12 plug on the rear of the housing for service purposes. DNC (Do not connect) DNC (Do not connect) DNC (Do not connect) DNC (Do not connect) DNC (Do not connect) I/Q2 I/Q1...
-
Page 8: Scope Of Delivery
2-D LiDAR Sensor Product Description Scope of Delivery The scope of delivery includes: • R2000 • Quick start guide • Protective cover • 3 x socket cap screws, M5 x 10 • 3 x washers, size 5 Note Installation Instructions for North America... -
Page 9: Further Information
2-D LiDAR Sensor Product Description To parameterize the R2000 conveniently via a software interface, you will need the corresponding device type manager (DTM) in addition to the FDT framework pro- gram (PACTware 4.x or above). PACTware and the DTM are available at www.pep- perl-fuchs.com. -
Page 10: Installation
2-D LiDAR Sensor Installation Installation Mounting Caution! Aggressive environments may damage the sensor lens or cause it to malfunction Using the device in aggressive environments may damage the sensor lens and lead to impaired sensor function. Never use the device in aggressive environments. Caution! Condensation may cause property damage and malfunction Strong fluctuations in ambient temperature and humidity may damage the sensor... -
Page 11: Device Connection
Laser Notice No. 50, dated June 24, 2007 Emitting and receiving area Figure 4.1 Dimensional drawing of R2000 2-D LiDAR sensor Check that the sensor is securely seated. Note Keep the emitting/receiving area clear When mounting, make sure the emitting area and the receiving area are kept clear. - Page 12 We recommend the use of power supplies with 1 A (for 24 V) or with 2 A (for 12 V). The maximum cable length is 30 m. The pin assignment is as follows: Ethernet Multiport Power 24 V DC I/Q2 0 V DC I/Q1 Shield I/Q2 I/Q1 DNC = Do not connect Figure 4.2 R2000 pin assignment...
-
Page 13: Commissioning
Connect the device to the appropriate power supply. The initialization phase lasts approx. 15 seconds. This phase is shown by cir- cles moving down the all-round display. After the initialization phase, the Pepperl+Fuchs logo will appear on the all-round display. The device is now ready for operation. - Page 14 2-D LiDAR Sensor Commissioning Configuring a Connection via Auto IP The sensor is set to Auto IP by default. The Auto IP setting is the best way to con- nect directly to a PC. If the network configuration of the sensor no longer matches the factory setting: 1.
- Page 15 2-D LiDAR Sensor Commissioning Configuring a Connection via DHCP Under Ethernet Setup > Address Mode, set the sensor to "DHCP." Restart the sensor to apply the configuration. Manual IP You can also address the sensor via an IP address set manually. You can set the PC network card and the sensor to an IP address of your choice.
- Page 16 2-D LiDAR Sensor Commissioning Click OK to confirm. Note Device restart You must restart the sensor after changing the Ethernet configuration.
- Page 17 2-D LiDAR Sensor Commissioning...
- Page 18 Pepperl+Fuchs Quality Download our latest policy here: www.pepperl-fuchs.com/quality www.pepperl-fuchs.com © Pepperl+Fuchs · Subject to modifications 70167983 / DOCT-6122C...
Need help?
Do you have a question about the R2000 and is the answer not in the manual?
Questions and answers