Advertisement
- 1 Package
- 2 Precautions
- 3 Getting Started
- 4 BEFORE USE
- 5 Installing Battery
- 6 Using the device
- 7 Battery Charge Level/Low Battery Indication
- 8 Receivinig/transmitting communications
- 9 Changing Channels
- 10 99 Privacy codes
- 11 VOX (Hands free function)
- 12 Scanning for an active radio channel
- 13 Monitor
- 14 Setting the Call tones
- 15 Sending a call tone
- 16 Key-Tone On/Off
- 17 Roger Beep On/Off
- 18 Double waiting
- 19 Backlit display
- 20 Earpiece connection
- 21 Battery saving function
- 22 Built-in Flashlight
- 23 Lock & Unlock the device
- 24 echnical specifications
- 25 Documents / Resources
Package
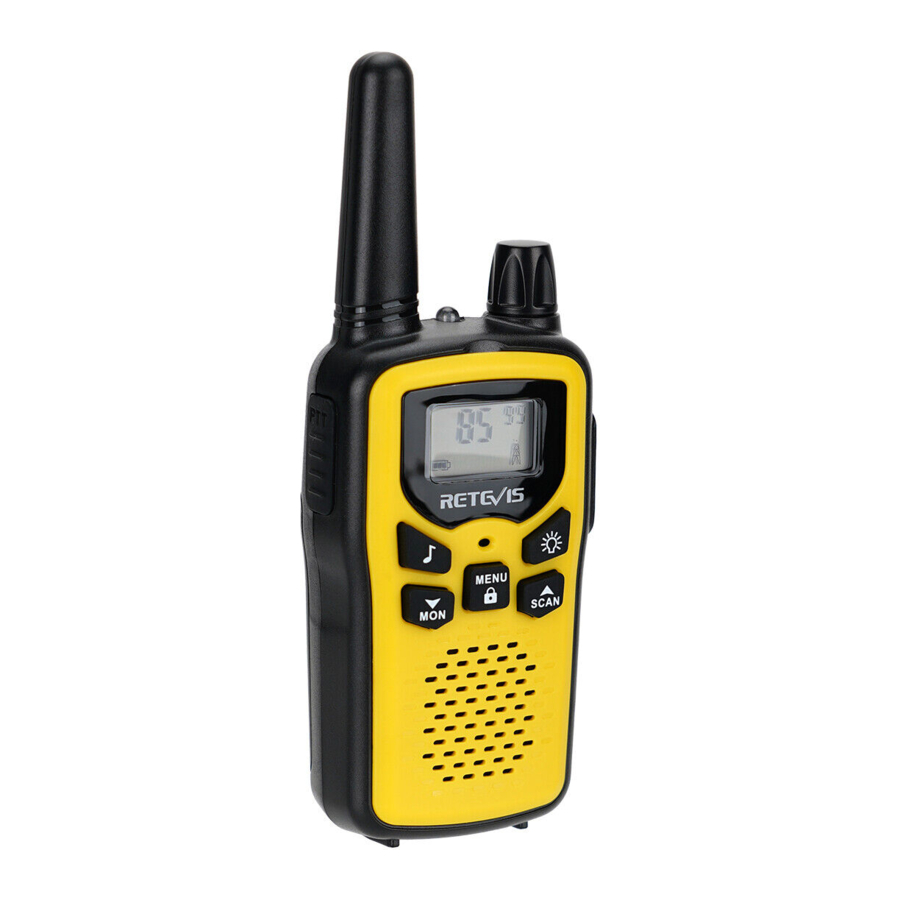
The package includes 3 pack walkie-talkies with license-free operation, which conform to European Radio Communications Committee and Federal Communications Act. it is a simplex device that operates on assigned frequencies. They come with 22(US) channels, and a backlit LCD screen, allowingmile in open areas).
Note: Please read user instructions carefully before using the equipment and keep it for future consultation!
Precautions
- To avoid the risk of burns, do not use the device if the aerial is damaged in any way.
- Don not use the device in a potentially explosive setting (e.g. Around pumps, on the lower deck of a boat or around a fuel-storage installation or chemical products).
- If traveling in a car or by bike, stop before using the device.
- Switch off the device if on an airplane or in a hospital.
Never use the device in close proximity to a radio to avoid interference. - Remove the batteries if the device is not used for an extended period of time. Never mix used batteries with new ones.
- Keep the transmitter and antenna at least 5cm from your face. Direct the antenna upwards and speak normally.
- Clean the device with a damp cloth. Avoid the use of cleaning agents and solvents.
- Do not modify the device in any way. In the event of damage occurring, ensure that the device is checked by a qualified profession
The device cannot be used to contact emergency services
Getting Started

Reset: press[![]() ]button power on, It can be restored to default settings
]button power on, It can be restored to default settings
BEFORE USE
Removing the belt clip
Before insert batteries into the devices, first pull and hold latch on the belt clip and slide the belt clip up to remove it

Installing Battery
- For use of non-rechargeable batteries:
- Open the battery compartment cover.
- Insert 4 x AAA Battery (Not included)
- Install the battery according to the polarity marks on the battery compartment.
- After placing the battery in the correct position, replace
- For use of rechargeable batteries with Walkie
Charge the rechargeable battery on the radio with the specified charging cable.
Using the device
Turning the device on/off
- Switch on: Turn on the volume ON/OFF switch knob clockwise until a beep heard;
- Shutdown: Turn the volume ON/OFF switch knob counterclockwise.
Adjusting the volume
- Volume up: Turn the volume ON/OFF switch knob clockwise;
- Volume down: Turn the volume ON/OFF switch knob
Battery Charge Level/Low Battery Indication
The battery charge level is indicated by the number of squares present inside the battery icon on the LCD Screen.
![]() Battery Full
Battery Full
![]() Battery 2/3 charged
Battery 2/3 charged
![]() Battery 1/3 charged
Battery 1/3 charged
![]() Battery empty
Battery empty
When the battery charge level is low, the battery icon will flash and a beep will be heard to indicate that the batteries need to be replaced or recharged.
Receivinig/transmitting communications
The devices are in ''Reception" mode when it is turned ON and no transmitting.
When a signal is received on the active channel, the LCD will display in reception.
When you press the PTT (push to talk) button, the device switches to "Transmission" mode.
Hold the device in a vertical position with the MIC (microphone) 3-5 cm away from your mouth. While holding the PTT button, speak into the microphone in a normal tone of voice.
Release the PTT button when you have finished transmitting. For others to receive your transmission, they must be on the same channel with you.
Note:
- The talking range depends on terrain and weather conditions. It will be affected by obstructions such as hills, bush or buildings.
- Don't try to use two devices which are less than 1.5m (5 feet) apart.
Otherwise, you may experience interference.
Changing Channels
Press the MENU button one time, the channel number willlash on the display.
Press the up▲/down▼ button to change the channel.
Press the PTT button to confirm and return to standby mode.
Note: if no button is pressed within 10 31seconds during setting, the device will return to standby mode.
99 Privacy codes
Press the MENU button twice, the current privacy code will flashon the display.
Press the PTT button to confirm and return to stand-by mode. Press the up ▲/down▼ button to change the 99 available privacycodes.
By using privacy codes, your channel will not be easily occupied or interfered by others. It makes your communication more safe and privacy.
VOX (Hands free function)
Press the MENU button three times, the current VOX setting will flash on the display and the VOX icon will display,
Press UP▲ button to set the VOX sensitivity level between 1 and 3 level (level 3 is the high sensitive level).
Press down▼ button until "OFF " appears on the display to turn VOX OFF. Press the PTT button to confirm and return to standby mode. In VOX mode, the radio will transmit a signal when it is activated by your voice or other sound around you. VOX Operation is not recommended if you plan to use your device in a noisy or windy environment.
Note: VOX mode will be over-ridden when you press the PTT button
Scanning for an active radio channel
Press and hold the UP▲ button 2 seconds: The "SCAN" function indicator will appear on the display and the channel will scan continuously from 1 to 22. Once an active channel is found, the scanning will stop and you can listen to the transmission.
When the transmission is on the found channel stop, the scanning will resume automatically. Note: If you press the PTT button while listening to a found channel,
Monitor
Press and hold the DOWN▼ button about 3 seconds to active monitor. Release the DOWN ▼ button return to standby mode.
Setting the Call tones
The device has 10 call tones. Press the MENU button 4 times, "CA"isdisplayed and on the current call tone. Press the UP▲/Down▼ button to change another call tones.
Press the PTT button to confirm and return to standby mode.
Sending a call tone
Press the ![]() button; the call tone will be transmitted on the setting channel.
button; the call tone will be transmitted on the setting channel.
Key-Tone On/Off
When a button is pressed, the unit will beep briefly. To set the key-tone.
- Press the MENU- button five times. "to" will be displayed.
- Press ▲ to enable (ON) or ▼ disable the Key Tones (OFF)
- Press the PTT- button to confirm your selection and return to the standby mode.
Roger Beep On/Off
After the PTT button is released, the device will send out a Roger beep to confirm that have stopped talking.
Press the MENU button six times; "ro" will be displayed.
Press the UP▲/Down▼ button to disable the Roger beep ON/OFF.Press The PTT button to confirm your selection and return to the standby mode.
Double waiting
Dual standby function allows the device to receive messages from two channels
- Press the MENU- button 7 times, the 2CH character flashes on the display
- Press the ▲up key or the down key to select the second channel, and select to (OF) to close the dual standby function
- Press the PTT- button to confirm the selection and return to standby mode.
Backlit display
Press any button except for the MENU button to activate the backlight of the LCD display. The backlight will light on about 5 seconds.
Earpiece connection
The device can be used with an earpiece (If there is an earpiece packed together with the device).
The connector is located on the top of the device.
Insert the earpiece plug into the connector (2.5mm jack).There is a small "PTT" button on the earpiece that has the same function as the PTT button on the device.
When you use the PTT button from the earpiece, you must also use the microphone from the earpiece to talk. Note: Do not connect other earpieces; it may damage your device.
Battery saving function
When the device has not been used for 6 seconds, the economy mode is automatically activated. This does not affect the reception of transmission and the standby mode is automatically re-activated as soon as a signal is detected.
Built-in Flashlight
Your device has a built-in flashlight that can be used in sending light signals or for our lighting needs.
Lock & Unlock the device
Press and hold the MENU button for 3 seconds to lock the device.
Press and hold the MENU button for 3 seconds to unlock the device.
echnical specifications
| Channel: | 22(FRS) |
| Frequency: | 462.5625MHz ~ 467.7125MHz |
| Privacy Code: | 99 Groups |
| Transmission Power | ≤0.5W |
| Range | Up to 5 mile in open field |
| Battery type | 4 x AAA Alkaline/rechargeable batteries (DC 6.0V The battery voltage: 1.5V) |
| Modulation type | FM-F3E |
| Channel spacing | 12.5 kHz |
Channel and Frequency (MHZ)
US (22 CH)
| ch. | Frequency | ch. | Frequency | ch. | Frequency | ch. | Frequency |
| 1 | 462.5625 | 5 | 462.6625 | 9 | 467.5875 | 13 | 467.6875 |
| 2 | 462.5875 | 6 | 462.6875 | 10 | 467.6125 | 14 | 467.7125 |
| 3 | 462.6125 | 7 | 462.7215 | 11 | 467.6375 | 15 | 462.5500 |
| 4 | 462.6375 | 8 | 467.5625 | 12 | 467.6625 | 16 | 462.5750 |
| 17 | 462.6000 | 18 | 462.6250 | 19 | 462.6500 | 20 | 462.6750 |
| 21 | 462.7000 | 22 | 462.7250 |

Documents / ResourcesDownload manual
Here you can download full pdf version of manual, it may contain additional safety instructions, warranty information, FCC rules, etc.
Advertisement


Need help?
Do you have a question about the RA36 and is the answer not in the manual?
Questions and answers