Advertisement
INSTALLATION
Removing the belt clip Pull the belt clip latch away from the unit. See picture as right.
Installing the Batteries

FOR USE OF RECHARGEABLE BATTERIES:
If your walkie talkie comes with a rechargeable battery, USB cable, dual USB adaptor and dual USB car charger. The fully charging time is about 12 hours, during charging, there is red light on the LCD screen meanwhile battery icon will flash, when it is fully charged, the red light will be off. The USB cable, adaptor and car charger will only charge the single ni-mAh rechargeable battery or ni-mAh rechargeable battery pack which provided and not other types of rechargeable batteries. After placing batteries into correct positions, replace the battery cover. Remarks: Dont charge the alkaline battery.
FOR USE OF NON RECHARGEABLE BATTERIES:
- Slide down the battery compartment cover.
- Insert 3 x AAA batteries (not included).
- Position the batteries according to the polarity marking on the battery compartment. After placing batteries into correct positions, replace the battery cover.
Low Battery Meter Indicator
The radio can detect the low battery level when the battery voltage goes low. The battery icon will display the low battery status.
When battery voltage is low, the empty battery symbol will appear and continue to blink. The battery symbol will continuously blink until it totally drains the battery voltage where then you will have to replace the batteries.
Transmitting Range
The talk range will depend on your surroundings and environment. It will be affected by obstructions such as hills or buildings.
Don't try to use two radio units which are less than 1.5m (5 feet) apart.
Otherwise, you may experience interference.
Talk range depends on the terrain. It will be affected by concrete structures, heavy foliage and by operating radios indoors or in vehicles.
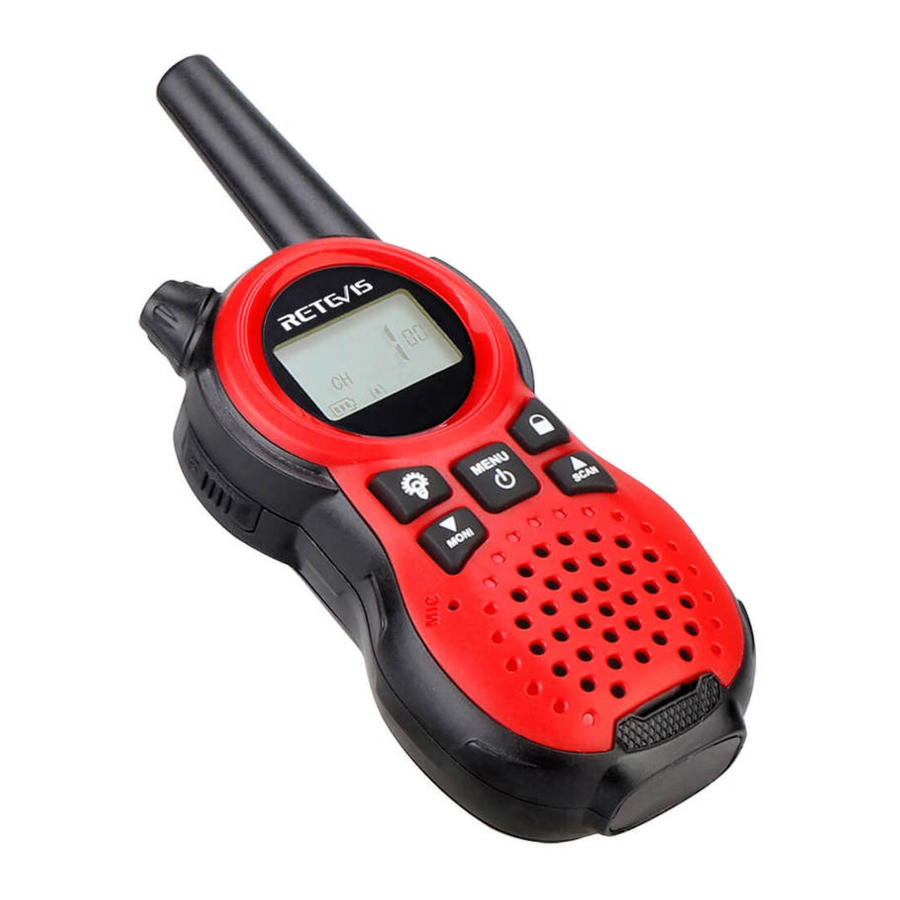
Product Overview

![]()
CTCSS Code. Changes from 1 to 38 as selected by the user. Displays the Battery change level. When the bars are reduced, the battery needs recharging.
TX Displayed when transmitting a signal.
RX Disphayed when receiving a signal.
DCM Disphayed when the Dual Watch function is turned ON.
VOX Disphayed when the vox feature is enabled.
Operating the unit
Turning unit on/off
- Switching on
Press and hold the Menu/PWR until you hear a beep sound. - Switching off
Press and hold the Menu/PWR until you hear a beep sound.
Adjusting the Volume
You have 8 preset volume levels. To raise the volume press the Up / Scan button and to decrease the volume, press the Down /MONI button, then press PTT button or Menu/PWR button to confirm.
Key lock
Press & hold Lock button for 6 seconds, the unit will be locked and lock icon will be displayed in the LCD screen. When the unit is locked, only Torch button, Menu/PWR button, PTT button and Lock button can be available. Press & hold Lock button for 3 seconds, it will be unlocked.
Torch
Press and hold the Torch button, it will be on. Release the button, it will be off. When the unit is turn off, the torch still can be on/off by Torch button.
Auto scan
Press & hold the Up / Scan button for 2 seconds to activate auto scan. Press & hold the Up / Scan button for 2 seconds to deactivate auto scan Or Press Menu/PWR button to deactivate auto scan.
Monitor (Zero squelch)
Press & hold the Down/Moni button for 2 seconds to activate monitor. Press & hold the Down/Moni button for 2 seconds to deactivate monitor.
Changing Channels
You have channels with the legal frequency at your disposal. To communicate with another device, you must set the both on the same channel. To change channels, once you have turned your unit on, press the Menu/PWR once and use the Up/Down buttons to scroll through to your desired channel. To set your desired channel, press the PTT button to confirm changes.
Your unit is simplex "one way at a time". While you are speaking, you can not receive a Transmission.
Your unit is an open-license band. Always identify yourself when transmitting on the same channel.

Before transmitting on a channel listen to ensure it is not already in use.
CTCSS/DCS
Press the Menu/PWR button twice and use the Up/ Down to introduce CTCSS/DCS Continuous Tone-Coded Squelch System or CTCSS is a circuit that is used to reduce the annoyance of listening to other users on a shared two-way radio communications channel. It basically allows a private CH on a busy stream.
CTCSS = Coded tone controlled squelching system. This allows you to talk on a private sub channel on an active channel.
DCS is a digital extension of CTCSS.
DCS=DCS is a digital extension of CTCSS. It provides extra, digitally coded, squelch codes that follow after the 38 CTCSS codes. CTCSS 1 to 38,followed by DCS 1- 83.
VOX
Voice operated transmitter, it allows you to transmit with your voice without pressing the button.
Your communicator is equipped with an adjustable Voice Operated Transmitter(VOX) that can be used for automatic voice transmission. In this convenient mode, transmission is automatically initiated by speaking into the microphone. There is no need to push the button. By press Menu/PWR button 3 times, screen will display VOX character, character OFF keep flashing. Press Up or Down button to select voice level(from 1 to 3 level or OFF), by pressing PTT button to confirm setting. VOX default setting is off.
CA
Call allows you to adjust different tones for calling the operator from the same channel.
Press Menu/PWR button 4 times, screen will display CA character, digital 01 keep flashing, by pressing UP or Down button to select call tone from01~10, then press PTT button to confirm call tone setting. Default setting for call tone is 01.
There are 10 mode call tones in this unit. You and other party can use designed call tone to communicate separately, secretly to avoid any disturb. To activate this feature, when the unit in normal mode, press twice quickly and release the PTT button to send a tone to other users on the same channel.
TOT
Time out timer means the unit will automatically stop transmit after 30sec or 60 sec continuously transmit. Press Menu button 5 times, screen will display 60 TO, and then press Up or Down button can choose 60 or 30 seconds or OFF. Default setting is 60 seconds, and press the PTT button to confirm changes.
Roger Beep
Roger beep means a tone added to the end of broadcast. It indicates that the user/operator has concluded speaking.
This is a tone which is automatically transmitted whenever the PTT button is released. This alerts the receiving party that you have ended the transmission, and you are now in receive mode. Press Menu button 6 times, screen will display ON RO, then press Up or down button to choose RO OFF or ON. Press the PTT button to confirm changes.
Key tone
Symbol will be on the display when Key tone is opened.
Press Menu button 7 times, screen will display Bell ON, and press Up /Scan button to choose ON or Down/MONI button to choose OFF. Default setting is ON, press the PTT button to confirm changes.
DCM
Dual channel monitoring you can monitor between two channels eg: 1 to 8 or 9 to 22. Press Menu button 8 times, screen will display DCM OF, and press Down or UP button to choose DCM OFF or ON. When choose DCM is on, press Menu/PWR button one time, then scroll Up/Down button to choose channel. The channel can not be the same as main channel. Press the PTT button to confirm changes.
Transmitting (sending speech)
The unit is continuously in the Receive mode when the unit is turned ON and not transmitting.
When a signal is received on the current channel, "RX" icon will be displayed on the LCD screen.
- Press and hold the PTT (Push to Talk) button to transmit your voice. The transmit signal icon "TX" will display on the LCD screen.
- Hold the unit in a vertical position with the Mic (Microphone) 5cm away from the mouth. While holding the PTT button, speak into the microphone in a normal tone of voice.
- Release the PTT button when you have finished transmitting. For others to receive your transmission, they must be on the same channel as you.
Reset the unit
Take away the battery from walkie talkie battery compartment, then hold the Menu/PWR button meanwhile put back the battery to walkie talkie battery compartment in right polarity. The unit will turn on and display CH 100.
Channel and Frequency (MHz)
USA(22ch)
| Ch. | Frequency | Ch. | Frequency | Ch. | Frequency | Ch. | Frequency |
| 1 | 462.5625 | 7 | 462.7125 | 13 | 467.6875 | 19 | 462.6500 |
| 2 | 462.5875 | 8 | 467.5625 | 14 | 467.7125 | 20 | 462.6750 |
| 3 | 462.6125 | 9 | 467.5875 | 15 | 462.5500 | 21 | 462.7000 |
| 4 | 462.6375 | 10 | 467.6125 | 16 | 462.5750 | 22 | 462.7250 |
| 5 | 462.6625 | 11 | 467.6375 | 17 | 462.6000 | ||
| 6 | 462.6875 | 12 | 467.6625 | 18 | 462.6250 |

Battery
- If you use Alkaline battery, please use AAA size battery, but don't attempt to charge alkaline batteries.
- Please don't mix old and new batteries, it will affect the battery lifetime.
- Do not mix alkaline, standard (carbon-zinc),or rechargable(Ni-Cd, Ni-MH,etc.) batteries.
- Alkaline battery have expiry time. Please make sure the battery are valid.
TROUBLE SHOOTING GUIDE
| PROBLEM | GUIDE |
| No power or radio switchs off after short time |
|
| I cannot communicate with other group members |
|
| You can hear the voice from other users, but they cannot hear you |
|
| Others hear my voice with interruptions only |
|
| I hear too many stations from outside my group |
|

Documents / ResourcesDownload manual
Here you can download full pdf version of manual, it may contain additional safety instructions, warranty information, FCC rules, etc.
Advertisement


Need help?
Do you have a question about the RT38 and is the answer not in the manual?
Questions and answers