Advertisement
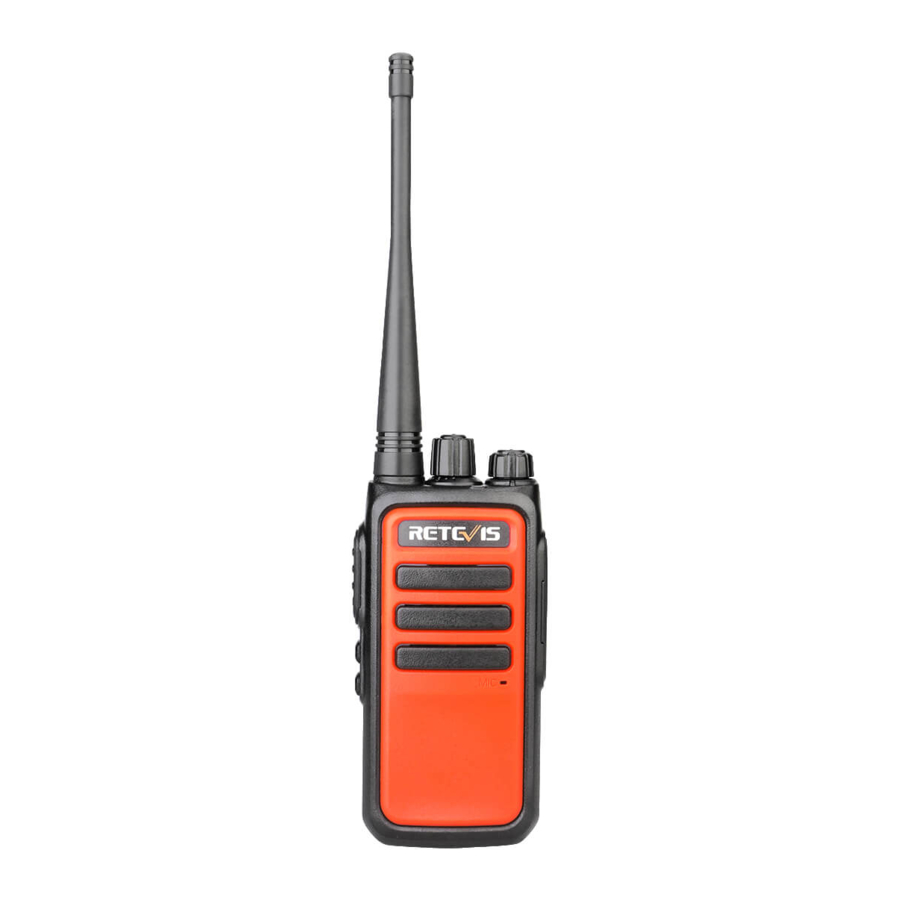
GETTING ACQUAINTED


UNPACKING AND CHECKING EQUIPMENT
Carefully unpack the transceiver. We recommend that you identify the items listed in the following table before discarding the packing material. If any items are missing or have been damaged during shipment, file a claim with the carrier immediately.
Packing List
| DESCRIPTION | QUANTITY |
| Unit Transceiver | 2 |
| Battery Pack | 2 |
| Desktop Charger | 2 |
| Belt Clip | 2 |
| Hand Strap | 2 |
| User Manual | 1 |
PREPARATION
Li-ion Battery Pack Precautions
- Do not short the battery terminals or dispose of the battery by fire. Never attempt to remove the casing from the battery pack.
- Keep the charging temperature always between 5* and 40*.
- Do not use the transceiver while charging the battery pack. We recommend you switch the transceiver power OFF while charging is taking place.
- Do not recharge the battery pack if it is already fully charged. Doing so may cause the life of the battery pack to shorten or the battery pack may be damaged.
- Use the battery pack only for its intended purpose. Never use any charger or battery pack that is damaged.
- Do not short-circuit the battery. Accidental short-circuiting can occur when a metallic object such as a coin, clip, or pen causes direct connection of the positive (+) and negative (-) terminals of the battery. This might happen, for example, when you carry a spare battery pack in your pocket or purse. Short-circuiting the terminals may damage the battery or the connecting object.
Charging the Battery Pack
The battery pack is not charged at the factory, please charge it before use. Initially charging the battery pack after purchase or extended storage (greater than 2 months) will not bring the battery pack to its normal operating capacity. After two or three complete charge and discharge cycles. The full performance of battery will be achieved.
- Slide the battery pack or transceiver with a battery pack into the desktop charger.
- Make sure the battery pack contacts are in contact with the charging terminals.
- The charging LED lights red and charging begins.
- After charging about 4 hours, when the light turns to green, it means the battery pack is fully charged.
- Then you can take off the battery pack or transceiver with the battery pack and use it.
BASIC OPERATION
Switch Power On/Off
- Turn On: turn the [Power] switch clockwise to switch the transceiver ON, an alert tone will be heard.
- Turn Off: turn the [Power] switch counter clockwise to switch the transceiver OFF.
Adjusting the Volume
Rotate the [Volume] control to adjust the volume. Clockwise increases the volume and counter clockwise decreases it.
Selecting a Channel
Rotate the [Channel Selector] to choose your desired channel. Clockwise increases the number and counter clockwise decreases it. If the channel number annunciation is activated, the radio will announce the current corresponding channel number. If none channel has been programmed, it cannot be used. When a nonprogrammed channel is selected, the LED indicator lights orange and an alert tone sounds.
Transmitting & Receiving
- Press the [PTT] switch and speak into the microphone in your normal speaking voice, for best sound quality at the receiving station, hold the microphone approximately 1~2 inches (2.5~ 5 cm) from your mouth.
- Release the [PTT] switch to receive.
ADVANCED OPERATIONS
Wide/Narrow Bandwidth Selection
You can select Wide/Narrow bandwidth via programming software, the default setting is Wide.
Time-Out Timer (TOT)
The Time-Out Timer is used to prevent any caller from using a channel for an extended period of time (OFF, 15~600 seconds). If you continuously transmit for a period of time that exceeds the programmed time, the transceiver will stop transmitting and an alert tone will sound. To stop the tone, release the PTT switch.
Battery Save
The battery save function decreases the amount of power used when signal is not being received and no operations are being performed (no keys are being pressed and no switches are being turned) for 5 seconds, the battery save function activates. When a signal is received or an operation is performed, battery save is disabled. The default setting is ON.
Channel Number Annunciation
Your dealer may have programmed channel number annunciation on your transceiver. There are 3 kinds of the channel number annunciation: "Chinese Male Voice, English Male Voice (Default Setting), None". When you turn the [Channel Selector], the transceiver sounds the current corresponding channel number.
Low Battery Alert
For extra convenience, if the battery level runs low, the transceiver will sounds "do do do" at every 5 seconds, to alert the user to recharge the battery. Please change new battery pack or charge this battery pack.
Compandor
Activate this function for more clear audio output. The default setting is OFF.
Scrambler
There are 8 groups of scramblers to select, when activated, any other party lis tening on your channel is prevented from eavesdroppimg your conversation. The default setting is OFF.
CTCSS/DCS
There are 50 CTCSS 105 DCS for selection, you can also define your own CTCSS/DCS, or activate the DCS hopping feature, the CTCSS/DCS is a sub-audible tone/code which allows you to ignore (not hear) calls from other parties who are using the same channel, when a channel is set up with a CTCSS/DCS, squelch will only open when a call containing a matching tone or code is received. Meanwhile, signals that you transmit will only be heard by parties whose CTCSS/DCS signaling matches your transceiver.
CARE AND CLEANING
To guarantee optimal performance as well as a long service lift of your radio, please follow the tips below.
- Keep your radio dry. Rain, moisture and liquid or water may contain mineral substance that can corrode the electronic circuit. - Take out the battery when the radio is wet, install the battery pack when it is completely dry.
- Keep away the radio from hot place. High temperature may cause electrical instrument working life shorten, battery pack damaged and plastic component deformation or dissolved. - Do not throw, knock or shock the radio. Use it rudely may damage internal circuit board and accurate structure.
- Do not use any strong chemicals, cleaner of detergent to clean the radio.
- Do not paint the radio. Painting may block the demountable component to influence normal operation.
- Do not hold the radio by its antenna or headset cable directly.
- Use supplied or approved antenna when change antenna. Unapproved antenna, modified accessories may damage the radio and violate the relevant rules.
- Attach the accessory jack cover when the radio is not in use.- Make a back-up copy (like frequencies and channels.) before you take your radio to service center.
Note: Every tip above are all applicable for your radio, battery pack, desktop charger and accessories. Consult your dealer or take your radio to nearest service center if any parts cannot work normally.
TROUBLESHOOTING GUIDE
| PROBLEM | SOLUTION |
| No power. |
|
| Battery power dies shortly after charging. |
|
| Cannot talk to or hear other members in your group. |
|
| Other voices (besides group members) are present on the channel. |
|
CTCSS/DCS
CTCSS Standard Frequency Table
| 1 - 67.0 | 11 - 94.8 | 21 - 131.8 | 31 - 171.3 | 41 - 203.5 |
| 2 - 69.3 | 12 - 97.4 | 22 - 136.5 | 32 - 173.8 | 42 - 206.5 |
| 3 - 71.9 | 13 - 100.0 | 23 - 141.3 | 33 - 177.3 | 43 - 210.7 |
| 4 - 74.4 | 14 - 103.5 | 24 - 146.2 | 34 - 179.9 | 44 - 218.1 |
| 5 - 77.0 | 15 - 107.2 | 25 - 151.4 | 35 - 183.5 | 45 - 225.7 |
| 6 - 79.7 | 16 - 110.9 | 26 - 156.7 | 36 - 186.2 | 46 - 229.1 |
| 7 - 82.5 | 17 - 114.8 | 27 - 159.8 | 37 - 189.9 | 47 - 233.6 |
| 8 - 85.4 | 18 - 118.8 | 28 - 162.2 | 38 - 192.8 | 48 - 241.8 |
| 9 - 88.5 | 19 - 123.0 | 29 - 165.5 | 39 - 196.6 | 49 - 250.3 |
| 10 - 91.5 | 20 - 127.3 | 30 - 167.9 | 40 - 199.5 | 50 - 254.1 |
DCS Standard Group Number
| 023 | 071 | 143 | 225 | 266 | 356 | 452 | 532 | 664 |
| 025 | 072 | 145 | 226 | 271 | 364 | 454 | 546 | 703 |
| 026 | 073 | 152 | 243 | 274 | 365 | 455 | 565 | 712 |
| 031 | 074 | 155 | 244 | 306 | 371 | 462 | 606 | 723 |
| 032 | 114 | 156 | 245 | 311 | 411 | 464 | 612 | 731 |
| 036 | 115 | 162 | 246 | 315 | 412 | 465 | 624 | 732 |
| 043 | 116 | 165 | 251 | 325 | 413 | 466 | 627 | 734 |
| 047 | 122 | 172 | 252 | 331 | 423 | 503 | 631 | 743 |
| 051 | 125 | 174 | 255 | 332 | 431 | 506 | 632 | 754 |
| 053 | 131 | 205 | 261 | 343 | 432 | 516 | 645 | |
| 054 | 132 | 212 | 263 | 346 | 445 | 523 | 654 | |
| 065 | 134 | 223 | 265 | 351 | 446 | 526 | 662 |
CHANNEL AND FREQUENCIES
| CHANNEL | FREQUENCY | CTCSS/DCS | POWER |
| 1 | 462.5625 | 67.0 | High |
| 2 | 462.5875 | 118.8 | High |
| 3 | 462.6125 | 127.3 | High |
| 4 | 462.6375 | 131.8 | High |
| 5 | 462.6625 | 136.5 | High |
| 6 | 462.6250 | 127.3 | High |
| 7 | 462.7250 | 136.5 | High |
| 8 | 462.6875 | 141.3 | High |
| 9 | 462.7125 | 146.2 | High |
| 10 | 462.5500 | 123.0 | High |
| 11 | 462.5750 | D7431 | High |
| 12 | 462.6000 | D3321 | High |
| 13 | 462.6500 | D2431 | High |
| 14 | 462.6750 | D606N | High |
| 15 | 462.7000 | D731I | High |
| 16 | 462.7250 | D462I | High |

Documents / ResourcesDownload manual
Here you can download full pdf version of manual, it may contain additional safety instructions, warranty information, FCC rules, etc.
Advertisement


Need help?
Do you have a question about the RT66 and is the answer not in the manual?
Questions and answers