Advertisement
- 1 Overview
- 2 Before Use the device
-
3
Using the device
- 3.1 Turning the device on/off
- 3.2 Adjusting the volume
- 3.3 Low Battery Indication
- 3.4 Receiving / transmitting communications
- 3.5 Changing Channels
- 3.6 CTCSS+DCS
- 3.7 VOX (Hands free function)
- 3.8 Scanning for an active radio channel
- 3.9 Monitor
- 3.10 Setting the call Tone
- 3.11 Sending a call Tone
- 3.12 Roger Beep On/Off
- 3.13 Backlit Display
- 3.14 Headset connection
- 3.15 Battery saving function
- 3.16 Buit-in Flash light
- 3.17 Lock & Unlock the device
- 4 Technical specifications
- 5 US (Frequency table)
- 6 Documents / Resources
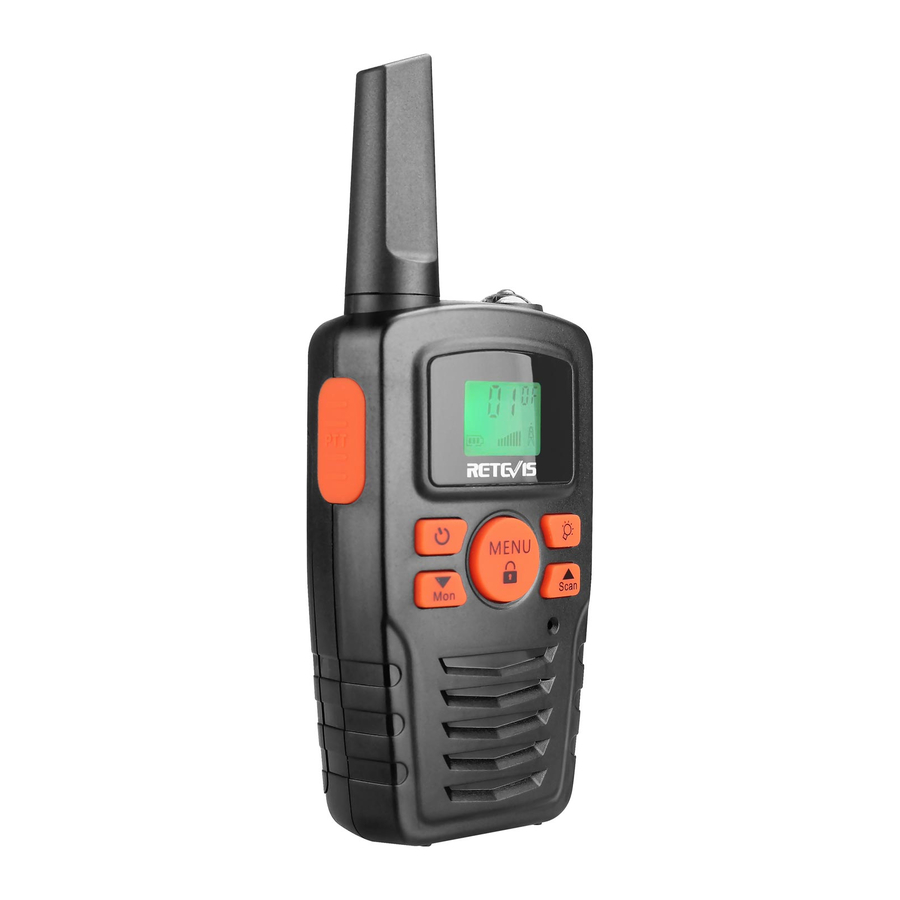
Overview

Before Use the device
Remove the belt clip

Before insert batteries into the device, first pull the belt clip latch away from the device (See PIC02)
Installing the batteries
- Slid down the battery compartment cover (See pic03).

- Insert 4*AAA batteries(Not included)
- Position the batteries according to polarity making on the battery compartment.
- After placing batteries into correct positions, replace the battery cover (See PIC04)


Using the device
Turning the device on/off
Switch on the device: press and hold on the on/off button for 3 seconds, then you will hear a beep sound.
Switch of the device: press and hold on the on/off button for 3 seconds, then you will hear a beep sound.
Adjusting the volume
To increase the volume, press the Up ![]() button and press the Down
button and press the Down ![]() button to decrease volume.
button to decrease volume.
Note: The volume level is displayed on the screen.
Low Battery Indication
The battery voltage level is indicated by the numbers of squares present inside the battery icon on the LCD Screen.
 Battery Full
 Battery 2/3 charged
 Battery 1/3 charged
 Battery empty
When the battery voltage is low, the battery icon will flash and a beep will be heard to indicate that the batteries need to be replaced or recharged.
Receiving / transmitting communications
The devices are in 'Reception' mode when it is turned ON and no transmitting, when a signal is received on the current channel, the LCD will display in reception.
When you press the PTT(push to talk) button, the devices switches to"Transmis- sion"mode. Hold the device in a vertical position with the Mic(microphone) 5-10cm away from your mouth. While holding the PTT button, speak into the microphone in a normal tone of voice.
Release the PTT button when you have finished transmitting.
For others to receive your transmission, they must be on the same channel with you.
Note:
- The maximum talking range is 2km, it will depended on your surroundings and environment. It will be affected by obstructions such as hills or buildings.
- Don't try to use two devices which are less than 1.5mm(5 feets) apart, otherwise, you may experience interference.
Changing Channels
Press the MENU button one time, The channel number will flash on the display. Press the up ![]() / down
/ down ![]() button to change the channel,
button to change the channel,
Press the PTT button to confirm and return to stand-by mode.
Note: If no button is pressed within 15 seconds during setting, the device will return to stand-by mode.
CTCSS+DCS
Press the MENU button twice, the current CTCSS(DCS) code will flash on the display, Press the up ![]() / down
/ down![]() button to change the 99 available codes. Press the PTT button to confirm and return to stand-by mode.
button to change the 99 available codes. Press the PTT button to confirm and return to stand-by mode.
License free radio's operating on the FRS MHZ frequency band, the device has 22 available radio channels, If there are many device users near you, there is a chance that some of the users are operating on the same radio channel.
To prevent that you receive signals from other users, sub-channels have been integrated.
When using CTCSS(DCS), a low frequency tone (between 67-250 HZ) will be transmitted alongwith the voice signal, There are 99 available tones to choose from, You are free to choose one of the 99 available sub-channels, Due to filtering, these subchannels will generally not be audible so they will not disturb the communication.
VOX (Hands free function)
Press the MENU button three times, the current VOX setting will flash on the display and the VOX icon will display.
Press up ![]() button to set the VOX sensitivity level between 1 and 3 level( level 3 is the high sensitive level).
button to set the VOX sensitivity level between 1 and 3 level( level 3 is the high sensitive level).
Press down ![]() button until "OF" appears on the display to turn VOX OFF. Press the PTT button to confirm and return to stand-by mode.
button until "OF" appears on the display to turn VOX OFF. Press the PTT button to confirm and return to stand-by mode.
In VOX mode, the radio will transmit a signal when it is activated by your voice or other sound around you.
VOX operation is not recommended if you plan to use your device in a noisy or windy environment.
Note: VOX mode will be over ride when you press the PTT button
Scanning for an active radio channel
Press and hold the UP ![]() button 2 seconds: the "SCAN" function indicator will appear on the display and the channel will scan continuously from 1 to 22. once an active channel is found, the scanning will stop and you can listen to the transmission.
button 2 seconds: the "SCAN" function indicator will appear on the display and the channel will scan continuously from 1 to 22. once an active channel is found, the scanning will stop and you can listen to the transmission.
When the transmission is on the found channel stop, the scanning will resume automatically.
Note: If you press PTT button while listening to a found channel, the device will go back to stand-by mode on the found channel.
Monitor
Press and hold the DOWN ![]() button about 3 seconds to active monitor.
button about 3 seconds to active monitor.
Release the DOWN ![]() button return to stand by mode.
button return to stand by mode.
Setting the call Tone
The device has 10 call tones
Press the MENU-button 4 times, "CA" is displayed and on the current call tone.
![]() Press the UP
Press the UP ![]() / Down button to change another Call Tone. Press the PTT button to confirm and return to stand-by Mode.
/ Down button to change another Call Tone. Press the PTT button to confirm and return to stand-by Mode.
Sending a call Tone
Press the CALL button one time quickly, the call tone will be transmitted on the setting channel.
Roger Beep On/Off
After the PTT button is released, the device will send out a roger beep to confirm that have stopped talking.
Press the MENU button 5 times, "Ro" will be displayed.
Press the UP ![]() /Down
/Down ![]() button disable the roger beep ON/OFF.
button disable the roger beep ON/OFF.
Press the PTT button to confirm your selection and return to the stand-by mode.
Backlit Display
Press any button except for the MENU button to activate the back light of the LCD display,
The back light will light on about 5 seconds.
Headset connection
The device can be used with headset (If there is headset packed together with the device)The connector is located on the top of the device.
Insert the earpiece plug into the connector (2.5mm jack)
There is a small "PTT" button on the earpiece has the same function as the PTT button on the device.
When you use the PTT button from the earpiece, you must also use the microphone from the earpiece to talk.
Note: Don't connect other headset, it may damage your device.
Battery saving function
When the device has not been used for 6 seconds, the economy mode is automatically activated, This does not affect the reception of transmission and the stand by mode is automatically re-activated as soon as signal is detected.
Buit-in Flash light
Your device has a built-in flash light that can be used in sending light signals or for our lighting needs.
Lock & Unlock the device
Press and hold MENU-button for 3 seconds to lock the device. The button lock icon is displayed on the LCD screen.
Press and hold MENU button for 3 seconds to unlock the device.
Technical specifications
| Frequency | FRS |
| Channels | 22 channels |
| Sub-code | CTCSS 38+DCS61 |
| Transmission Power | =<500mW ERP |
| Range | Up to 2 Km(Open field) |
| Battery type | 4xAAA Alkaline/rechargeable batteries(Not included) |
| Modulation Type | FM – F3E |
| Channel spacing | 12.5kHz(Narrow band) |
US (Frequency table)
| CH | Frequency | CH | Frequency |
| 1 | 462.5625 | 12 | 467.6625 |
| 2 | 462.5875 | 13 | 467.6875 |
| 3 | 462.6125 | 14 | 467.7125 |
| 4 | 462.6375 | 15 | 462.5500 |
| 5 | 462.6625 | 16 | 462.5750 |
| 6 | 462.6875 | 17 | 462.6000 |
| 7 | 462.7125 | 18 | 462.6250 |
| 8 | 467.5625 | 19 | 462.6500 |
| 9 | 467.5875 | 20 | 462.6750 |
| 10 | 467.6125 | 21 | 462.7000 |
| 11 | 467.6375 | 22 | 462.7250 |

Documents / ResourcesDownload manual
Here you can download full pdf version of manual, it may contain additional safety instructions, warranty information, FCC rules, etc.
Advertisement


Need help?
Do you have a question about the RA35 and is the answer not in the manual?
Questions and answers