Table of Contents
Advertisement
Quick Links
Advertisement
Table of Contents

Related Manuals for HAAS + SOHN HSP 8 Home-II 445.08


Summary of Contents for HAAS + SOHN HSP 8 Home-II 445.08
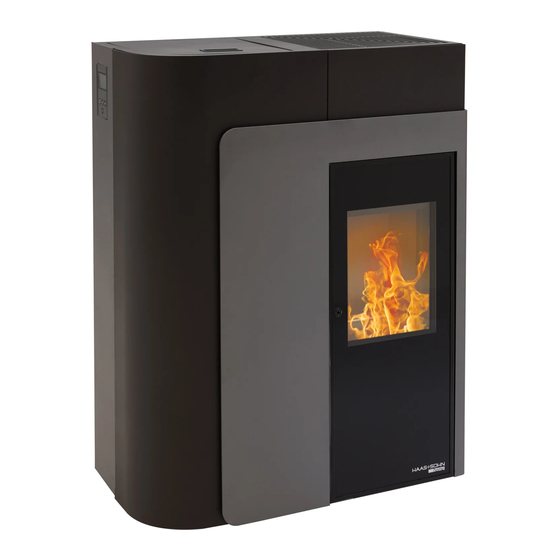
- Page 1 HSP 8 Home 445.08 Technical documentation HSP 8 Home 445.08 HSP 8 Home-II 445.08 Geräteblatt Pelletofen Fiche technique Poêle à pellets Scheda tecnica Stufe pellet Equipment sheet Pellet stove Tehnički list Kotel na pelete Tehnični list Kotel na pelete 0544508049033...
- Page 2 Notes in the text Of utmost importance there are the notes entitled WARNING. The notes entitled WARNING advise you on serious danger of damage to the heating device or of an injury. The note entitled Notice advises you on possible damage to your heating device. The note entitled Important calls your attention to the information important for the operation of your heating device.
-
Page 3: Table Of Contents
4.3.1. Cleaning the vent fan ....................11 4.3.2. Cleaning annual Chimneys ..................12 5. Replacement parts list....................13 5.1. Replacement parts list HSP 8 Home-II 445.08 (without trim parts) ......13 5.2. Replacement parts list HSP 8 Home-II 445.08 ............15 5.3. Detail A1........................16... -
Page 5: Technical Data
1. Technical data HSP 8 Home-II 445.08 Heat output range: 2,5 – 8,5 kW Nominal heat output: 8,0 kW Height: 1082 mm Width: 813,5 mm Depth: 417 mm Weight: 123 kg Diameter of flue elbow: 80 mm Flue gas temperature: 201°C... -
Page 6: Dimensions
2. Dimensions... -
Page 7: Cleaning Work
3. Cleaning work WARNING Before starting any cleaning work, the stove must be cool down and set to "Off"! Once the cleaning work is completed, the correct operating status of the device must be re- established: Put the combustion pot in correctly, close the combustion chamber door. 3.1. - Page 8 WARNING If this is not done, the clinker will continue to accumulate. Then the device will no longer be able to ignite properly. Pellets can pile up in the combustion pot. In extreme cases, this can reach all the way back to the pellet chute.
-
Page 9: Maintenance Work
4. Maintenance work WARNING During the maintenance tasks, the mains plug must be pulled out of the power supply socket (always in advance)! The frequency of maintenance in turn depends to a large extent on the pellet quality (ash content). Quality pellets have a low ash content of about 0.2-0.3%. - Page 10 Figure 1a-2: Cleaning Cover removing The following tools are required to disassemble: • Cross head screwdriver (4x screw M5x16 and 4x screw 4,2x13 were removed.) CAUTION After completion of the cleaning make sure that when putting back the covers, the seals are seated in the right positions.
-
Page 11: Cleaning The Pellet Container - Annual Maintenance
4.2. Cleaning the pellet container - annual maintenance • Heat the pellet stove until the storage tank is completely empty. • Then the protective grille (1) in the pellet tank may be removed. • Then clean the tank and the intake of the screw conveyor housing with a vacuum cleaner. •... -
Page 12: The Left Side Of The Device To The Unit During Dismantling Of The Enclosure Access
4.3. The left side of the device to the unit during dismantling of the enclosure access 4.3 a 4.3 b... - Page 13 4.3 c 4.3 d...
- Page 14 4.3. e The following tools are required to disassemble: • Cross head screwdriver (4x screw M5x16 were removed.)
-
Page 15: Cleaning The Vent Fan
4.3.1. Cleaning the vent fan CAUTION Blowers house after dismantling the chimney cleaned from the back side.. If buildup occurs, - to proceed and audible noise from the fan housing, as follows: • This housing is made accessible for cleaning by undoing the 4 nuts shown in Figure 9. (See arrows). •... -
Page 16: Cleaning Annual Chimneys
4.3.2. Cleaning annual Chimneys CAUTION The exhaust pipes are checked and if necessary must be cleaned after the latest (max.) heating 1000kg of pellets. -
Page 17: Replacement Parts List
5. Replacement parts list 5.1. Replacement parts list HSP 8 Home-II 445.08 (without trim parts) - Page 18 Description Pos. Piece No. PR Replacement parts list HSP 8 Home-II 445.08 (without trim parts) Complete combustion chamber door/pearly- 0544208005300 1 piece black 1 piece 0544208006762 Burner cast Protection grate 1 piece 0544208006713 Combustion chamber cladding left 1 piece 0544208005507...
-
Page 19: Replacement Parts List Hsp 8 Home-Ii 445.08
5.2. Replacement parts list HSP 8 Home-II 445.08 Description Pos. Piece No. PR Replacement parts list HSP 8 Home-II 445.08 Side wall left white 1 piece 0544508046195 Side wall left pearly-gray 1 piece 0544508046194 Front part left pearly-black 1 piece... -
Page 20: Detail A1
5.3. Detail A1 Description Pos. Piece No. PR Detail A1 Screwing door 1 piece 0544208005221 A1.1. Door hinge - Set 1 piece 0544208005222 A1.2. Glass holder 1 - Set 1 piece 0544208005223 A1.3. Glass holder 2 - Set 1 piece 0544208005224 A1.4. -
Page 21: Circuit Diagram
6. Circuit diagram Circuit diagram IO 33.3... - Page 22 Description Circuit diagram: No.: Description Cable harness Mains plug / mains filter Electric ignition Screw conveyor motor Induced draught 8.IX Flue gas temperature sensor 35/36 Flame temperature sensor 37/38 Room temperature sensor 39/40 Bottom flame temperature sensor 41/42 43/44 Door contact switch Flue gas fan rotation speed 48-50 Fuse T 3,15A ignition, induced draught fan, screw...
Need help?
Do you have a question about the HSP 8 Home-II 445.08 and is the answer not in the manual?
Questions and answers