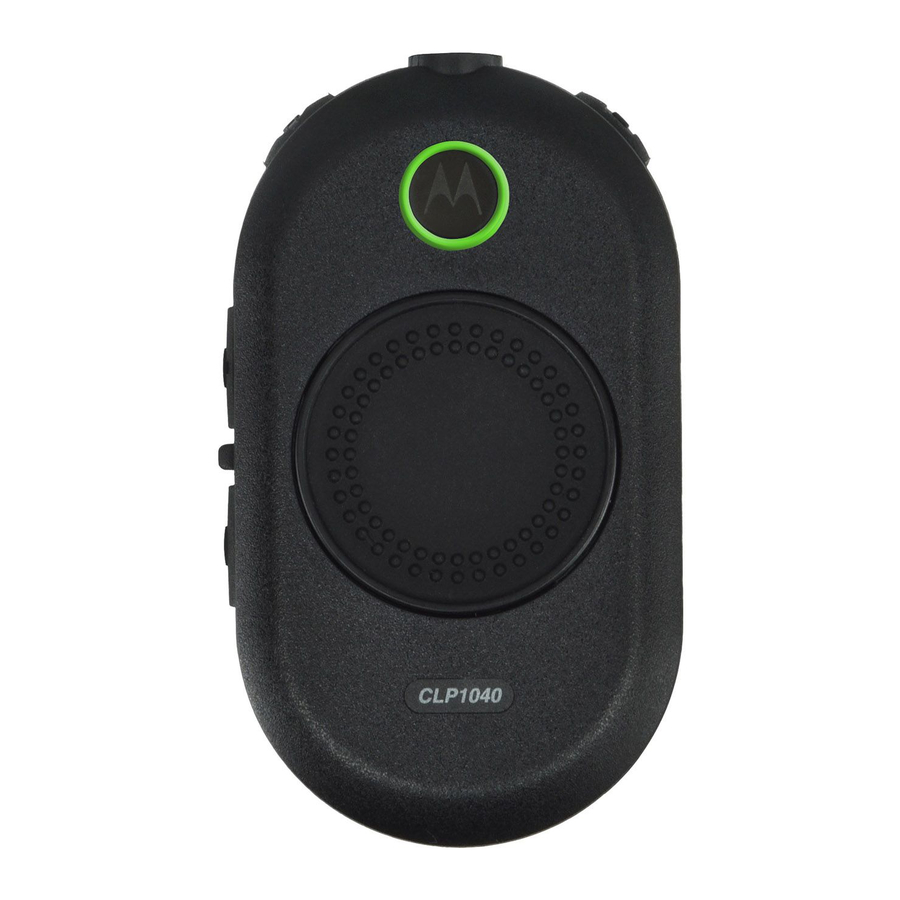
Motorola CLP Series User Manual
Hide thumbs Also See for CLP Series:
Table of Contents

Advertisement

Quick Links

CLP Series Two-Way
Radio User Guide
JUNE 2023
*68012000044*
68012000044-ED
©
2023 Motorola Solutions, Inc. All rights reserved

Advertisement

Table of Contents
loading

Summary of Contents for Motorola CLP Series

  • Page 1 CLP Series Two-Way Radio User Guide JUNE 2023 *68012000044* 68012000044-ED © 2023 Motorola Solutions, Inc. All rights reserved...
  • Page 2: Table Of Contents

    68012000044-ED Contents Contents Intellectual Property and Regulatory Notices............5 Batteries, Chargers, and Audio Accessories Safety Information......6 Operational Safety Guidelines....................... 6 FCC Licensing Information..................7 Radio Frequency Exposure Safety Standards............8 Introduction......................... 9 Package Content........................... 9 Chapter 1: Radio Overview..................10 Chapter 2: Getting Started..................11 2.1 Installing the Battery......................
  • Page 3 Chapter 8: Use and Care..................38 Chapter 9: Radio Frequency and Code Chart............39 9.1 CLP Frequencies ........................39 9.2 CTCSS/DPL Interference Eliminator Codes................40 Chapter 10: Motorola Solutions Limited Warranty for the United States and Canada........................43 10.1 Warranty..........................43 10.2 Products and Accessories....................43 10.3 Exclusions..........................43...
  • Page 4 68012000044-ED Contents 10.11 Export Law Assurances..................... 46 Chapter 11: Accessories..................47...
  • Page 5: Intellectual Property And Regulatory Notices

    License Rights The purchase of Motorola Solutions products shall not be deemed to grant either directly or by implication, estoppel or otherwise, any license under the copyrights, patents or patent applications of Motorola Solutions, except for the normal non-exclusive, royalty-free license to use that arises by operation of law in the sale of a product.
  • Page 6: Batteries, Chargers, And Audio Accessories Safety Information

    1 To reduce risk of injury, charge only the rechargeable Motorola Solutions-authorized batteries. Charging the other batteries may cause explosion, personal injury, and damage. 2 Use of accessories not recommended by Motorola Solutions may result in fire, electric shock, or injury.
  • Page 7: Fcc Licensing Information

    Motorola Solutions Product Services at: 1-800-448- 6686. Changes or modifications not expressly approved by Motorola Solutions may void the user authority granted by the FCC to operate this radio and should not be made. To comply with FCC requirements,...
  • Page 8: Radio Frequency Exposure Safety Standards

    Portable Two-Way Radios which contains important operating instructions for safe usage and RF energy awareness and control for Compliance with applicable standards and Regulations. For a list of Motorola Solutions-approved antennas, batteries, and other accessories, visit the following website: http://www.motorolasolutions.com/CLP...
  • Page 9: Introduction

    What maintenance procedures that helps promote longer radio life? Package Content This section provides information regarding package content for the radio. Your product package contains the following products and manuals: • CLP Series Two-way Radio • Swivel Belt Clip Holster • Lithium-Ion Battery and Battery Door •...
  • Page 10: Chapter 1: Radio Overview

    68012000044-ED Chapter 1 : Radio Overview Chapter 1 Radio Overview This chapter explains the buttons and functions of the radio. Figure 1: Radio Controls Item Number Description Power and Battery button Volume Control (+/–) and Mute button Push-to-Talk (PTT) button Smart Status Glow Ring Menu button Accessory Connector...
  • Page 11: Chapter 2: Getting Started

    4 Place the battery door on the radio and push the latch down to lock the battery door. Figure 2: Battery Installation NOTE: The standard package of a CLP Series radios comes with a standard Lithium- Ion battery and a battery door. For other options, customers can order Hi-capacity Lithium-Ion battery (P/N HKNN4013) and the Hi-capacity Lithium-Ion battery door (P/N HKLN4440).
  • Page 12 5 To check for audio through the audio accessory, press either the Battery Status, Menu, or Volume Control button. NOTE: Lower the radio volume before placing the audio accessory in or near your ear. The CLP Series radios offer various audio accessories. For detailed audio accessories list, refer to http://www.motorolasolutions.com/CLP for information on approved...
  • Page 13: Bluetooth Wireless Accessory

    68012000044-ED Chapter 2 : Getting Started Bluetooth Wireless Accessory This section provides information regarding bluetooth wireless accessory. 2.3.1 Adding Bluetooth Headset The following are the steps for initial pairing Prerequisites: Turn the radio off. Procedure: 1 Put the bluetooth headset in pairing mode. Refer to your Bluetooth headset instructions leaflet. 2 Press and hold the PTT button and Power button simultaneously until your radio shows the blue LED.
  • Page 14: Erasing Bluetooth Headset History And Adding Bluetooth Headset

    NOTE: Radio has 16 increments of volume. 2 To decrease the volume, press the – button. Inserting and Removing the Swivel Belt Clip Holster The radios offer various flexible carrying accessories. For Motorola Solutions approved accessories list, refer to http://www.motorolasolutions.com/CLP. Procedure: 1 To insert the radio into the holster, perform the following steps: a Slide the bottom of the radio into the holster.
  • Page 15: Transmitting And Receiving

    68012000044-ED Chapter 2 : Getting Started 3 Make a small loop in the cord and pass the cord through the cord guide. Nest the cord in the U-shaped groove and pull tight to lock the cord in place. Figure 4: Swivel Belt Clip Holster Item Number Description Cord Guide...
  • Page 16: Talk Range

    3 Release the PTT button to listen. 4 To receive calls, listen through the earpiece and press the PTT button to respond. NOTE: The CLP Series radios always require the use of an audio accessory with microphone and speaker. 2.7.1...
  • Page 17: Selecting Channels

    68012000044-ED Chapter 2 : Getting Started a Press Menu button to navigate to Scan. b Press the + to activate or the – button to deactivate scan. 4 Sending Call Tone: Enabled through Customer Programming Software (CPS). a Press Menu button to navigate to Call Tone. b Press the + or the –...
  • Page 18: Monitoring Channels

    68012000044-ED Chapter 2 : Getting Started CLP1010 Single-Channel CLP1040 Multi-Channel CLP1060 Multi-Channel Models Models Models Chan- Color Chan- Color Chan- Color Status Status Status White 2.10 Monitoring Channels Procedure: 1 To activate the monitor selection mode, press the Menu button and navigate to Monitor Selection.
  • Page 19: Sending Call Tones

    68012000044-ED Chapter 2 : Getting Started Dynamic talkaround scan is enabled on a repeater channel through the Customer Programming Software (CPS). The feature gives the radio the ability to scan the transmit and receive frequencies of a repeater channel. NOTE: This is an enhancement feature on CLP radios and may not be available on previous shipping radios.
  • Page 20: Chapter 3: Battery And Charger

    Battery with minimal overcharge and has an average of 25 % discharge, lasts even longer. Motorola Solutions batteries are designed specifically to be used with a Motorola Solutions charger and vice versa. Charging batteries with non-Motorola Solutions equipment may lead to battery damage and void the battery warranty.
  • Page 21: Removing The Lithium-Ion Battery

    68012000044-ED Chapter 3 : Battery and Charger agency for specific requirements and information in your area. Motorola Solutions fully endorses and encourages the recycling of Lithium-Ion batteries. In the U.S. and Canada, Motorola Solutions participates in the nationwide Call2Recycle program for battery collection and recycling.
  • Page 22: Stand-Alone Battery

    68012000044-ED Chapter 3 : Battery and Charger Figure 6: Power Supply, Adapter, and Drop-in Tray Charger Stand-Alone Battery The battery can be charged as a stand-alone battery. The battery is charged by using either a Single Unit Charger (SUC) or a Multi-Unit Charger (MUC). NOTE: When acquiring additional chargers or power supplies, ensure that you have a similar drop-in tray chargers and power supplies sets.
  • Page 23: Charging A Stand-Alone Battery With The Drop-In Tray Charger

    68012000044-ED Chapter 3 : Battery and Charger Item Number Description Micro-USB port 3.6.1 Charging a Stand-Alone Battery with the Drop-in Tray Charger Procedure: 1 To charge the battery, insert the connector of the power supply into the micro Universal Serial Bus (USB) port on the front of the drop-in tray charger.
  • Page 24: Charging With The Drop-In Tray Muc-Optional Accessory

    68012000044-ED Chapter 3 : Battery and Charger Figure 8: Charging Radio NOTE: When charging a battery attached to a radio, turn the radio off to ensure a full charge. The radio fits in the charger with the holster attached when placed face down in the tray.
  • Page 25: Charger Led Indications

    3.10 Charging the Bluetooth Headset Follow the procedure to charge bluetooth headset with CLP Series Drop-In Tray Multi-Unit Charger (MUC) and cloning cable. This is an optional accessory. Re-seat the battery pack to correct the faulty battery issue.
  • Page 26: Checking Battery Status

    2 Plug the other end of the cloning cable to the USB port of the bluetooth headset for charging. NOTE: You can also charge your bluetooth headset with CLP Series MUC, part number HKPN4007 (optional accessory) and cloning cable, part number HKKN4026 (optional accessory).
  • Page 27 68012000044-ED Chapter 3 : Battery and Charger Battery Level LED Indication Color Critical (0 – 10 %) Blinking Red The radio returns to the current channel color after indicating the battery status. NOTE: Voice Assisted Operation features may not be available on certain previous shipping radios.
  • Page 28: Chapter 4: Radio Programming Through Cps

    1 Connect the radio by using the Drop-in Charger Tray or the Charging Pocket with PROG label on the Multi-Unit Charger and CPS Programming Cable Figure 10: Programming the Radio through a Single Unit Charger CPS Programming Cable (P/N HKKN4025_) is an accessory sold separately. Contact your Motorola Solutions Point of Purchase for more information.
  • Page 29: Factory Default Settings

    68012000044-ED Chapter 4 : Radio Programming through CPS Figure 11: Programming the Radio through a Multi-Unit Charger 2 After the radio is connected, open the CPS and select Read on the toolbar to get the radio profile. You can change the general, audio, menu, channels, scan list, customize PL/DPL settings, bluetooth and select frequencies and PL/DPL codes on each channel.
  • Page 30 68012000044-ED Chapter 4 : Radio Programming through CPS Channel Num- Frequency # Frequency Set- Code Value Bandwidth tings (MHz) (Hz) (kHz) 467.8500 67.0 12.5 467.8750 67.0 12.5 Table 10: CLP1060 1W UHF 6 CH Bluetooth Radios Default Settings-BRUS Channel Num- Frequency # Frequency Set- Code Value...
  • Page 31: Chapter 5: Radio Cloning

    You can copy the radio settings from the source to another radio. You can use one of the following unit chargers and cables for cloning: • CLP Series Single Unit Charger (SUC) kit part number HKPN4008_ and CLP Series Cloning Cable kit part number HKKN4026_ (optional accessory). •...
  • Page 32: Cloning Radios Using The Multi-Unit Charger

    68012000044-ED Chapter 5 : Radio Cloning 2 Plug one side of the cloning cable micro USB to one SUC and plug the other end to the second SUC. NOTE: During the cloning process, no power is applied to the SUC. The batteries cannot be charged.
  • Page 33: Troubleshooting Cloning Mode

    6 Ensure that the two radios are both from the same frequency band, same region and have the same transmission power. NOTE: The cloning cable is designed to operate only with compatible Motorola Solutions SUC. When ordering cloning cable kit, ensure to order the cloning cable kit with part number HKKN4026_.
  • Page 34: Chapter 6: Advanced Radio Configuration

    68012000044-ED Chapter 6 : Advanced Radio Configuration Chapter 6 Advanced Radio Configuration Advanced radio configuration feature allows you to configure settings from a pre-programmed list without using a computer. Advanced configuration mode allows you to customize the following settings: • Channels •...
  • Page 35: Chapter 7: Troubleshooting

    68012000044-ED Troubleshooting Chapter 7 Troubleshooting The following table explains the ways to troubleshoot if the symptom occurs. Symptom and Solutions Procedure: If... Then... No power Recharge or replace the Li-Ion battery. NOTE: Extreme operating temper- atures may affect battery life. Battery Specifications on page Hearing other noises or conversation on a Frequency or Interference Eliminator...
  • Page 36 68012000044-ED Chapter 7 : Troubleshooting If... Then... age in industrial and commercial build- ings. Increasing power provides greater signal range and increased penetration through obstructions. Message not transmitted or received Perform one of the following actions: • Ensure the PTT button is completely pressed when transmitting.
  • Page 37 68012000044-ED Chapter 7 : Troubleshooting If... Then... Battery does not charge although it has Perform one of the following actions: been placed in the drop-in charger for a • Verify the drop-in tray charger is prop- while erly connected and corresponds to a compatible power supply.
  • Page 38: Chapter 8: Use And Care

    68012000044-ED Chapter 8 : Use and Care Chapter 8 Use and Care This chapter explains the maintenance of the radio. Use a soft damp cloth to Do not use alcohol or clean- Do not immerse in water clean the exterior ing solutions If the radio is submerged in water: Turn the radio off and remove...
  • Page 39: Chapter 9: Radio Frequency And Code Chart

    Chapter 9 Radio Frequency and Code Chart The following tables shows the frequency information and are useful when using Motorola Solutions CLP Series Two-Way Radios with other business radios. Most of the frequency positions are the same as Spirit M, GT, S, XTN, RDX, and CLS Series frequency positions, the bandwidths are different.
  • Page 40: Ctcss/Dpl Interference Eliminator Codes

    68012000044-ED Chapter 9 : Radio Frequency and Code Chart Freq# Freq (MHz) Bandwidth Freq# Freq (MHz) Bandwidth (kHz) (kHz) 462.8125 12.5 451.5375 12.5 462.8375 12.5 451.6375 12.5 462.8625 12.5 452.3125 12.5 462.8875 12.5 452.5375 12.5 462.9125 12.5 452.4125 12.5 464.4875 12.5 452.5125 12.5...
  • Page 41 68012000044-ED Chapter 9 : Radio Frequency and Code Chart CTCSS Code CTCSS/ Code Code Code Code 91.5 210.7 94.8 218.1 97.4 225.7 100.0 233.6 103.5 241.8 107.2 250.3 110.9 69.3 114.8 23.0 118.8 25.0 123.0 26.0 127.3 31.0 131.8 32.0 136.5 43.0 141.3...
  • Page 42 68012000044-ED Chapter 9 : Radio Frequency and Code Chart Code Code Code Code Cus- Inverted DPL Inverted DPL 88 Inverted DPL tomized Inverted Inverted DPL Inverted DPL 89 Inverted DPL DPL 39 Inverted Inverted DPL Inverted DPL 90 Inverted DPL DPL 40 Inverted Inverted DPL...
  • Page 43: Chapter 10: Motorola Solutions Limited Warranty For The United States And Canada

    United States and Canada 10.1 Warranty Subject to the exclusions contained below, Motorola Solutions, Inc. warrants its two way radios to be free from defects in materials and quality of work under normal consumer usage for the period(s) outlined.
  • Page 44: Software

    Products, Accessories, Software or other peripheral equipment are excluded from coverage. Unauthorized Service or Modification Defects or damages resulting from service, testing, adjustment, installation, maintenance, alteration, or modification in any way by someone other than Motorola Solutions, or its authorized service centers, are excluded from coverage. Altered Products Products or Accessories with: •...
  • Page 45: Warranty Coverage

    10.6 Warranty and Service Support Motorola Solutions have the option to repair or replace the Products or software that do not conform to the warranty, or to refund the Products’ purchase price at no charge. We may use functionally equivalent re-conditioned/refurbished/pre-owned or new Products or parts. No software updates are provided.
  • Page 46: Patent Notice

    68012000044-ED Chapter 10 : Motorola Solutions Limited Warranty for the United States and Canada applications of Motorola Solutions, except for the normal non-exclusive license to use that arises by operation of law in the sale of a product. 10.10 Patent Notice This product is covered by one or more of the following United States patents.
  • Page 47 CLP Series Cloning Cable Kit Contacts For product-related questions, contact: Certain accessories may be or may not be available at the time of purchase. For latest information on accessories, contact your Motorola Solutions point of purchase or visit: http:// www.motorolasolutions.com/CLP...
  • Page 48 68012000044-ED Chapter 11 : Accessories • 1-800-448- 6686 in the USA • 1-800-461-4575 in Canada • 1-866-522-5210 on your TTY (Text Telephone)

This manual is also suitable for:

Clp1010Clp1040Clp1060

Table of Contents