Table of Contents
Advertisement
Quick Links
Advertisement
Table of Contents

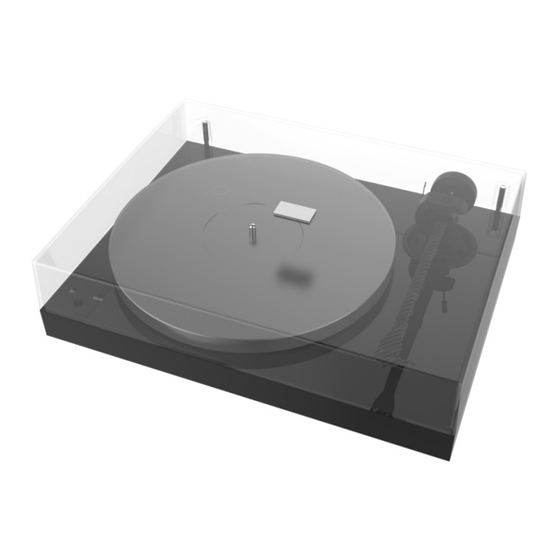
Summary of Contents for Pro-Ject Audio Systems X1
- Page 1 INSTRUCTIONS FOR USE...
-
Page 2: Turntable Overview
© Pro-Ject Audio Systems · Pro-Ject X1 · Revision 2019.07.09... - Page 3 (14) ANTI-SKATING WEIGHT SUPPORT (15) ANTI-SKATING STUB WITH ANTI-SKATING ADJUSTMENT SCALE (16) LID HINGE (17) HINGE FASTENERS (18) (19) PHONO OUTPUT SOCKET (20) POWER SUPPLY SOCKET (21) MAIN POWER BUTTON © Pro-Ject Audio Systems · Pro-Ject X1 · Revision 2019.07.09...
-
Page 4: Accessories Overview
Counterweight no. 46 for cartridges with weight between 7 - 10g Single adaptor Connect IT E RCA 1,23m (10) Power supply (11) 3x Feet (1x packed separately, 2x already pre-mounted) (12) Round drive belt for 78 r.p.m. © Pro-Ject Audio Systems · Pro-Ject X1 · Revision 2019.07.09... -
Page 5: Table Of Contents
9. SWITCHING ON AND OFF 10. CHANGING REPLAY SPEED 11. ADJUSTING THE VERTICAL TRACKING ANGLE (VTA) 12. ADJUSTING THE AZIMUTH 13. USEFUL TIPS 14. MAINTENANCE AND CLEANING TECHNICAL SPECIFICATIONS WARRANTY, SERVICE PACKAGING © Pro-Ject Audio Systems · Pro-Ject X1 · Revision 2019.07.09... - Page 6 The turntable was shipped partially disassembled in order to avoid damage to sensitive parts. Please check immediately to make sure that neither the packaging nor the device was damaged in transit. © Pro-Ject Audio Systems · Pro-Ject X1 · Revision 2019.07.09...
-
Page 7: Setup And Installation
The full sound quality of the record player can only be achieved if the cartridge is adjusted correctly. Particular tools like the Pro-Ject Audio Systems alignment tool are required to accomplish this job properly. If you are not well acquainted with the adjustment of cartridges, please call for the willing help of your Pro-Ject Audio Systems dealer. -
Page 8: Cartridge Downforce Adjustment
The anti-skating force must be adjusted corresponding to the downforce as follows: Downforce Groove in the stub (15) 10 - 14mN from bearing rings 15 - 19mN " " " 20mN and bigger " " " © Pro-Ject Audio Systems · Pro-Ject X1 · Revision 2019.07.09... -
Page 9: Connection To The Amplifier
MM or MC cartridges is required. It has to be connected between record player and a free line level input of the amplifier. For detailed product information regarding Pro-Ject Audio Systems interconnect cables and phono amplifiers please visit our website: www.project-audio.com... -
Page 10: Adjusting The Vertical Tracking Angle (Vta)
A small screw at the bearing end of the arm allows incorrect azimuth to be corrected. Slacken off the screw just enough to be able to revolve the arm tube without applying force. Note! Do not remove this screw completely! © Pro-Ject Audio Systems · Pro-Ject X1 · Revision 2019.07.09... -
Page 11: Useful Tips
Technical specifications MM-Cartridge Pro-Ject Pick IT S2 MM Frequency range 20-20.000Hz Channel separation 23dB/1kHz Output voltage Recommended load impedance 47kohms/amplifier connection – MM-input Compliance/stylus type 20µm/mN – elliptical Recommended tracking force 18mN Weight 7,2g © Pro-Ject Audio Systems · Pro-Ject X1 · Revision 2019.07.09... -
Page 12: Warranty, Service
This guide was produced by: Pro-Ject Audio Systems notice as deemed necessary to uphold the ongoing Copyright 2019. All rights reserved. © process of technical development. © Pro-Ject Audio Systems · Pro-Ject X1 · Revision 2019.07.09... - Page 13 © Pro-Ject Audio Systems · Pro-Ject X1 · Revision 2019.07.09...


Need help?
Do you have a question about the X1 and is the answer not in the manual?
Questions and answers