
Related Manuals for Vallox B3740


Summary of Contents for Vallox B3740
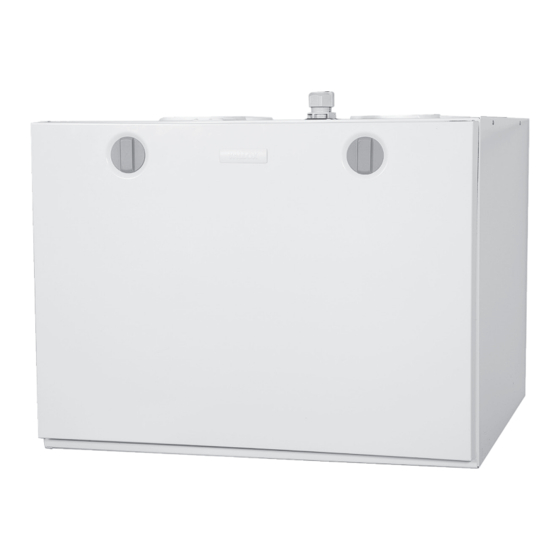
- Page 1 Model Document Vallox 101 MC R D4686 Vallox 101 MC L Valid from 30.04.2021 Type B3740 Updated 23.03.2021 Manual Ventilation unit...
- Page 2 Vallox Capto PTC EC Vallox ProControl panel (optional) (optional) (ordered separately) Vallox Delico PTD EC control hood, Vallox Capto PTC EC control hood, Vallox X-Line PTXP MC control hood, or Vallox X-Line PTXPA MC control hood (ordered separately) Ceiling bushing for electric wires Vallox X-Line PTXP MC...
-
Page 3: Fan Speed Adjustment
FAN SPEED ADJUSTMENT The fan speed of the Vallox ventilation unit is adjusted using a four-step control. The available speed options of the control switch are 1, 2, 3, and 4: Away mode. The ventilation efficiency can be temporarily reduced when the apartment is unoccupied. -
Page 4: Maintenance Reminder
The maintenance reminder will be set off automatically when the door of the ventilation unit is opened or the power is turned off. The maintenance reminder can also be set off manually. Vallox Delico PTD EC and Vallox Capto PTC EC The Vallox Simple Control panel, and the Vallox... -
Page 5: Heat Recovery Cell
BEFORE BEGINNING MAINTENANCE WORK The R model is shown in the figures. When you open the door of Vallox 101 MC, the safety In the L model, the parts are mirrored. switch (S) cuts the power. Despite this, disconnect the power supply plug anyway. - Page 6 FANS The R model is shown in the figures. Check the cleanliness of the fans when servicing the filters In the L model, the parts are mirrored. and the heat recovery cell. Clean the fans as required. The fans are very sensitive to external impacts, and it is recommended that they be cleaned in place rather than removing them.
-
Page 7: Maintenance
See the condensing water connections on page 15. L model R model 147,5 147,5 Installation of the Vallox Silent Klick Installation of the Vallox Silent Klick siphon on the bottom pool siphon on the wall. © Vallox Oy - All rights reserved... - Page 8 Air flow measurement points TECHNICAL SPECIFICATIONS Nimike Product number Measurement points after the outlet collar. The fan curves Vallox 101 MC R 4102638 indicate the total pressure accounted for by duct losses. Vallox 101 MC L 4102629 Air volumes Supply air...
- Page 9 Adjustment position (V) 10,2 11,4 Air fl ow dm³/s 15/20 24/30 33/40 42/48 52/58 61/68 70/76 78/84 83/89 Air fl ow m³/h 54/72 86/108 119/144 151/173 187/209 220/245 252/274 281/302 299/320 , dB (A) © Vallox Oy - All rights reserved...
-
Page 10: Internal Electrical Connection
INTERNAL ELECTRICAL CONNECTION Harmonic filter... - Page 11 3 and 5 from the MC unit’s control panel connector EXTERNAL ELECTRICAL CONNECTION with the Vallox Simple Control panel / Vallox PTXP MC, Vallox PTXPA MC cooker hood Control signal S Internal connection 11.2 VDC / +...
- Page 12 EXTERNAL ELECTRICAL CONNECTION with Vallox ProControl panel Wiring between the control panel and the ventilation unit, NOMAK 2x2x0.5+0.5 Ventilation unit cable Control panel connector leave disconnected S/DI2 Cable types specified in the drawing are indicative The phase of 24 VAC feed is connected...
-
Page 13: Installation Site
The outer diameter of the duct is 12mm Wall mounting Mount the Vallox 101 MC on the wall with a mounting plate, as shown in the adjacent figure. Make sure that the unit is horizontally level after mounting. Wall structure The wall structure must be observed in the mounting. - Page 14 Ceiling mounting by using The ceiling mounting plate is fastened to the M8 thread bars with the mounting supplies delivered with the a ceiling mounting plate mounting plate. NOTE! The end of the thread bars must (optional) be 5mm or less below the fastening nut (more detailed instructions are provided with the ceiling mounting plate).
- Page 15 Installation of the Vallox Silent Klick siphon on the wall Installation of the Vallox Silent If the Vallox Silent Klick siphon does not fit into the unit Klick siphon on the wall. directly, the elbow can be installed at the bottom, and The elbow underneath the the siphon can be installed on the wall.
-
Page 16: Exploded View And Parts List
20 Frame for coarse filter (supply) ..............4108194 10 Coarse filter for extract air ................978227 21 Harmonic filter ....................940260 HR cell bypass damper assembly .............. 4102523 www.vallox.com Vallox Oy | Myllykyläntie 9-11 | 32200 LOIMAA | FINLAND © Vallox - All rights reserved...
Need help?
Do you have a question about the B3740 and is the answer not in the manual?
Questions and answers