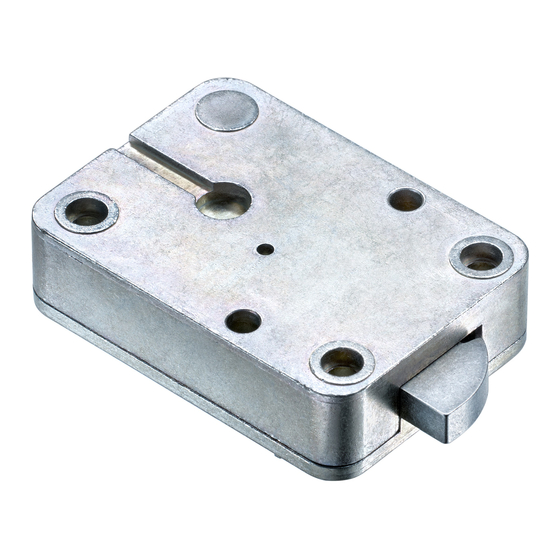
Wittkopp Primor 1000 Installer Manual
Hide thumbs
Also See for Primor 1000:
- Installation instructions manual (12 pages) ,
- Installation instructions manual (24 pages)
Table of Contents
Advertisement
Quick Links
Primor 1000
Installer manual
Installation and commissioning instructions
Note:
On the cover sheet you can find warning information, and an explanation of the symbols and
terms used, together with the exclusion of liability.
Mount the keypad before installing the electronic lock. All the keypads of the Primor series
can be used. For information on how to install the keypads, please refer to "Part 2a- Primor
keypad installer manual".
Contents
General ................................................................................................................................. 2
Preparation for installation ..................................................................................................... 3
Installation dimensions for lock 1000 ................................................................................. 3
Preparation of the boltwork / door ...................................................................................... 3
Installation ............................................................................................................................. 4
Wiring / installation ................................................................................................................ 4
Connecting the Primor Signal plus ..................................................................................... 5
Function test .......................................................................................................................... 5
Input of the opening code .................................................................................................. 5
Keypad test ....................................................................................................................... 6
en_02 P1000-Part 2b-Installer manual V2.01
1 / 6
Advertisement
Table of Contents

Summary of Contents for Wittkopp Primor 1000
-
Page 1: Table Of Contents
Primor 1000 Installer manual Installation and commissioning instructions Note: On the cover sheet you can find warning information, and an explanation of the symbols and terms used, together with the exclusion of liability. Mount the keypad before installing the electronic lock. All the keypads of the Primor series can be used. -
Page 2: General
Primor 1000 Installer manual Installation and commissioning instructions General P1000 series locks have standard It is essential that the lock is protected installation dimensions and can be installed against attacks from outside. in all 4 installation positions (right, left, top, recommended to protect the security- bottom). -
Page 3: Preparation For Installation
M6 or 1/4” cylinder Drilling pattern: Primor 1000/1600/2000: this hole can be omitted Primor 100 / 2000: Centre of electronic lock drive is flush with centre of input unit (Primor RO)/centre of keypad lever (Primor RE) The electronic lock can be installed in the area of openings with a maximum diameter of 11 mm around the axis centre shown above. -
Page 4: Installation
(adhesive). Wiring / installation The Primor 1000 locks can be externally Emergency power supply (optional): Insert powered with Primor Signal plus. the 1 x 9V alkaline block battery. When supplied by a power supply unit, the charge status of the inserted battery is not monitored. -
Page 5: Connecting The Primor Signal Plus
Primor 1000 Installer manual Installation and commissioning instructions Connecting the Primor Signal plus It is always connected with the second port This requires the connection of additional (see above) if hardware. • The lock is compatible with all the available the lock system has an external components of the Primor series. -
Page 6: Keypad Test
Primor 1000 Installer manual Installation and commissioning instructions Keypad test We recommend a final keypad test using function menu 5 to ensure that all the numeric keys function properly. ☼ Checking the menu system Press the keys in the Press each numeric key once.


Need help?
Do you have a question about the Primor 1000 and is the answer not in the manual?
Questions and answers