Sign In
Upload
Download
Table of Contents
Contents
Add to my manuals
Delete from my manuals
Share
URL of this page:
HTML Link:
Bookmark this page
Add
Manual will be automatically added to "My Manuals"
Print this page
×
Bookmark added
×
Added to my manuals
Manuals
Brands
Launch Manuals
Diagnostic Equipment
Creader 7001S
Instructions manual
Launch Creader 7001S Instructions Manual
Hide thumbs
1
2
3
4
Table Of Contents
5
6
7
8
9
10
11
12
13
14
15
16
17
18
19
20
21
22
23
24
25
26
27
28
29
30
31
32
33
34
35
36
37
38
page
of
38
Go
/
38
Contents
Table of Contents
Bookmarks
Table of Contents
Table of Contents
Introduction
General Information
On-Board Diagnostics (OBD) II
Diagnostic Trouble Codes (Dtcs)
Location of the Data Link Connector (DLC)
OBD II Readiness Monitors
OBD II Monitor Readiness Status
OBD II Definitions
Product Descriptions
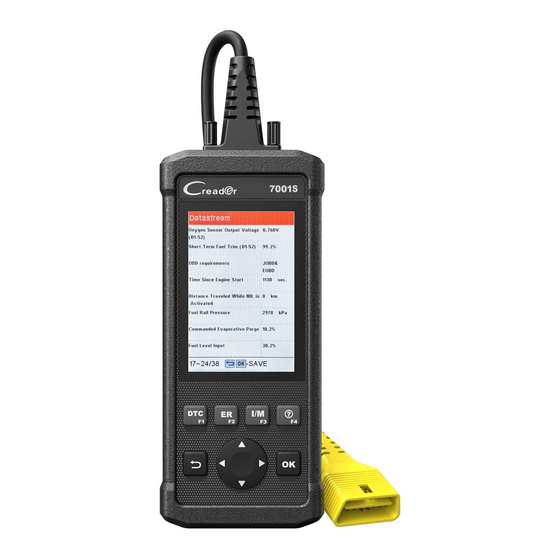
Outline of Creader 7001S/8001S
Specifications
Accessories
Connection & Settings
Connection
Settings
Diagnose
OBDII/EOBD Diagnosing
System Diagnosing
Read Vehicle Information
Read Fault Code
Clear Fault Code
Read Data Stream
Resetting
Oil Reset Service
Electronic Parking Brake Reset
Steering Angle Sensor (Only Applies to Creader 8001S)
Battery Maintenance System Reset (Only Applies to Creader 8001S)
Review
Help
Register & Update
Advertisement
Quick Links
1
Register & Update
Download this manual
V1.00.000
2018-03-24
Note: This user manual applies to the following Creader models: Creader 7001S and
Creader 8001S. All illustrations and descriptions herein are only for reference. We
reserve the right to make changes due to software update without prior written
notice.
Table of
Contents
Previous
Page
Next
Page
1
2
3
4
5
Advertisement
Table of Contents
Need help?
Do you have a question about the Creader 7001S and is the answer not in the manual?
Ask a question
Questions and answers
Related Manuals for Launch Creader 7001S
Diagnostic Equipment Launch CReader 6011 User Manual
(31 pages)
Diagnostic Equipment Launch Creader Professional 129i User Manual
(41 pages)
Diagnostic Equipment Launch Creader PROFESSIONAL 129 EVO User Manual
(34 pages)
Diagnostic Equipment Launch Creader 519 Quick Start Manual
(16 pages)
Diagnostic Equipment Launch Creader Professional 229 Manual
(36 pages)
Diagnostic Equipment Launch CReader V User Manual
(47 pages)
Diagnostic Equipment Launch Creader Professional 909E User Manual
(60 pages)
Diagnostic Equipment LAUNCH X431 PROS MINI Manual
Reset service functions (3 pages)
Diagnostic Equipment Launch X-431 PRO3S+ User Manual
(95 pages)
Diagnostic Equipment Launch X-431 PAD V ELITE User Manual
(65 pages)
Diagnostic Equipment Launch CRP919E Quick Start Manual
(43 pages)
Diagnostic Equipment Launch Creader Professional 129E User Manual
(37 pages)
Diagnostic Equipment Launch CRP129X User Manual
Elite 2024 new obd2 scanner for car, fca autoauth, 8 reset oil/epb/sas/tpms/bms/throttle/dpf reset/injector coding, scan tool for abs/srs/at/engine, lifetime free update (38 pages)
Diagnostic Equipment Launch Creader Professional CRP129E User Manual
(35 pages)
Diagnostic Equipment Launch CNC-602A User Manual
Injector cleaner & tester (24 pages)
Diagnostic Equipment Launch Creader Elite 2.0 BBA Manual
(33 pages)
This manual is also suitable for:
Creader 8001s
Cr 7001s
Table of Contents
Print
Rename the bookmark
Delete bookmark?
Delete from my manuals?
Login
Sign In
OR
Sign in with Facebook
Sign in with Google
Upload manual
Upload from disk
Upload from URL


Need help?
Do you have a question about the Creader 7001S and is the answer not in the manual?
Questions and answers