Sign In
Upload
Download
Table of Contents
Contents
Add to my manuals
Delete from my manuals
Share
URL of this page:
HTML Link:
Bookmark this page
Add
Manual will be automatically added to "My Manuals"
Print this page
×
Bookmark added
×
Added to my manuals
Manuals
Brands
Seakeeper Manuals
Boating Equipment
30HD
Operation manual
Seakeeper 30HD Operation Manual
Hide thumbs
1
2
3
4
5
6
7
8
9
10
11
12
13
14
15
16
17
18
19
20
21
22
23
24
25
26
27
28
29
30
31
32
33
34
page
of
34
Go
/
34
Contents
Table of Contents
Bookmarks
Table of Contents
System Overview
Electronic Control Module
Display Screens: Overview
Normal Shut-Down
Power Failures
Maintenance
Scheduled Maintenance Table
Warranty
Limitation of Liability
Property Rights
Advertisement
Quick Links
Download this manual
OPERATION MANUAL
*THIS MANUAL ALSO COVERS THE SEAKEEPER 30HD MODEL*
Rev 7 OCT 2017
Table of
Contents
Previous
Page
Next
Page
1
2
3
4
5
Advertisement
Table of Contents
Need help?
Do you have a question about the 30HD and is the answer not in the manual?
Ask a question
Questions and answers
Related Manuals for Seakeeper 30HD
Boating Equipment Seakeeper 3 Operation Manual
(34 pages)
Boating Equipment Seakeeper SEAKEEPER 3 Installation Manual
(40 pages)
Boating Equipment Seakeeper 3 Installation Manual
(39 pages)
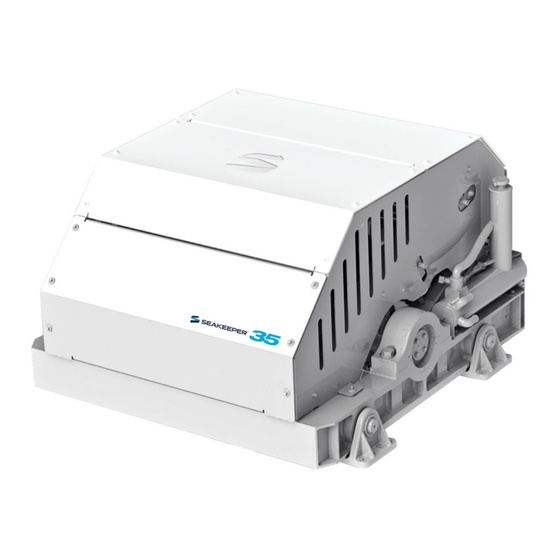
Boating Equipment Seakeeper 35 GYRO Operation Manual
(39 pages)
Boating Equipment Seakeeper 35 Operation Manual
(34 pages)
Boating Equipment Seakeeper 26 GYRO Installation Manual
(58 pages)
Boating Equipment Seakeeper 5 GYRO Operation Manual
(39 pages)
Boating Equipment Seakeeper 1 Operation Manual
(22 pages)
Boating Equipment Seakeeper 7000A GYRO Installation Manual
(58 pages)
Boating Equipment Seakeeper 26 Installation Manual
(49 pages)
Boating Equipment Seakeeper 26 Operation Manual
(35 pages)
Boating Equipment Seakeeper 1 Installation Manual
(30 pages)
Boating Equipment Seakeeper 26000 GYRO Installation Manual
(74 pages)
Boating Equipment Seakeeper 7000 Installation Manual
Gyro (53 pages)
Boating Equipment Seakeeper 7000 GYRO Operation Manual
(64 pages)
Boating Equipment Seakeeper 8000 GYRO Operation Manual
Stabilizer (49 pages)
This manual is also suitable for:
35
Table of Contents
Print
Rename the bookmark
Delete bookmark?
Delete from my manuals?
Login
Sign In
OR
Sign in with Facebook
Sign in with Google
Upload manual
Upload from disk
Upload from URL


Need help?
Do you have a question about the 30HD and is the answer not in the manual?
Questions and answers