Advertisement
Table of Contents
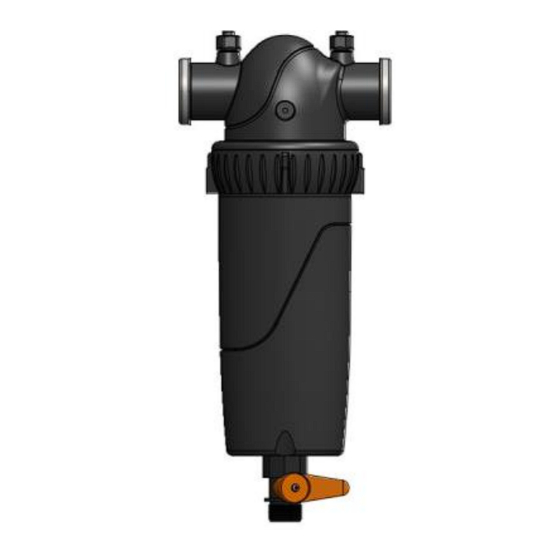
1"T (010010) / 1"T-Super (010011)
Thank you for selecting an Amiad filter. This filter has been designed to provide years of trouble-free service. Please
familiarize yourself with these instructions to ensure correct and reliable operation.
INSTALLATION
1. Amiad recommends using plastic connectors when installing the filter onto metal pipes.
2. Use only Teflon or silicon sealing material on the inlet/outlet connections. Do not use any sealing material on the
plastic ball valve connection to the filter drain port. This is a compression type fitting that does not require any
sealing material.
3. Install a shut-off valve upstream of the filter to facilitate cleaning.
4. Install the filter with the housing oriented downward.
5. The filter is available with either a Screen Cylinder or Disc Element. Make sure that the direction of flow is from
the inside/out in Screen Cylinders and from the outside/in in the Disc element.
WARNING: Improper flow direction or backflow through a screen may damage the filter element.
CLEANING
The filter requires cleaning when the differential pressure between the inlet and outlet reaches 0.5-0.6 bar (7-8 psi).
WARNING: NEVER OPEN THE FILTER WHILE IT IS UNDER PRESSURE!
1. Close the water supply to the filter and release pressure from the system.
2. Unscrew the lid to remove the filter element.
3. Screen cylinder: Rinse the screen with water. Use a soft brush for hard-to-remove particles. Do not use a metal
brush which may damage the screen.
Disc element: Twist the disc element core at each end and unscrew it counter- clockwise. This loosens the disc
core. Direct a stream of water along the disc edges to rinse with a spinning action. Hand-tighten the disc element
core after cleaning.
4. Insert the filter element into the housing. Make sure that the housing and element seals are in place. Tightly
screw on the lid, then backoff ⅛ turn for proper sealing.
5. Close the drain valve and open the inlet valve to pressurize the filter. Check for any leaks.
Maximum pressure drops across the filter element, for a short time should not exceed 6 bar (90 psi).
Amiad T-Filters
INSTALLATION & MAINTENANCE INSTRUCTIONS
Amiad T-Filters
910101-001273 / 10.2021
1½"T (010012) / 1½"T-Super (010013)
1
Advertisement
Table of Contents

Related Manuals for amiad T


Summary of Contents for amiad T
- Page 1 1"T (010010) / 1"T-Super (010011) 1½"T (010012) / 1½"T-Super (010013) Thank you for selecting an Amiad filter. This filter has been designed to provide years of trouble-free service. Please familiarize yourself with these instructions to ensure correct and reliable operation.
- Page 2 TYPICAL INSTALLATIONS 1"T / 1" T-S 1½"T / 1½" T-S Amiad T-Filters 910101-001273 / 10.2021...
- Page 3 PARTS SCHEDULE: 1"T / 1" T-S Screen SAP P/N Description 700190-006409 BODY 1"T BLACK BSP W/PCP, W/RINGS 700190-006410 BODY 1"T BLACK NPT W/PCP W/RINGS 700190-001305 PRESSURE CHECK POINT ASSEMBLY MWW SCREEN S/ST316L 200SQ.CM 700101-000338 130MIC 1" NBR SEALS MWW SCREEN S/ST316L 460SQ.CM 700101-000365 130MIC 1½"...
- Page 4 1½"T / 1½" T-S Screen SAP P/N Description 700190-006443 BODY 1½"T BLACK BSP W/PCP 700190-006448 BODY 1½"T BLACK NPT W/PCP 700190-001305 PRESSURE CHECK POINT ASSEMBLY MWW SCREEN S/ST316L 200SQ.CM 700101-000338 130MIC 1" NBR SEALS MWW SCREEN S/ST316L 460SQ.CM 700101-000365 130MIC 1½" NBR SEALS...
Need help?
Do you have a question about the T and is the answer not in the manual?
Questions and answers