Sign In
Upload
Download
Table of Contents
Contents
Add to my manuals
Delete from my manuals
Share
URL of this page:
HTML Link:
Bookmark this page
Add
Manual will be automatically added to "My Manuals"
Print this page
×
Bookmark added
×
Added to my manuals
Manuals
Brands
Omcan Manuals
Kitchen Appliances
PE-IT-0024-S
Instruction manual
Omcan PE-IT-0024-S Instruction Manual
Hide thumbs
Also See for PE-IT-0024-S
:
Instruction manual
(40 pages)
1
Table Of Contents
2
3
4
5
6
7
8
9
10
11
12
13
14
15
16
17
18
19
20
21
22
23
24
25
26
27
28
29
30
31
32
33
34
35
36
page
of
36
Go
/
36
Contents
Table of Contents
Troubleshooting
Bookmarks
Table of Contents
Table of Contents
General Information
Safety and Warranty
Technical Specifications
Installation
Operation
Maintenance
Troubleshooting
Parts Breakdown
Electrical Schematics
Notes
Warranty Registration
Advertisement
Quick Links
Download this manual
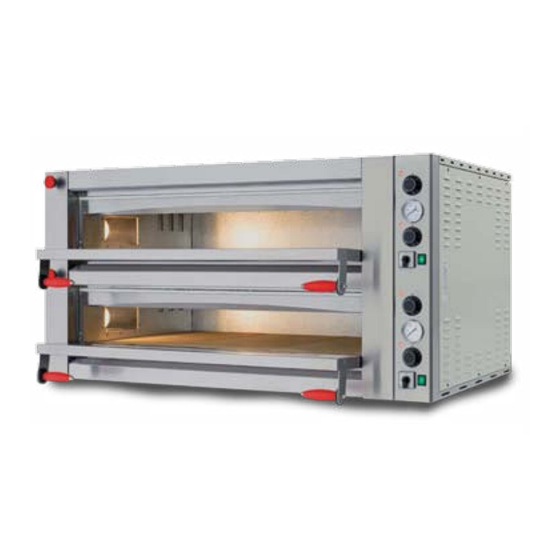
Pizza Ovens
Models PE-IT-0024-S, 0048-D, 0049-D, 0049-DD
Items 40637, 40638, 40641, 40643
Instruction Manual
Revised - 03/07/2023
Toll Free: 1-800-465-0234
Fax: 905-607-0234
Email: service@omcan.com
www.omcan.com
Table of
Contents
Previous
Page
Next
Page
1
2
3
4
5
Advertisement
Table of Contents
Need help?
Do you have a question about the PE-IT-0024-S and is the answer not in the manual?
Ask a question
Questions and answers
Related Manuals for Omcan PE-IT-0024-S
Oven Omcan PE-IT-0024-S Instruction Manual
Pizza oven (40 pages)
Kitchen Appliances Omcan PE-IT-0005 Instruction Manual
(20 pages)
Kitchen Appliances Omcan PE-IT-0019-S Instruction Manual
(28 pages)
Kitchen Appliances Omcan PM-IT-0146 Instruction Manual
Pasta sheeter (16 pages)
Kitchen Appliances Omcan PE-CN-1800-S Instruction Manual
Electric pizza ovens (16 pages)
Kitchen Appliances Omcan PE-IT-0005-110V Instruction Manual
(20 pages)
Kitchen Appliances Omcan PE-BR-0004 Instruction Manual
Garlic peeler (16 pages)
Kitchen Appliances Omcan PE-BR-0006 Instruction Manual
Onion peeler (20 pages)
Kitchen Appliances Omcan PE-CN-24P19 Instruction Manual
(20 pages)
Kitchen Appliances OMCAN J-110 Instruction Manual
(20 pages)
Kitchen Appliances Omcan CE-CN-0227-R Instruction Manual
Popcorn machine (16 pages)
Kitchen Appliances Omcan HSB-300 Operation Instruction
Meat slicer (4 pages)
Kitchen Appliances Omcan 195F Instruction Manual
Gravity meat slicers (24 pages)
Kitchen Appliances Omcan MS-IT-0300-IP Instruction Manual
Gravity meat slicers (24 pages)
Kitchen Appliances Omcan SB-CN-0025 Instruction Manual
Bread slicers (16 pages)
Kitchen Appliances Omcan GR-CN-0559 Instruction Manual
Cheese grater (20 pages)
This manual is also suitable for:
Pe-it-0048-d
Pe-it-0049-d
Pe-it-0049-dd
40637
40638
40641
...
Show all
40643
Table of Contents
Print
Rename the bookmark
Delete bookmark?
Delete from my manuals?
Login
Sign In
OR
Sign in with Facebook
Sign in with Google
Upload manual
Upload from disk
Upload from URL


Need help?
Do you have a question about the PE-IT-0024-S and is the answer not in the manual?
Questions and answers