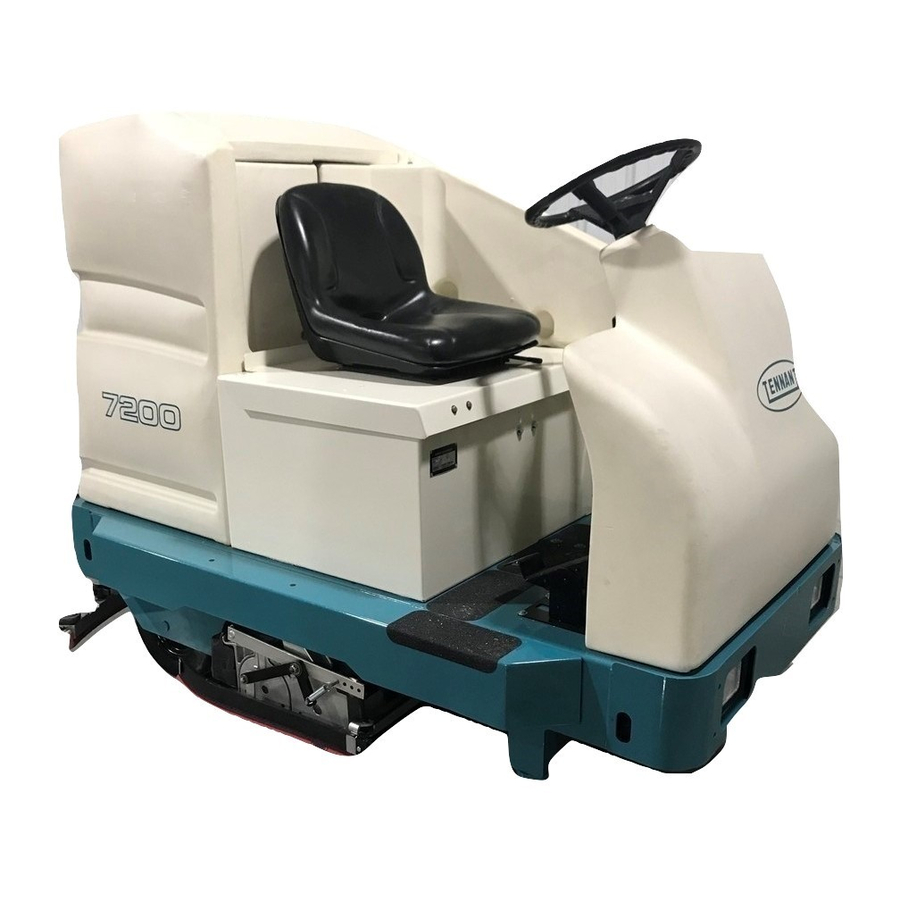
Tennant 7200 Instruction Bulletin
Hide thumbs
Also See for 7200:
- Service manual (272 pages) ,
- Operator's manual (108 pages) ,
- Instruction bulletin (11 pages)
Table of Contents
Advertisement
Quick Links
INSTRUCTION BULLETIN
NOTE: DO NOT DISCARD the Parts List from the Instruction Bulletin. Place the Parts
List in the appropriate place in the machine manual for future reference.
Retaining the Parts List will make it easier to reorder individual parts and will
save the cost of ordering an entire kit.
NOTE: Numbers in parenthesis ( ) are reference numbers for parts listed in Bill of Materials.
Installation Instructions for Kit number 223282
SYNOPSIS:
This kit contains the parts needed to install a power wand kit onto the 7200 / T15 scrubber.
Please follow step-by-step instructions.
SPECIAL TOOLS / CONSIDERATIONS: None
(Estimated time to complete: 3 hours--standard 7200 / T15, 4 hours--7200 / T15 w/FaST)
PREPARATION:
1. Park the machine on a clean level surface.
2. Start the machine and lower the rear squeegee.
Turn off the machine.
3. Drain the solution and recovery tanks.
FOR SAFETY: Before leaving or servicing the
machine, stop on level surface, set the parking
brake, turn off the machine, and remove the key.
4. Disconnect battery cables from machine.
WARNING: Always disconnect battery
cables from machine before working on
electrical components.
5. Open the electrical control panel.
IB 340059 (09- -2009)
No. 340059
Machine: 7200 / T15
Published: 09- -2009
Rev: 04
INSTALLATION:
1. Install the switch (3), switch boot (33), circuit
breaker (1), and circuit breaker boot (2) into the
Electrical Panel. Refer to Fig. 1.
2. Connect the switch (3) to wires 94/ORA,
13G/BLK, 9A/BRN, and 9/BRN. Refer to Fig. 7.
3. Connect the circuit breaker (1) to wires 9A/BRN
and 6D/BLU. Refer to Fig. 7.
4. Close the electrical panel. Refer to Fig. 1.
5. Use the hole dimensions in Fig. 2 to mark and
drill the power wand bag (6) mount holes in the
top of the tank cover. Refer to Fig. 2.
6. Install the power wand bag (6) onto the top of
the tank cover using the four plastic rivets (7).
Refer to Fig. 3.
7. Remove the plastic plugs from the two holes on
top of the right side machine bumper. Refer to
Fig. 3.
1
Advertisement
Table of Contents

Summary of Contents for Tennant 7200
- Page 1 NOTE: Numbers in parenthesis ( ) are reference numbers for parts listed in Bill of Materials. Installation Instructions for Kit number 223282 SYNOPSIS: This kit contains the parts needed to install a power wand kit onto the 7200 / T15 scrubber. Please follow step-by-step instructions. SPECIAL TOOLS / CONSIDERATIONS: None...
- Page 2 8. Install the brush tray (16) on the right side 17. Install the pump (20) into the machine using the bumper using two screws (17), fender washers two screws (22) and nuts (21). Route the vinyl (19), and nuts (18). Hand tighten hardware. hose (29) through the hose hole in the frame.
- Page 3 Electrical panel Electrical panel (viewed from rear) (33) POWER WAND HEAD LIGHT 13G BLK 8 BLU 6A BLU 9 BRN 9A BRN 37 BLU 81 GRN 5 BRN 35G GRN 94 ORA 6D BLU 10F YEL 6C BLU 37 BLU 6A BLU 36 GRN 9A BRN...
- Page 4 (15) (14) (13) (10) (12) Tank cover (11) (13) (10) (12) (11) (17) (16) (19) (18) FIG. 3- -Power Wand Mounting Assembly IB 340059 (09- -2009)
- Page 5 Solution tank Existing solution Existing tank hose (cut and install fitting fitting 23) Right, rear corner of machine frame (26) (32) (27) (23) (32) (28) (21) (31) (22) (25) (31) (30) (24) (31) (20) (31) (29) FIG. 4- -Pump, Hoses, And Fittings FIG.
- Page 6 (34) (35) FIG. 6- -Power Wand Assembly IB 340059 (09- -2009)
- Page 7 FIG. 7- -Electrical Schematic IB 340059 (09- -2009)
- Page 8 Bill of Materials for Kit , CI, Wand, Power [7200]- -223282 TENNANT Ref. Part No. Description Qty. 57164 Circuitbreaker, 10.0A, Resetable 57751 Boot, Circuitbreaker 65557 Switch, Rocker, 28VDC 15A SPST On/Off 65341 Hose Assy, Wand, Power 12694 Fitting, Plstc, Str, BM24/BM24...


Need help?
Do you have a question about the 7200 and is the answer not in the manual?
Questions and answers