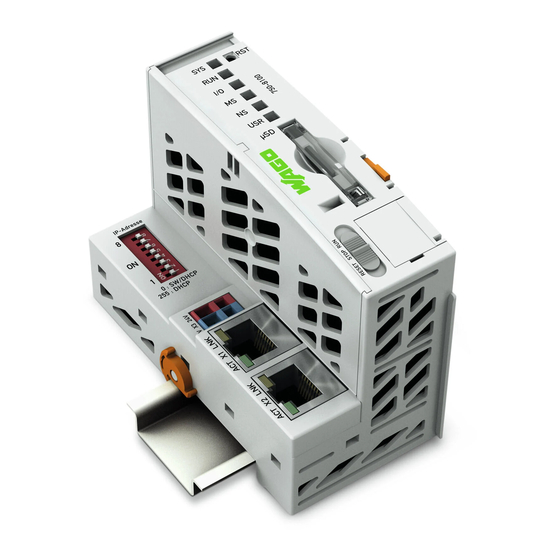
Summary of Contents for WAGO PFC100
- Page 1 How to install docker on PFC100 Not officially supported! Use at your own risk. Please use PFC200 G2 with Docker in production. Kurt Braun December 2020...
- Page 2 Question: Why can’t I install docker on the PFC100? Why does it fail when I try to install it? The PFC100 only has 256MB of eMMC flash memory internally, of which only 32.6MB is available in root partition. This is not enough storage for docker + containers.
- Page 3 - Install the application Step 3: - Insert a blank SD Card (8GB or 16GB) into USB SD Card Reader - Plug this into your computer Step 5: - Insert this SD card into the PFC100. - Apply 24VDC power Blank...
- Page 4 Step 6: Use Ethernet Settings find the PFC100 IP address if you have a DHCP server. If not, you can use the ‘RST button trick’ (See below) optionally. DHCP ‘RST button trick’ Note: this is temporary, a reboot will go back to the firmware IP settings...
- Page 5 Wait about 2 minutes for boot up - Navigate to Configuration>Administration>Create Image Click [Start Copy] Button to prepare the internal flash with FW17. Wait until copy is complete (~2 min) Step 9: - Insert a blank high quality 8GB or 16GB SD Card into PFC100 Blank...
- Page 6 Step 10: - Connect to the web based management using IP from step 6. (Log in with admin / wago) Navigate to Configuration>Administration>Create Image Select menu option “Full Card Size” Click [Start Copy] Button to prepare the internal flash with FW17.
- Page 7 Step 11: Power cycle the PFC100 Verify the PFC is running from SD Card. You should see yellow activity light on SD card during boot process. Step 12: Now you have the full 8GB (or 16GB) of flash memory for docker to use.
- Page 8 Step 13: Download the docker ipk file. This can be found here: https://github.com/WAGO/docker-ipk/releases Download the file: docker_19.03.13_armhf.ipk Step 14: Navigate to Configuration>Software Uploads Click choose file Find file from step 13, click [Open] button Click [Install] button Wait about 2 minutes. Click [OK] button.
- Page 9 Step 15: Step 17: Docker is installed! If using DHCP, proceed to step 18. If using Static IP, enable and set gateway address. Typically this is xxx.xxx.xxx.1 Step 16: Click [Submit] If using DHCP, proceed to step 18. If using Static IP, set network DNS to 8.8.8.8 Step 18: Verify PLC can ping google with ssh.
- Page 10 Step 19: Step 18: Set time zone Set time server & press [Submit] button Step 20: Verify you can pull an image Press [Update Time] button, and verify correct time with PC Verify image completes.


Need help?
Do you have a question about the PFC100 and is the answer not in the manual?
Questions and answers