Table of Contents
Advertisement
Quick Links
Advertisement
Table of Contents

Subscribe to Our Youtube Channel
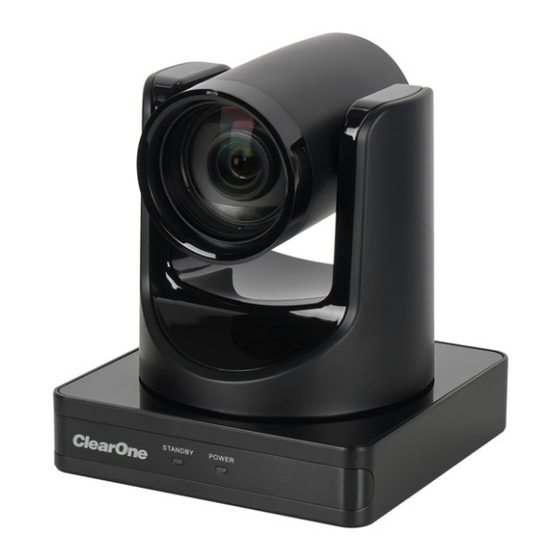
Summary of Contents for ClearOne COLLABORATE Versa Room CT 160
- Page 1 Quick-Start Guide COLLABORATE® Versa™ Room CT 160...
-
Page 2: Clearone ® Contacts
Tel: +1.801.975.7200 Tel: +1.801.974.3760 sales@clearone.com collaborate.support@clearone.com Notices © 2023 ClearOne, Inc. All rights reserved. Information in this document is subject to change without notice Document: QSG-0169-001v1.0, May 2023 Important Safety Information 1. Read, follow, and keep all instructions. 2. Do not use these devices near water. -
Page 3: Operating Requirements
Inspect your shipment carefully. If the shipment shows obvious signs of damage, retain original boxes and packing material for inspection by the carrier, and contact the carrier immediately. ClearOne is not responsible for product damage incurred during shipment. QSG-0169-001v1.0 May 2023... - Page 4 Quick-Start Guide COLLABORATE® Versa™ Room CT 160 2. Versa USB 1. BMA CTH Plenum BMA CTH shield (1) 600-to-625 mm adapter Versa USB USB Cable 4. COLLABORATE Versa Hub 3. PoE (Injector) Kit Power supply Versa Hub Power Power supply cord, 6 ft.
-
Page 5: Mount The Components
Quick-Start Guide COLLABORATE® Versa™ Room CT 160 Basic Versa Room CT 160 Connections The steps listed below and the accompanying illustration describe how to connect your Versa Lite. 1. Connect the PoE injector to the Versa USB PoE In port. 2. - Page 6 1. Determine location for rack shelf. 2. Align mounting holes on rack shelf mounting ears with holes on the rack (at determined location). 3. Insert the four #10-32 screws included with the ClearOne 1U rack shelf (or proper screws for your third-party mount) and tighten.
-
Page 7: Connect The Components
Quick-Start Guide COLLABORATE® Versa™ Room CT 160 Above the Ceiling Mount Select hardware based on your specific installation needs. Note: It is the installer’s responsibility to ensure that the installation and cable routing complies with local safety codes. 1. Determine location for the mount, and where to route cables. Mark location where you want to route cables through with a pencil (on finished side of ceiling tile) if you need to cut a hole. - Page 8 Quick-Start Guide COLLABORATE® Versa™ Room CT 160 3. With a 50’ CAT6 cable (provided), connect the BMA CTH P-Link In connector (c) to the Versa USB P-Link Out connector (g). 4. Optional If your system includes a Bluetooth expander (available separately), complete this step. If not, skip this step and proceed to step 5.


Need help?
Do you have a question about the COLLABORATE Versa Room CT 160 and is the answer not in the manual?
Questions and answers