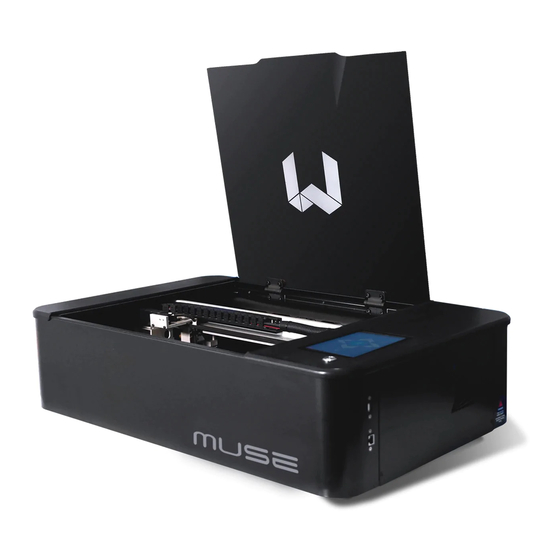
Full Spectrum Laser MUSE 3D User Manual
Hide thumbs
Also See for MUSE 3D:
- Operation manual (102 pages) ,
- Operation manual (55 pages) ,
- Operation manual (66 pages)
Table of Contents
Advertisement
Quick Links
Advertisement
Table of Contents

Summary of Contents for Full Spectrum Laser MUSE 3D
-
Page 2: Safety Warning
Diagrams: Safety Warning: Camera Do not leave your machine unattended. Gantry Avoid using machines made of carbon or that contain carbon components. Honeycomb Always keep a fire extinguisher and first aid kit nearby. Tray Do not attempt to access any electrical areas while the machine is on. - Page 3 Unboxing: Setting up your Muse: Remove Zip Ties. 1. Cut open the box. 3. Pull out the Muse Core. Connect the exhaust ducting to the exhaust.. 2. Take out the Honeycomb tray. Connect to the exhaust fan. 4. Carefully remove Box 1 and 2 from the machine.
-
Page 4: Connecting To Internet
Connecting to Internet: Connect Via Router (Recommended): To establish a reliable link to RE3, it is recommended to connect the Fiber Galvo to the router. The Fiber Galvo is equipped with an ethernet cable that should be plugged into the ethernet ports of both devices Note: Ethernet port looks the same on all devices Fig. -
Page 5: Touchscreen Interface
Touchscreen Interface: Home The Home screen displays important information such as the device's Network ⇨ Wi-Fi IP address, the QR Code for RE3, and controls for the laser head. Enables users to connect to a Wi-Fi network. Job History The Job History icon provides easy access to previous projects. Mobile Version Users can select the file and view its contents, or choose to re-run the A mobile version of the device is accessible by either scanning... -
Page 6: Camera Functions
Camera Functions: Camera Calibration: Camera Capture: Before beginning the camera calibration process, remove the Honeycomb trays from the In order to capture the workspace, access the top toolbar in RE3 and locate the camera workspace and place the calibration paper in the center of the workspace. capture icon. -
Page 7: Belt Replacement
Belt Replacement: X-Belt Replacement: Y-Belt Replacement: Power Off and Unplug Machine. Power Off and Unplug Machine. Locate the Belt Screws. The belt can be found above the adjustment knob. Adjust the Locate the Belt Screws. The belt is under the gantry (see below). Adjust the gantry as necessary to access the screws. -
Page 8: Lens Replacement
Air Assist Cone Replacement: Lens Replacement: Please Note: The Air Assist Cone must be replaced when the lens is switched. Disconnect the air hose by gently removing each end. Remove the lens by push the back of the lens until you hear a click. Then, simply slide out the old lens. -
Page 9: Troubleshooting
Project Procedure: Troubleshooting: Q: What could be causing my laser to not mark? Connect to Software A: It is possible that your laser is out of focus. If the height of the machine is off by a few millimeters, it may not engrave properly.


Need help?
Do you have a question about the MUSE 3D and is the answer not in the manual?
Questions and answers