Table of Contents
Advertisement
Quick Links
Advertisement
Table of Contents

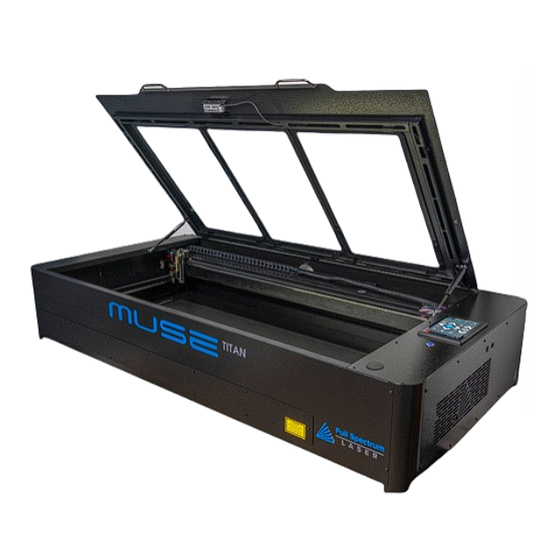
Summary of Contents for Full Spectrum Laser MUSE TITAN V3
-
Page 2: Safety Warning
Safety Warning: Unboxing: Do not leave your machine unattended. Avoid using machines made of carbon or that contain carbon components. Always keep a fire extinguisher and first aid kit nearby. Do not attempt to access any electrical areas while the machine is on. - Page 3 Diagrams: Honeycomb Trays Passthrough Cover Exhaust Flange Passthrough Cover Pause Button Water Reservoir Lid Handles Power On/Off Inlet Air Assist & Exhaust Water Inlet & Outlet Controls (For Optional Chiller) Touch Screen Rotary Port...
-
Page 4: Left Side
Diagrams: Left Side: Laser Head Assembly: Mirror Adjustment Panel Mirror 3 Z-belt Right Side: Air Assist Air Assist Exhaust Ethernet Flange Remove Focus Lens Port Wi-Fi Adapter The Focus Lens is removed by gently pushing the back of the lens until a clicking sound is heard. - Page 5 Setting Up Your Muse: 1. Remove the Zip ties. 5. Connect the other end to the exhaust fan. Get the second ducting and connect it to the other end of the exhaust fan before connecting it to external ventilation. 6. Use the provided funnel to fill the water reservoir with 1 liter of distilled water.
-
Page 6: Connecting To Internet
Connecting to Internet: Focusing: There are two ways to use the autofocus feature on your machine. The first method Connect Via Router (Recommended): involves pressing the autofocus button on the touchscreen. The second method requires accessing the autofocus icon located under the Jog Controls Tab in RE3. To establish a reliable link to RE3, it is recommended to connect the Fiber Galvo to the router. -
Page 7: Touchscreen Interface
Touchscreen Interface: Home The Home screen displays important information such as the device's Network ⇨ Wi-Fi IP address, the QR Code for RE3, and controls for the laser head. Enables users to connect to a Wi-Fi network. Job History The Job History icon provides easy access to previous projects. Mobile Version Users can select the file and view its contents, or choose to re-run the A mobile version of the device is accessible by either scanning... -
Page 8: Camera Functions
Camera Functions: Camera Calibration: Camera Capture: In order to capture the workspace, access the top toolbar in RE3 and locate the camera capture icon. Upon selecting this option, the machine's gantry will move along its axis, In order to calibrate the camera, remove the Honeycomb trays from the workspace and place and once the movement is complete, the captured workspace will be displayed. - Page 9 Stopping your Laser: Once a project has started, it will run continuously until it is completed. In case of an emergency, there are several options available to stop the laser immediately: 4. E-Stop Button. Located in the lower left corner of the touch screen, pressing this button will cut power to the laser instantly.
-
Page 10: Belt Replacement
Gantry Belt: The belts of your laser system are consumable items that can eventually stretch or break beyond a usable length. In such cases, you can contact Full Spectrum Laser support for replacements. 1.Power off the machine and allow at least one hour for capacitors to discharge. -
Page 11: Troubleshooting
Project Procedure: Troubleshooting: Q: What could be causing my laser to not mark? Connect to Software A: It is possible that your laser is out of focus. If the height of the machine is off by a few millimeters, it may not engrave properly.


Need help?
Do you have a question about the MUSE TITAN V3 and is the answer not in the manual?
Questions and answers