Check Point 4200 Mounting Instructions
Rack mounting
Hide thumbs
Also See for 4200:
- Getting started manual (55 pages) ,
- Getting started manual (130 pages) ,
- Getting started manual (47 pages)
Table of Contents
Advertisement
Quick Links
Rack Mounting for Check Point
Appliances
70692 4
Protecte d
2016
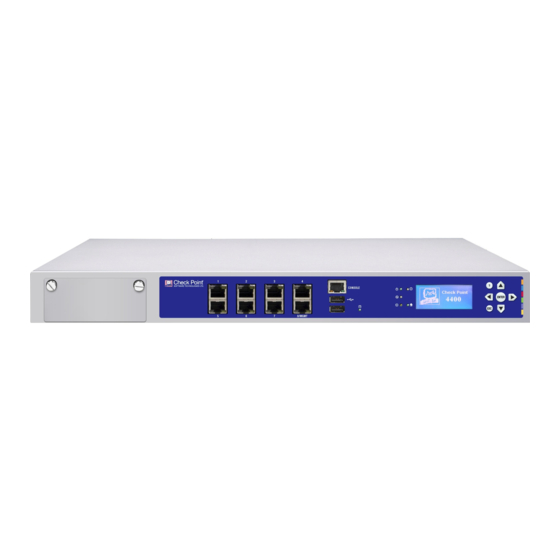
Check Point appliances are mounted in racks with either fixed rails or sliding
rails depending on the appliance model.
These Check Point appliances come equipped by default with fixed rails:
•
4200, 4400, 4600
•
TE250
Alternatively, you can choose to install them with sliding rails (as an optional
accessory).
The sliding rails are certified by Check Point to be used with these Check Point
appliance models:
•
4200, 4400, 4600, 4800
•
12200, 12400, 12600
•
TE250, TE1000
•
TE250X, TE1000X, TE2000X
Classification [Protected]
© 2016 Check Point Software Technologies Ltd. All rights reserved.
For a list of our trademarks, please refer to: www.checkpoint.com/copyright.html.
For a list of our Third Party Copyright notices, please refer to:
www.checkpoint.com/3rd_party_copyright.html
P/N:706924
Advertisement
Table of Contents


Need help?
Do you have a question about the 4200 and is the answer not in the manual?
Questions and answers