Advertisement
Table of Contents
- 1 Power up Your Check Point Te100X/Te250X/Te1000X/Te2000X Appliance
- 2 Connect Your Pc for Initial Setup
- 3 For Windows 7 and Windows Vista Operating Systems
- 4 For Windows Xp Operating Systems
- 5 Configure Your Te100X/Te250X/Te1000X/Te2000X Appliance
- 6 Registration and Technical Support
- 7 Check Point
- Download this manual
Advertisement
Table of Contents

Related Manuals for Check Point TE100X


Summary of Contents for Check Point TE100X
- Page 1 C H E C K P O I N T TE100X/TE250X/ TE1000X/TE2000X THREAT EMULATION PRIVATE CLOUD APPLIANCES Quick Start Guide...
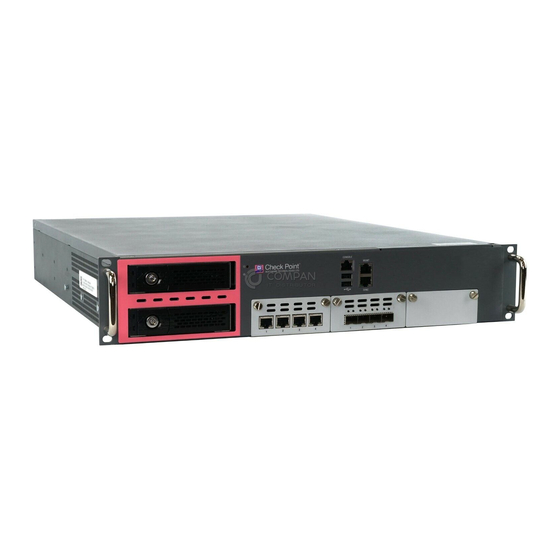
- Page 2 POWER UP YOUR CHECK POINT TE100X/TE250X/TE1000X/TE2000X APPLIANCE • Connect the power cable to the power port on the TE100X/TE250X/TE1000X/ TE2000X appliance rear panel and plug it into a power outlet. • Turn the power on. CONNECT YOUR PC FOR INITIAL SETUP •...
- Page 3 FOR WINDOWS 7 AND WINDOWS VISTA OPERATING SYSTEMS • Click > Control Panel > Network and Internet > Network and Sharing Center > Manage network connections. Right-click Local Area Connection, • and then click Properties. If you are prompted for an administrator password or confirmation, type the password or provide confirmation.
- Page 4 Fill in the parameters as required and click Finish. Figure 4: First Time Configuration Figure 5: First Time Configuration Wizard – Welcome Page Wizard – Summary Page For additional information regarding setting up your appliance, refer to the Check Point TE100X/TE250X or TE1000X/ TE2000X Appliances Getting Started Guide.
- Page 5 15-day evaluation license key. Appliance User Center For further information about the TE100X/TE250X/TE1000X/TE2000X appliances, see: https://usercenter.checkpoint.com/usercenter/login/cpapp. For technical assistance, contact Check Point 24 hours a day, seven days a week at: +1 972-444-6600 (Americas) +972 3-611-5100 (International)
- Page 6 W W W . C H E C K P O I N T . C O M ©2015 Check Point Software Technologies Ltd. All rights reserved. Check Point, the Check Point logo and Smart-1 are trademarks or registered trademarks of Check Point Software Technologies Ltd. or its affiliates. All other product names mentioned herein are trademarks or registered trademarks of their respective owners.
Need help?
Do you have a question about the TE100X and is the answer not in the manual?
Questions and answers