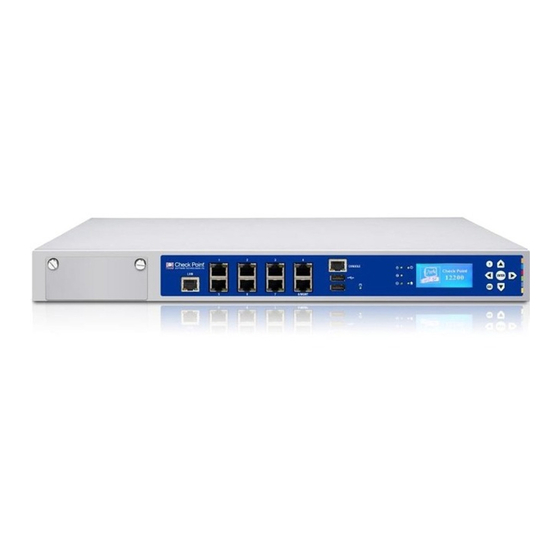
Check Point 12200 Manual
Hide thumbs
Also See for 12200:
- Installing and removing memory (7 pages) ,
- Mounting instructions (19 pages)
Advertisement
Replacing Check Point 12200
Hard Disk Drives
Important - Make certain that you are electromagnetically grounded when
performing the following procedures. Static electricity can damage the appliance.
If you are adding a second hard disk drive to the appliance, see Activating the Software RAID.
Removing a Hard Disk Drive
To remove a hard disk drive:
1. Using the key supplied in the toolkit, unlock the drive.
2. Slide the release latch toward the left. The extraction handle pops out.
3. Using the extraction handle, remove the drive from the slot.
Installing a Hard Disk Drive
To install a hard disk drive:
1. Slide the replacement hard disk drive into the slot.
2. Push the extraction handle until it closes and the drive clicks into place.
3. Using the key supplied in the toolkit, lock the new drive.
.
For a list of our Third Party Copyright notices, please refer to: http://www.checkpoint.com/3rd_party_copyright.html.
Classification [Protected]
© 2011 Check Point Software Technologies Ltd. All rights reserved.
For a list of our trademarks, please refer to: http://www.checkpoint.com/copyright.html.
P/N: 704781 | P. 1
Advertisement
Table of Contents

Related Manuals for Check Point 12200


Summary of Contents for Check Point 12200
- Page 1 Classification [Protected] P/N: 704781 | P. 1 © 2011 Check Point Software Technologies Ltd. All rights reserved. For a list of our trademarks, please refer to: http://www.checkpoint.com/copyright.html. For a list of our Third Party Copyright notices, please refer to: http://www.checkpoint.com/3rd_party_copyright.html.
- Page 2 Activating the Software RAID It is not necessary to activate the software RAID when you are replacing a hard disk drive on an appliance. Important - Do not turn off the appliance while the hard disk drives are synchronizing. If the software RAID is degraded or faulty, remove the faulty and non-synchronized hard disk drive before the appliance starts.
Need help?
Do you have a question about the 12200 and is the answer not in the manual?
Questions and answers