Advertisement
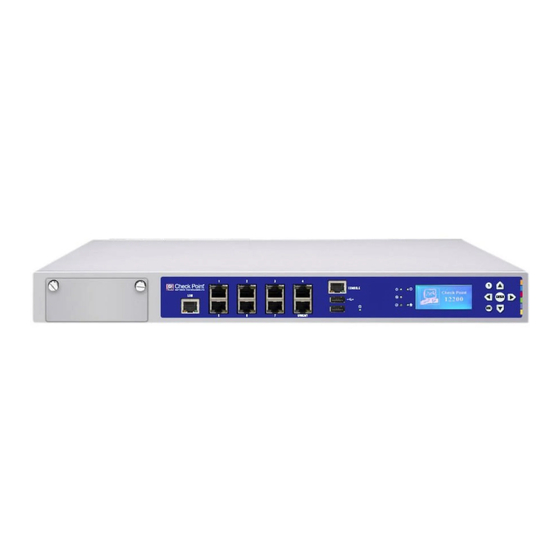
Check Point 12200 Installing and
Removing Memory
704817
Protected
2012
Important - We recommend that only experienced personnel install or remove hardware
components. Installing or removing components incorrectly can permanently damage the
appliance.
Preparing the Appliance
Before you start to install or remove memory DIMMs, make sure that:
The appliance is in a clean environment and on a level surface.
You can physically access and open the cover of the appliance.
You can connect to the WebUI or CLI to shut down the appliance.
You have the Check Point memory DIMM upgrade kit.
Important - To protect the appliance and the memory modules from electrostatic
discharge damage, make sure that you are properly grounded before you touch
these components. Read the Health and Safety Information in the Check Point
12000 Appliances Getting Started Guide before you start to prepare the appliance.
We recommend that you use the grounding wrist strap that is included in the
upgrade kit. The grounding plug on the rear of the appliance provides a chassis
grounding point.
Upgrade Kit Contents
Installation guide - Check Point 12200 Installing and Removing Memory
Memory DIMMs
Screwdriver
Upgrade kit sticker
ESD grounding strap (anti-static)
For a list of our Third Party Copyright notices, please refer to: http://www.checkpoint.com/3rd_party_copyright.html.
Classification [Protected]
© 2012 Check Point Software Technologies Ltd. All rights reserved.
For a list of our trademarks, please refer to: http://www.checkpoint.com/copyright.html.
P/N:704817 | 1
Advertisement
Table of Contents

Related Manuals for Check Point 12200


Summary of Contents for Check Point 12200
- Page 1 Important - To protect the appliance and the memory modules from electrostatic discharge damage, make sure that you are properly grounded before you touch these components. Read the Health and Safety Information in the Check Point 12000 Appliances Getting Started Guide before you start to prepare the appliance.
- Page 2 5. Remove the appliance cover screws. Only use the screwdriver that is included in the upgrade kit to open and replace the appliance cover. 6. Remove the top cover from the appliance. Check Point 12200 Item Description Appliance cover Four appliance cover screws...
- Page 3 Installing Memory DIMMs Install additional 4GB DIMM(s) in the expansion memory sockets in the Check Point 12200. Default Configuration 8 GB Upgraded Configuration...
- Page 4 Default Configuration 12 GB Upgraded Configuration Item Description Power supply units Memory socket(s) with DIMM installed Expansion memory socket(s) LOM card socket To install memory DIMMs in the appliance: 1. Find the DIMM memory slots on the system board. The basic memory configuration of the appliance ships with one DIMM installed.
- Page 5 2. Press on the two white retaining clips outward. 3. Align the new DIMM above the socket. Only touch the rear corners of the DIMM. Pressing on the heat sink or other DIMM components can damage the hardware. The top of the DIMM is smooth. The bottom edge has two different-length sets of contacts, which connect to the slots on the socket.
- Page 6 4. Press the new DIMM into the socket until it clicks into position. The retaining clips move into the lock position as you press the DIMM into position. Important - Make sure that there are no leftover parts inside the appliance. 5.
- Page 7 Removing Memory DIMMs Make sure that you prepare the appliance before you remove memory DIMMs. For more information, see Preparing the Appliance. To remove memory DIMMs from the appliance: 1. Press the two retaining clips outward. 2. Carefully pull the DIMM up. Only touch the rear corners of the DIMM.
Need help?
Do you have a question about the 12200 and is the answer not in the manual?
Questions and answers