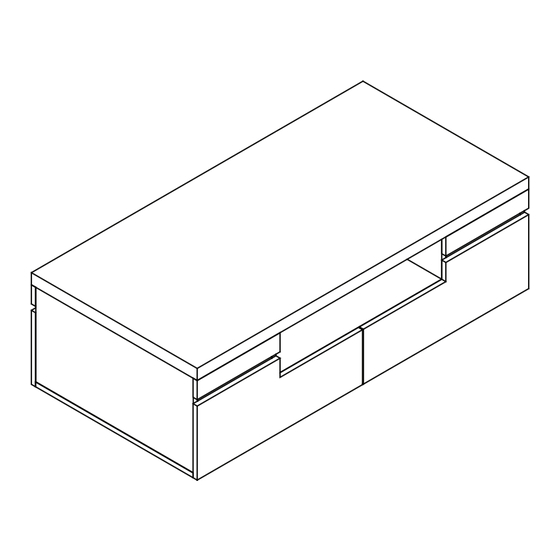
Mocka Sadie Assembly Instructions Manual
Coffee table
Hide thumbs
Also See for Sadie:
- Assembly instructions manual (18 pages) ,
- Manual (18 pages) ,
- Assembly instructions (5 pages)
Advertisement
Quick Links
Sadie
Coffee Table
Thank you for your purchase.
Please follow the instructions below for correct assembly
A
B
screw
dowel
x15
x28
G
H
slide
slide
rail x4
rail x4
Hardware Supplied
WARNING: Any furniture that is not anchored to a wall has the potential to tip over in certain
circumstances, i.e. if a child attempts to climb up on the furniture or in the event of an earth-
quake. Accordingly, we recommend that all furniture is anchored to a wall. We supply a free safety
wall anchor with all furniture sold and we recommend these are used to prevent your product
tipping. The fixing device provided should fit most wall types, but please note that different wall
materials may require different fixing devices from those supplied.
.
mocka.co.nz I mocka.com.au I PO BOX 18, Pinkenba QLD 4008
C
D
bolt
locking
screw
x61
nut x61
x32
J
K
I
slide
screw
plastic
rail x4
x16
glide x10
Phillips & Flathead screwdrivers
and hammer required
For quicker assembly, we recommend the
use of a power drill on a low-speed setting.
E
F
slide
rail x4
Advertisement

Summary of Contents for Mocka Sadie
- Page 1 fixing devices from those supplied. Phillips & Flathead screwdrivers and hammer required For quicker assembly, we recommend the use of a power drill on a low-speed setting. mocka.co.nz I mocka.com.au I PO BOX 18, Pinkenba QLD 4008...
- Page 2 Attach 2x slide rails (F) and 2x slide rails (G) to panel [4] with 8x slide rails (G) to panels [3] with 8x screws (E). screws (E). Tighten with a screwdriver. Tighten with a screwdriver. mocka.co.nz I mocka.com.au I PO BOX 18, Pinkenba QLD 4008...
- Page 3 Sadie Coffee Table Insert 3x bolts (C) into panel [5]. Tighten with a screwdriver. Insert 4x bolts (C) into panels [6]. Tighten with a screwdriver. mocka.co.nz I mocka.com.au I PO BOX 18, Pinkenba QLD 4008...
-
Page 4: Coffee Table
Attach panel [5] to panels [6] with 6x screws (B) and 4x dowels (A). Attach panel [4] to panel [5] with 3x locking nuts (D) and 2x dowels (A). Tighten with a screwdriver. Tighten with a screwdriver. mocka.co.nz I mocka.com.au I PO BOX 18, Pinkenba QLD 4008... - Page 5 Attach panels [3] to panels [7] with 4x locking nuts (D) and 4x Attach panels [7] to panels [6] with 4x locking nuts (D) and 4x dowels (A). Tighten with a screwdriver. dowels (A). Tighten with a screwdriver. mocka.co.nz I mocka.com.au I PO BOX 18, Pinkenba QLD 4008...
- Page 6 Insert 20x bolts (C) and 8x dowels (A) into panel [5]. Attach panels [8] to panel [1] and secure with 8x locking nuts (D). Tighten with a screwdriver. Tighten with a screwdriver. mocka.co.nz I mocka.com.au I PO BOX 18, Pinkenba QLD 4008...
- Page 7 Coffee Table Insert 10x bolts (C) into panel [2]. Tighten with a screwdriver. Attach panels [3] and [6] to panel [1], secure with 12x locking nuts (D). Tighten with a screwdriver. mocka.co.nz I mocka.com.au I PO BOX 18, Pinkenba QLD 4008...
- Page 8 6x dowels (A). Tighten with a screwdriver. with 4x locking nuts (D). Tighten with a screwdriver. Attach 10x plastic glide (K) to panels [9] and [10] with a hammer. mocka.co.nz I mocka.com.au I PO BOX 18, Pinkenba QLD 4008...
- Page 9 Attach panels [9] and [10] to panel [2] with 10x locking nuts (D). Insert 16x bolts (C) into panels [11] and [12]. Tighten with a screwdriver. Tighten with a screwdriver. mocka.co.nz I mocka.com.au I PO BOX 18, Pinkenba QLD 4008...
- Page 10 Attach panels [13] and [14] to panels [11] and [12], secure with 16x Slide panels [15] down along the grooves between the panels locking nuts (D). Tighten with a screwdriver. [13] and [14] as shown. mocka.co.nz I mocka.com.au I PO BOX 18, Pinkenba QLD 4008...
- Page 11 Attach slide rail (I) and slide rail (H) to the underside of the side Tighten with a screwdriver. panels as shown. Secure with 16x screws (E) and tighten with a screwdriver. mocka.co.nz I mocka.com.au I PO BOX 18, Pinkenba QLD 4008...
- Page 12 Insert the assembled drawers into the corresponding compartments Once assembled lift furniture into place, do not drag. You’re done, enjoy! as shown. Ensure the drawers slide easily along the rails. mocka.co.nz I mocka.com.au I PO BOX 18, Pinkenba QLD 4008...


Need help?
Do you have a question about the Sadie and is the answer not in the manual?
Questions and answers