Advertisement
Quick Links
1.Scope
This document specifies the procedures of mating/unmating operation for DF51 series.
This document contains general guidelines and operating suggestions to use this part safely. Unexpected
troubles such as connector breakage could happen, if this product is used in other ways. Please read
through this document and understand proper operation before use.
2.Connectors
Part No.
DF51-*P(DP)-2DS(A)
DF51-*EP(DEP)-2C
DF51-*S(DS)-2C
DF51-####SC(F)A
DF51-####PC(F)A
DF51-10DS-2C
+ DF51-####SC(F)A
COUNT
DESCRIPTION OF REVISIONS
△
0
TITLE
DF51 Series Mating/Unmating Operation Instruction Manual
TECHNICAL SPECIFICATION
FORM HC0011-9-1
Description
Header
Plug for relay connection
Crimp socket
Crimp contact for socket
Crimp contact for
relay connection plug
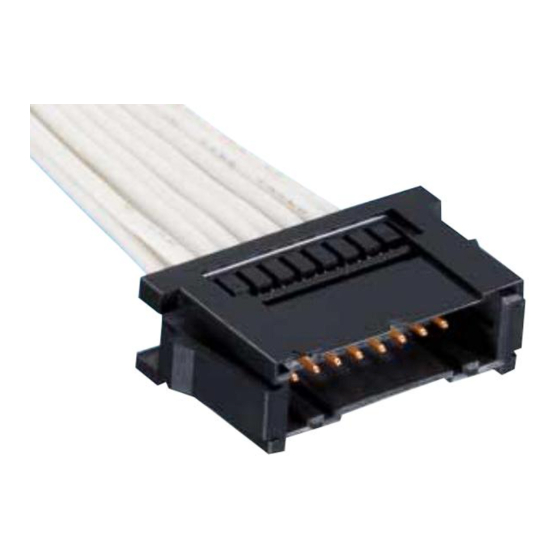
Fig. 1: DF51 series
DESIGNED
DF51-10DP-2DSA
DF51-10DP-2DS
DF51-10DEP-2C
+ DF51-####PC(F)A
CHECKED
HIROSE ELECTRIC CO.,LTD.
APPROVED
KI.AKIYAMA
CHECKED
YN.TAKASHITA
DESIGNED
TT.OHSAKO
WRITTEN
TT.OHSAKO
ETAD-H0847-00
DATE
16.01.13
16.01.13
16.01.13
16.01.13
△
1 / 4
0
Advertisement

Subscribe to Our Youtube Channel
Related Manuals for HRS DF51 Series


Summary of Contents for HRS DF51 Series
- Page 1 1.Scope This document specifies the procedures of mating/unmating operation for DF51 series. This document contains general guidelines and operating suggestions to use this part safely. Unexpected troubles such as connector breakage could happen, if this product is used in other ways. Please read through this document and understand proper operation before use.
- Page 2 3.Operation Procedure 3-1. Mating 3-1-a. Positioning for Insertion :Position the crimp socket with the header or plug for relay connection according to the mating point mark. してください Mating Point Mark Fig 2. Positioning for Insertion 3-1-b. Insertion and Mating :Insert the connector until it clicks. * Please do not press the latches while insertion.
- Page 3 Notice 1:Do not tilt the socket in insertion as shown below in order to avoid negative influence on quality. Fig 4. Prohibited Insertion 3-1-c. Confirmation of Mating :Make sure that the crimp socket is completely mated. (Make sure if the hooks are caught or not either by looking or by slightly pulling the cables by hand)...
- Page 4 3-2. Unmating 3-2-a. Grabbing cables :Grab and hold all cables firmly Fig 6. Grabbing Cables Condition 3-2-b. Removal While having the cables, unlock the hooks by pressing the latches and pull the connector vertically Note: the appropriate unmating cannot be done if the hooks are still stuck. Unmating Unlocking Direction...
Need help?
Do you have a question about the DF51 Series and is the answer not in the manual?
Questions and answers