Advertisement
Quick Links
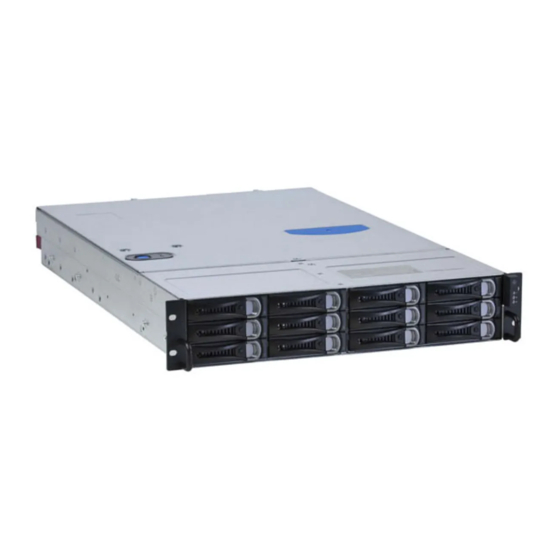
REO 4500 Disk Carrier
Important Reminders
IMPORTANT:
Be sure to follow Electrostatic Discharge
(ESD) and safety procedures when working on this and
other Overland
Improper installation might result in
WARNING:
damage to this part or the appliance, which will
void the current warranty.
Overview & Managed Hot Swap Preparation
About REO Disks
CAUTION:
If all drives are replaced at once, all data is
lost and the RAID needs to be rebuilt. See your REO
Setup Guide for rebuild help.
REO appliances are equipped with Serial ATA disks
mounted in disk carriers that are accessible through the
front of the enclosure. By using the applicable features in
the REO GUI, you can remove and replace a disk without
powering down the appliance. This is known as
performing a managed hot swap of a disk.
Managed Hot Swap Preparation
1. Make sure that none of the initiators (servers) have
active connections with the appliance.
2. In the REO GUI, locate the disk identification and
removal page associated with the REO software version
in use.
Part Number 10400111-103 06/2007
Remove and Replace
Disk
REO 4500 Disk
©2007 Overland Storage, Inc.
REO 9100 Disk Carrier
CAUTION:
When installing a replacement part, always
be sure the replacements have acclimated to room
temperature (test by touching) before beginning the
remove and replace procedure.
CAUTION:
To avoid loss of data, on the REO 4000,
9000, 9100 (and in rare cases the 4500) each
new disk must occupy the same slot as the disk
it is replacing.
• Version 2.5.0 or later: Internal Disk Management
page.
• Version 2.4.0 or earlier: Physical Volume
Management page.
3. Using the appropriate GUI page, locate the applicable
disk and click the "Remove" button next to it.
NOTE:
If you are using REO software version 2.2 or later,
the applicable disk might be listed in the FREE DRIVE
POOL section of the page and might not have a
corresponding Remove button.
a. On the Internal Management or Physical
Volume page, note the disk location.
b. Click the Remove button (if applicable).
c. Click OK when the confirmation message appears.
The managed hot swap preparation is now complete.
TM
REO
Series
REO 9100 Disk
1
4
Page
of
Advertisement

Related Manuals for Overland Storage REO Series


Summary of Contents for Overland Storage REO Series
- Page 1 2. In the REO GUI, locate the disk identification and The managed hot swap preparation is now complete. removal page associated with the REO software version in use. Part Number 10400111-103 06/2007 Page ©2007 Overland Storage, Inc.
- Page 2 Remove the four screws that hold the disk in the carrier (Figure 5) and set the screws aside. Figure 5. Remove Screws b. Remove the disk and set it aside. Part Number 10400111-103 06/2007 Page ©2007 Overland Storage, Inc.
- Page 3 10) and set the screws aside. Return Removed Parts to Overland Follow directions included on the box for returning parts to Overland Storage. Figure 10. Remove Screws b. Remove the disk and set it aside. Part Number 10400111-103 06/2007 Page ©2007 Overland Storage, Inc.
- Page 4 Remove the disk and set it aside. Additional Help You can get additional technical support on the Internet at http://support.overlandstorage.com, or call 1-877-654-3429 (toll-free U.S. & Canada), +44 (0) 118-9898050 (Europe), or 001-858-571-5555 x5 (International). Part Number 10400111-103 06/2007 Page ©2007 Overland Storage, Inc.