Table of Contents
Advertisement
Quick Links
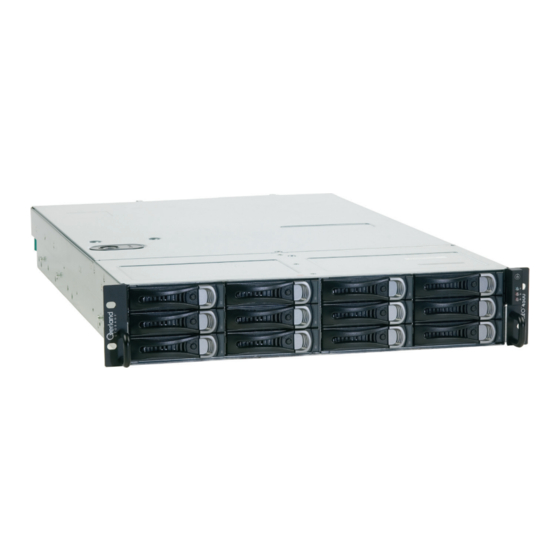
This document describes how to unpack and install a REO
4500x Expansion Appliance into a standard RETMA 19"
rack. The appliance has a 2U form factor.
Before unpacking the unit, ensure that the area is free
from conditions that cause electrostatic discharge (ESD).
Discharge static electricity from your body by touching a
known grounded surface. Also, avoid touching pins, leads,
or circuitry.
First Things First—Activate Your Warranty!
Before installing your new unit, it is essential that you
activate your REO warranty. Technical and warranty
support are not available until this is done. All you need to
do is register your unit:
1. Go to the Overland Technical Support website at:
http://support.overlandstorage.com/
2. Using the MEMBER LOGIN E-mail and Password
fields, log in to the site.
Preparing REO 4500x for Installation
Overland recommends that you install the unit in a clean,
air-conditioned environment where water and moisture
cannot enter the case of the appliance. Keep the air as free
from dust as possible.
Each REO 4500x comes with an Accessory Kit containing:
• Rail kit and hardware
• Power cords
• InfiniBand-to-MiniSAS cable
• MiniSAS-to-MiniSAS cable
• This quick start guide
CAUTION:
Overland strongly recommends that you install power
conditioning and an adequately rated uninterruptible power
supply (UPS), especially in areas prone to blackouts, power
dips, and electrical storms.
The REO is intended to be grounded. Ensure it is connected to
earth ground during normal use. Installing proper grounding
helps to avoid damage from lightning and power surges.
Part Number 10400120-102 06/2007
REO™ 4500x Expansion Appliance
Quick Start Guide
©2007 Overland Storage, Inc.
NOTE:
If you are not yet a member,
click the SIGN UP NOW button and
follow the instructions to become a
member. It's free!
3. Under MY PRODUCTS, click Add
or Register a New Product and
follow the on-screen instructions.
Removing Drives from REO 4500x
WARNING: The REO 4500x is shipped with the disk
drives installed. Overland recommends that you
remove the drive carrier assemblies from the REO
to lessen the weight prior to rack installation.
CAUTION:
Verify the AC power to the appliance is disconnected
before you install or remove the drive carrier assemblies.
1. Turn the carrier lever lock counterclockwise
Figure 1. Unlock and Release Drive Carrier
2. Slide the release button to the right to release the lever.
(Figure
1).
1
4
Page
of
Advertisement
Table of Contents

Related Manuals for Overland Storage REO 4500x


Summary of Contents for Overland Storage REO 4500x
-
Page 1: Quick Start Guide
Overland recommends that you install the unit in a clean, air-conditioned environment where water and moisture cannot enter the case of the appliance. Keep the air as free WARNING: The REO 4500x is shipped with the disk from dust as possible. drives installed. Overland recommends that you... -
Page 2: Installing The Rail Kit
Installing the Rail Kit The REO 4500x comes with a rail kit for mounting the appliance in a 19-inch rack. These steps address the more common square-holed rack. Refer to the REO 4500 Setup Guide for installation in a rack with round holes. -
Page 3: Attaching Cables
2. Carefully insert the drive assembly with the lever lifted Figure 7. Attaching Rear of Rail until it completely enters the bay. Installing the REO 4500x in the Rack 3. Push the lever back in place (Figure 4. Turn the lock on the lever clockwise to secure the drive WARNING: It is recommended that a mechanical carrier in the chassis. - Page 4 All information contained in or disclosed by this document is considered proprietary by Overland Storage.
Need help?
Do you have a question about the REO 4500x and is the answer not in the manual?
Questions and answers