Advertisement
Available languages
Available languages
Table of Contents
H-10415
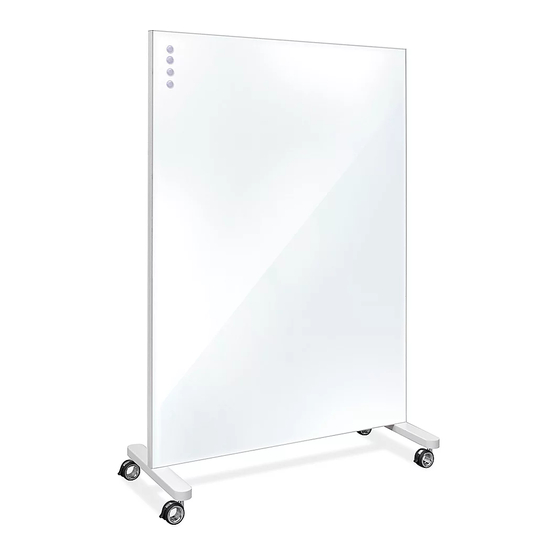
GLASS DRY ERASE
PARTITION
TOOL NEEDED
Wrench
(included)
Glass Board x 1
Figure 1
PAGE 1 OF 6
1-800-295-5510
uline.com
Two Person Assembly
Required
PARTS
Base x 2
Double-Sided Tape
ASSEMBLY
Flange Bolt x 4
x 4
WARNING! Glass dry erase boards are made
of safety glass, but improper handling and
installation may cause serious injury if the
board shatters. Proper installation will require at
least two people.
1.
Lay board on its side with second person holding it
in place.
2. Align base perpendicular to board and ensure that
holes on base align with holes on board. Insert two
flange bolts and tighten using wrench. (See Figure 1)
3. Repeat step 2 with remaining base and flange bolts
on opposite side of board.
4. Return partition to a standing position.
Para Español, vea páginas 3-4.
Pour le français, consulter les pages 5-6.
Caddy x 1
1222 IH-10415
Advertisement
Table of Contents

Subscribe to Our Youtube Channel
Related Manuals for U-Line H-10415


Summary of Contents for U-Line H-10415
- Page 1 Para Español, vea páginas 3-4. Pour le français, consulter les pages 5-6. H-10415 1-800-295-5510 uline.com GLASS DRY ERASE PARTITION TOOL NEEDED Two Person Assembly Wrench Required (included) PARTS Base x 2 Double-Sided Tape Flange Bolt x 4 Caddy x 1...
- Page 2 ASSEMBLY CONTINUED 5. Peel off paper back from double-sided tape. Attach 6. Firmly press caddy onto board in desired location. tape to back of caddy. (See Figure 2) (See Figure 3) Figure 2 Figure 3 1-800-295-5510 uline.com PAGE 2 OF 6 1222 IH-10415...
- Page 3 H-10415 800-295-5510 uline.mx PANEL SEPARADOR CON PIZARRÓN DE CRISTAL HERRAMIENTA NECESARIA Se Requiere Armar Llave Entre Dos Personas (incluida) PARTES 2 Bases 4 Cintas Doble Cara 4 Pernos de Reborde 1 Contenedor 1 Pizarrón de Cristal ENSAMBLE ¡ADVERTENCIA! Los pizarrones blancos de cristal están hechos de cristal de seguridad,...
- Page 4 CONTINUACIÓN DEL ENSAMBLE 4. Vuelva a colocar el panel separador en posición 6. Presione firmemente el contenedor contra el vertical. pizarrón en la ubicación deseada. (Vea Diagrama 3) 5. Despegue el respaldo de papel de la cinta doble cara. Fije la cinta a la parte posterior del Diagrama 3 contenedor.
- Page 5 H-10415 1-800-295-5510 uline.ca CLOISON EFFAÇABLE À SEC EN VERRE OUTIL REQUIS Montage à deux Clé personnes requis (inclus) PIÈCES Base x 2 Ruban adhésif Boulon de bride x 4 Bac x 1 double face x 4 Tableau en verre x 1 MONTAGE AVERTISSEMENT! Les tableaux effaçables à...
- Page 6 MONTAGE SUITE 4. Placez la cloison à la verticale. 6. Appuyez fermement le bac sur le tableau à l'endroit désiré. (Voir Figure 3) 5. Retirez la doublure de papier du ruban adhésif double face. Collez le ruban adhésif sur le dos du bac.
Need help?
Do you have a question about the H-10415 and is the answer not in the manual?
Questions and answers