Table of Contents
Advertisement
Advertisement
Table of Contents

Related Manuals for Trek FUEL EXE 2023


Summary of Contents for Trek FUEL EXE 2023
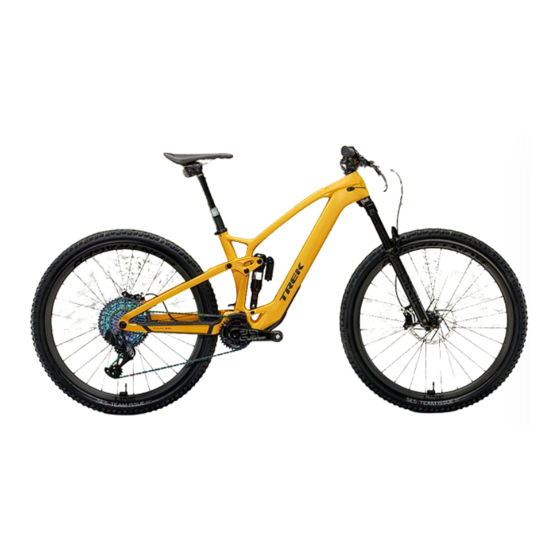
- Page 1 2023 FUEL EXE SERVICE MANUAL Rev 3 January 2023...
-
Page 2: Table Of Contents
Notice: Measurements of actual tires may vary. Always verify there is sufficient clearance between the tire and the frame. Improper tire size could damage the bicycle frame. Trek recommends 6mm clearance above and on the sides of the tire. Frame/Size... -
Page 3: Safety
2023 Fuel EXe Safety Legend WARNING Properly tighten hardware Apply grease Always tighten hardware to the specified torque. Over-tightening hardware could deform or break the hardware or components. Under-tightening hardware could cause hardware or components to become loose. Do not apply grease Either situation could damage the bicycle and result in injury to the rider. -
Page 4: Derailleur Hanger
2023 Fuel EXe Derailleur hanger 25Nm Derailleur hanger Washer, 30mm – W5271425 Bolt Tools • 8mm hex tool • Torque wrench (left-hand thread) with 8mm hex bit NOTICE: Do not over-tighten. Over-tightening the bolt WARNING could cause the hanger to break. Do not apply grease to the derailleur hanger or bolt. - Page 5 2023 Fuel EXe Active Braking Pivot (ABP) 20x30 20x30 Tools Lever — W573860 • Bearing press Thru axle — W583469 • Cassette lockring tool • Grease Non-driveside ABP bolt — • Threadlocker W5251141 Retaining ring — W5251279 — W5272776 Bearings — W5256340 ABP Non-driveside guide nut —...
-
Page 6: Rocker Pivot And Seatstay
2023 Fuel EXe Rocker pivot and seatstay 12x21 12x21 12x21 Important: Install driveside 12x21 bearing first. Torque order Important: Loosely tighten all screws and bolts, then torque in the order shown below. To achieve proper torque on all bolts, rocker link pinch bolts (8) must be torqued last. Drive side Non-drive side Screws —... -
Page 7: Main Pivot And Chainstay
2023 Fuel EXe Main pivot and chainstay 15Nm 17x26 17x26 Important: Install driveside bearing first 15Nm Tools Main pivot axle — W5270022 • Bearing press Frame spacers — W440921 • 5 mm hex tool • Torque wrench with 5mm hex bit Bearings —... -
Page 8: Rear Shock
2023 Fuel EXe Rear shock hardware and dimensions Shock Dimensions Eye-to Eye-length: 205mm Stroke length: 60mm Upper width: 54mm x 10mm 12x21 17Nm Lower width: 40mm x 8mm 12x21 17Nm 15Nm Tools • Bearing press Upper bolts, M10 x 1 x 19mm — W5270031 •... - Page 9 2023 Fuel EXe Adjust the geometry Flip the Mino link to change the bike’s geometry to fit your riding style or the terrain. Steeper head tube angle Slacker head tube angle Mino link in the high position Mino link in the low position •...
-
Page 10: Brake, Derailleur, And Dropper Post Routing
2023 Fuel EXe Brake, derailleur, and dropper post routing Cable tunnels 0.5Nm 0.5Nm Dropper post cable 1. Remove the battery cover, access cover and battery (See Remove and install the battery on page 19. 2. Route the cable from the bottom up through the seat post and up through the cable tray in the down tube. -
Page 11: Guards And Water Bottle Mounts
2023 Fuel EXe Guards and water bottle mounts M6 x 20 M4 x 6 M5 x 8 Seatstay adhesive guard — W5271371 10 Chainstay guard — W5271370 Brake hose adhesive guard — W326986 11 Clip nut (Use when battery is not installed) — W5284890 Rotor guard —... - Page 12 2023 Fuel EXe Charge port cover Tip: Not sure if you have a T8 Torx wrench? Before you buy a new one check your SRAM bleed kit to see if one is included with the kit. 0.8Nm Bolts — 5305632 Replacement tip —...
-
Page 13: Remote, Display, And Smart Box
2023 Fuel EXe Remote, display, and Smart Box For detailed service instructions: Refer to the TQ service manuals found on tq-ebike.com/en/support/manuals. Bikes without a TQ Smart Box 0.5Nm Bikes with a TQ Smart Box AXS-equipped bikes include the TQ 0.5Nm Smart Box. -
Page 14: Wiring Harness And Cable Tray Organizer
2023 Fuel EXe Wiring harness and cable tray organizer Cable tray replacement tip Button head cap screws — W575056 Cable tray — W5274993 Sliding T nut — W5283261 Charge port holder — W5274996 Screws — W545633 Do not grease the Wiring harness —... -
Page 15: Drive Unit And
2023 Fuel EXe Drive unit For detailed service instructions: Refer to the TQ service manuals found on tq-ebike.com/en/support/manuals. Notice: Before assembling the chainring (spider) or lock- ring, place the included protective sleeve over the bottom bracket spindle. Failure to use the sleeve could damage the seal on the lockring and allow water to damage the motor. -
Page 16: Adjust The Compensation Screws
2023 Fuel EXe Adjust the compensation screws Before mounting a replacement drive unit, adjust the com- pensation screws (tighten or loosen) to match the frame as shown NOTE: Only adjust the compensation screws if you are replac- ing the drive unit. -
Page 17: Re-Installing The Cranks
2023 Fuel EXe Re-installing the cranks Note: a CWP-7 Crank Puller be helpful to remove some types of crank arms. The TQ system is designed for cranks to be installed in the UP position and in alignment with the notches on spindle. Installing the cranks in a different position will cause the drive unit to run rough for a few hundred meters until the system re-learns the position of the cranks. -
Page 18: Speed Sensor
2023 Fuel EXe Speed sensor For detailed service instructions: Refer to the TQ service manuals found on tq-ebike.com/en/support/manuals. 1-8mm Replacement tip Speed sensor cable and clip — 5289567 Bolt, M4 x 6mm — W575056 1. To aid in removing the cable, use an internal routing tool to chase the cable as you remove it. -
Page 19: Battery
2023 Fuel EXe Battery For detailed service instructions: Refer the TQ service manuals found on tq-ebike.com/en/support/manuals. Light sensor Charge level LEDS Bolts — W581747 Tools Upper battery end cap — W5298492 • 2.5mm hex tool Assembly Battery — 5289554 Notice: Assemble the handle in the orientation shown Lower battery end cap —... -
Page 20: Remove And Install The Battery
2023 Fuel EXe Remove and install the battery Remove the battery Re-install and partially tighten the screw to hold the battery. NOTICE: Guide the battery out of the frame. When the last battery mount screw is removed, the battery will slide out of the frame. -
Page 21: Ride The Bike Without The Battery
2023 Fuel EXe Ride the bike without the battery The battery helps hold the motor cover in place. To ride the bike without the battery, you must install the clip nut to hold the motor cover in place. The clip nut is stored on the inside of the batter cover. -
Page 22: Connect Lights To The Tq Smart Box
2023 Fuel EXe Connect lights to the TQ Smart Box Smart Box outputs Light adapter cable with Micro A connector Lights can be connected to the TQ smart box and powered by the bike battery. The Smartbox power outputs must be activated via the Dealer Service Tool. -
Page 23: Specifications
Notice: Measurements of actual tires may vary. Always verify there is sufficient clearance between the tire and the frame. Improper tire size could damage the bicycle frame. Trek recommends 6mm clearance above and on the sides of the tire. Frame/Size...
Need help?
Do you have a question about the FUEL EXE 2023 and is the answer not in the manual?
Questions and answers