Advertisement
Quick Links
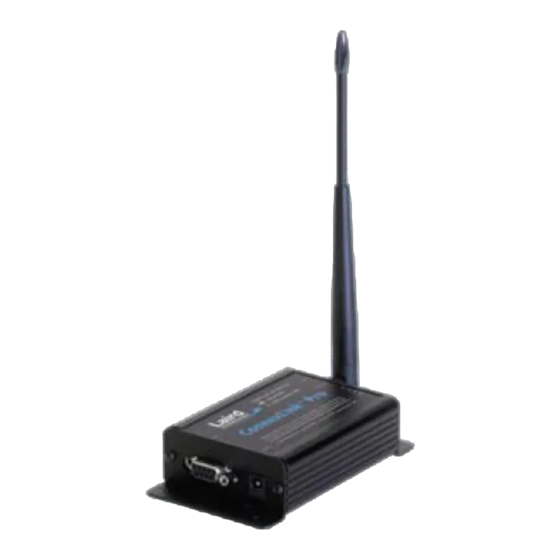
CL4790-1000-232, CL4790-1000-485
Application Note
The goal of this Application Note is to outline how to configure the CL4790 ConnexLink units with the most basic settings to
establish a Point-to-Point (P2P) or Point-to-MultiPoint (P2MP) connection between two or more CL4790 units.
▪
Two (or more) CL4790-1000-xxx units (for demonstration purposes we will be working with two CL4790-1000-232
variant)
▪
Appropriate USB-to-xxx interface adapters to enable connection to PC – not included with CL4790 units
– CL4790-1000-232
RS232-to-USB (examples: FTDI Model: UC232R-10, Tripp-Lite Keyspan Model: USA-19HS)
– CL4790-1000-485 (One of the following)
RS485-to-USB (example: ULinx Model 485USBTB-2W)
RS485-to-RS232 combined with RS232-to-USB adapter (example B&B Electronics Model: 485SD9TB)
▪
PC Operating Windows XP or newer
▪
Laird Configuration and Test Utility Software v6.07
▪
(Optional) Female-to-Female pin jumper wire (to tie TX/RX RS232 pins for loopback test) or serial loopback plug
(example:
SeaLevel DB9 Female Serial Loopback
You will need to download the
Note:
Downloading the configuration utility will require the completion of a Software Request Form, which will pop up
when you click on the download link. This Software Request Form is required so that we have valid contact
information to use for product update notifications, such as new software releases. Once you submit this form a
download link should be made available at the top of the Product Page. Additionally, you should receive a
download link via email.
https://www.lairdconnect.com/resources/support
from
Adapter)
Laird Configuration and Test Utility Software v6.07
© Copyright 2021 Laird Connectivity
All Rights Reserved
CL4790 Product Page
from the
1
CL4790 Product Page.
Americas: +1-800-492-2320
Europe: +44-1628-858-940
Hong Kong: +852 2762 4823
v1.0
Advertisement

Subscribe to Our Youtube Channel
Related Manuals for Laird CL4790


Summary of Contents for Laird CL4790
- Page 1 Application Note v1.0 The goal of this Application Note is to outline how to configure the CL4790 ConnexLink units with the most basic settings to establish a Point-to-Point (P2P) or Point-to-MultiPoint (P2MP) connection between two or more CL4790 units. ▪...
- Page 2 Install the extracted files. Be sure to run the installation software as administrator (right-click on Setup.exe and select “Run as administrator”), as shown in Figure Figure 2: Run as Admin https://www.lairdconnect.com/resources/support Americas: +1-800-492-2320 © Copyright 2021 Laird Connectivity Europe: +44-1628-858-940 All Rights Reserved Hong Kong: +852 2762 4823...
- Page 3 Figure 3: Follow prompts Note the directory the files will be installed into and click the button to install. (Figure Figure 4: Begin installation https://www.lairdconnect.com/resources/support Americas: +1-800-492-2320 © Copyright 2021 Laird Connectivity Europe: +44-1628-858-940 All Rights Reserved Hong Kong: +852 2762 4823...
- Page 4 Be sure to install and run the CU as Administrator otherwise it does not have the required permissions to properly configure the port(s) to communicate with the ConnexLink device(s). https://www.lairdconnect.com/resources/support Americas: +1-800-492-2320 © Copyright 2021 Laird Connectivity Europe: +44-1628-858-940 All Rights Reserved Hong Kong: +852 2762 4823...
- Page 5 To connect the CL4790 to your PC, follow these steps: Attach the Antenna to the CL4790 Connect the CL4790 unit to your PC. Depending which variant of the CL4790 is being used you will need to connect to your PC using one of the following setups: ▪...
- Page 6 ▪ CL4790-1000-485 can be connected using combination RS485-to-RS232 & RS232-to-USB adapter (Figure See page 10 of CL4790 Hardware Integration Guide (Datasheet) for wiring diagram. Figure 9: RS485-to-RS232 + RS232-to-USB (485SD9TB + USA-19HS) Connect the Power Adapter to power on the radio and verify LEDs as shown in Figure 10.
- Page 7 RS232: Hardware Recommended ▪ RS485: None Set Data Bits to 8 Set Stop Bits to 1 Enable the Options shown Verify Port 1 Status https://www.lairdconnect.com/resources/support Americas: +1-800-492-2320 © Copyright 2021 Laird Connectivity Europe: +44-1628-858-940 All Rights Reserved Hong Kong: +852 2762 4823...
- Page 8 Figure 12: PC Settings tab https://www.lairdconnect.com/resources/support Americas: +1-800-492-2320 © Copyright 2021 Laird Connectivity Europe: +44-1628-858-940 All Rights Reserved Hong Kong: +852 2762 4823...
- Page 9 Guide. It may be necessary to recover communication with the radio by enabling Force 9600 as per the Application Note - Force 9600 Baud for ConnexLinks. https://www.lairdconnect.com/resources/support Americas: +1-800-492-2320 © Copyright 2021 Laird Connectivity Europe: +44-1628-858-940 All Rights Reserved Hong Kong: +852 2762 4823...
- Page 10 By default, single units are configured with default baud of 57600, RF Channel 16 and System ID of 1. Each CL4790 system requires to either be direct addressed to each other, or one unit set with Broadcast enabled and second unit with either Broadcast or Auto Destination enabled.
- Page 11 Return to Configure tab and read the radio again to confirm connection and that changes were written to the radio. Return to PC Settings Tab and Click Close Port (Figure 19). https://www.lairdconnect.com/resources/support Americas: +1-800-492-2320 © Copyright 2021 Laird Connectivity Europe: +44-1628-858-940 All Rights Reserved Hong Kong: +852 2762 4823...
- Page 12 Figure 19: Close port Disconnect the first radio and connect to the second radio as per Connect CL4790 to PC section. Configure the second unit exactly the same as the first one – (see steps 1-4 of Pairing Two Units) Note: The RF Channel and System ID must be set the same on BOTH units for them to connect and pass data.
- Page 13 Receive Packet Display: ASCII Port 1: View RX Packets Click on Run to run the test Figure 22: Range Test tab - loopback https://www.lairdconnect.com/resources/support Americas: +1-800-492-2320 © Copyright 2021 Laird Connectivity Europe: +44-1628-858-940 All Rights Reserved Hong Kong: +852 2762 4823...
- Page 14 Note: Testing CL4790-1000-RS485 configurations with Range Test Tab requires two RS485-to-USB (or RS485-to- RS232) adapters, so that both radios can be connected to the Configuration Utility, as RS485 does not support Loopback configurations. See the Laird Configuration and Test Utility Software - RAMP Modules User Guide additional information about using the Range Test feature for alternate testing options.
Need help?
Do you have a question about the CL4790 and is the answer not in the manual?
Questions and answers