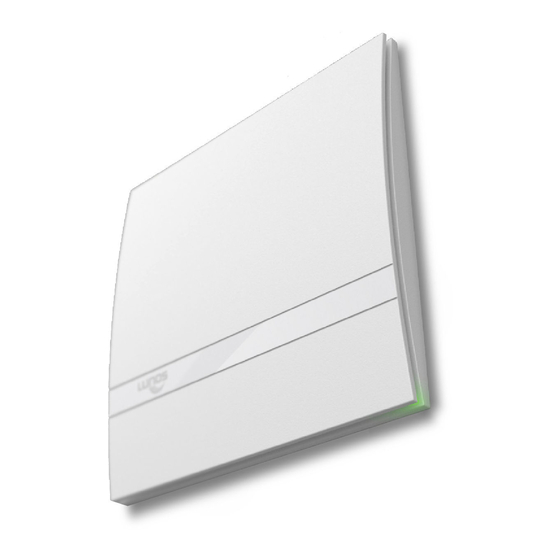
Summary of Contents for Lunos Silvento ec
- Page 1 Einbauanleitung Silvento ec Klemmlüfter - Bitte an den Nutzer weiterleiten - Installation Manual Silvento ec Clamp-in Fan - Please pass on to user -...
-
Page 2: Table Of Contents
Installation Instructions Contents Page: About These Instructions; Safety Instructions, Range of Application, Disposal Technical Data Notes, Shipping units, Installation Examples Installation - Replacement of a Skalar-V and installation in a wall installation housing Installation - Installation in a wall cutout Installation - Additional modules Electrical Connection Setting the DIP Switches... -
Page 3: Technical Data
Every Silvento ec can be combined with a control board without a humidity sensor or with a humidity sensor, each control board can be combined with one extension module. This results in the following configuration options: The Control board for the basement ventilation 5/EC-KE is optionally available and not listed here. -
Page 4: Notes, Shipping Units, Installation Examples
1 Notes - Installation in area 1 in bath and shower rooms in accordance with VDE 100 is permissible - Fan installation for use as extractor hood not permitted 2 Shipping Unit Please check the delivery for completeness and mint condition! Clamp-in fan unit Silvento KL-EC included: ... -
Page 5: Installation - Replacement Of A Skalar-V And Installation In A Wall Installation Housing
The fan unit clamp fan is attached using the clamping screws. Tighten the clamping screws moderately with a screwdriver. The automatically extending clamping pieces (H) are positioned from behind on the pre- wall cladding or in the recesses of the plaster frame of the housings 3/LB, 3/LS, 3/LS 2 and 3/ LB 2. -
Page 6: Electrical Connection
6 Electrical Connection Caution! Any installation work on the ventilation unit may only be carried out with the mains voltage disconnected! The ventilation unit is insulated in accordance with protection class II, a protective conductor connection is not required. Make sure all connection lines are de-energized before connecting the ventilation unit to the power supply! (Disconnection from power supply with at least 3 mm contact opening, e.g. -
Page 7: Setting The Dip Switches
Setting the DIP Switches Via the DIP switches (S) on the control board you have the option to set a variety of fan functions! Each of the white switches has three setting options! Attention! Only adjust the switch when the ventilation unit is de-energised Factory setting 5/EC-ZI, 5/EC-FK: White switch Basic ventilation:... -
Page 8: Humidity Control
DIP switch sttings interval, run-on time and switch-on delay Interval OFF Interval ON, Fan runs every 4 hours for 30 min in regulated ventilation Interval ON, Fan runs every 2 hours for 15 min in regulated ventilation Run-on time OFF Run-on time ON, Fan runs on for 15 min in regulated ventilation Run-on time ON,... -
Page 9: Filter Change, Cleaning , Additional Parts And Replacement Parts
7 Filter Change The LED lights up continuously when the filter is dirty. Remove the front cover, remove the filter. Insert a new or cleaned filter. The filter can be cleaned e.g. using a dishwasher. Press the button (S) with a tool, e.g. a pen, for 3 seconds; the LED goes out. Put the front cover back in place. - Page 10 Notes...
- Page 11 Notes...
- Page 12 Notes LUNOS Germany LUNOS Lüftungstechnik GmbH & Co. KG Phone +49 30 362 001-0 für Raumluftsysteme +49 30 362 001-89 Wilhelmstr. 31 info@lunos.de 13593 Berlin ∙ Germany www.lunos.de...


Need help?
Do you have a question about the Silvento ec and is the answer not in the manual?
Questions and answers