Table of Contents
Advertisement
Quick Links
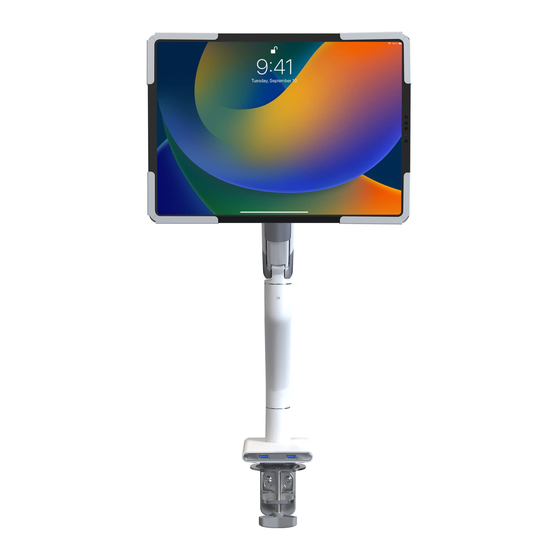
Slim Spring Arm Mount w/ USB Ports and
Universal Security Enclosure for Medium Size Tablets
CONTENTS:
INSTALLATIONS:
1
PRE-SETUP
2
SETTING UP CLAMP MOUNT OPTION
2A. Align L-shape component(F) with base of clamp mount
as shown above. Rotate in screws (K) through using
provided tool (P) until securely tighten. Afterwards peel off
sticker back of padding (N) and place firmly on the screws
(K).
3
SETTING UP GROMMET MOUNT OPTION
3A. Align base (G) with component (H). Rotate in screws (K)
with provided tool (P) until securely tightened. After, locate
base pads and remove backing. Place adhesive side of pads
on the screws as illustrated above.
INSTRUCTION - MANUAL
Non-Security VESA
Plate Option with
Plate Option using
knob turn to
provided (P) tool to
lock/unlock
1B. Prior to beginning the grommet or clamp
installation - press the USB cables into the groove
as shown to properly setup.
2B. Identify the overall thickness of the surface the clamp will be mounting on. If the thickness is in the 10-55mm range, you
will be using the higher setting on the L-shape bracket of the base. If the thickness is in the 50-85mm range, you will be using
the lower setting. Rotate in the screws (F) of the bracket until halfway in leaving some space. Hook on the knob component
(E). After hooked on, use the provided tool (P) and securely tighten the screws (F) until securely fastened.
**Powerdrill not
included and for
illustration
purposes only
3B. Using drill (not included), drill a 10mm diameter
hole for the grommet mount installation. If existing
hole is available, make sure diameter is in the
10-60mm range prior to setup for proper installation.
PAD-SSMA
Security VESA
lock/unlock
3C. Align base (G) with pre-drilled hole and insert
long screw (J) through the base and hole. From
below insert grommet mount components (I, L, M)
onto the long screw. Using fingers initially, rotate all
the grommet components until tightly fastened.
Using provided wrench tool (R),rotate hex nut (M)
until securely tightened.
888-733-4448
S
Foam Adapter & Sheet Bundle
T
U
2
2C. Rotate knob (E) until securely tighten to
fasten clamp to surface.
3D. Take the bottom part of the clamp arm (B) and
insert the bottom connector into the base (G) as
illustrated above. Then tighten with provided tool (P)
until securely fastened. Then take the top part of
clamp arm (A) and insert into top connector part of
the bottom arm. Tighten joint with provided tool (P)
as illustrated.
Advertisement
Table of Contents

Subscribe to Our Youtube Channel
Related Manuals for CTA PAD-SSMA


Summary of Contents for CTA PAD-SSMA
- Page 1 Slim Spring Arm Mount w/ USB Ports and Universal Security Enclosure for Medium Size Tablets PAD-SSMA INSTRUCTION - MANUAL Non-Security VESA Security VESA CONTENTS: Plate Option with Plate Option using knob turn to provided (P) tool to lock/unlock lock/unlock Foam Adapter & Sheet Bundle...
- Page 2 SETTING UP VESA MOUNT & WHEN USING SECURITY VESA PLATE (D) WHEN USING NON-SECURITY VESA PLATE (C) VESA CONNECTION **Enclosure and screwdriver not included and for illustration purposes only 4B. Combine device with VESA plate attached with rest of clamp by 4C.
- Page 3 REMOVING BACK COVERS PLACING TABLET INTO ENCLOSURE 9A. Find the appropriate size foam padding (T) for the tablet you wish to use. Make sure the device is compati- 10A.Remove or retain back covers as needed. Typically, ble for the enclosure. If having a power/data cord where the camera is, you will remove the cover.
Need help?
Do you have a question about the PAD-SSMA and is the answer not in the manual?
Questions and answers