Advertisement
Quick Links
Advertisement

Related Manuals for CTA PAD-KMS


Summary of Contents for CTA PAD-KMS
- Page 1 Installation Instruction...
-
Page 3: Hardware Kit
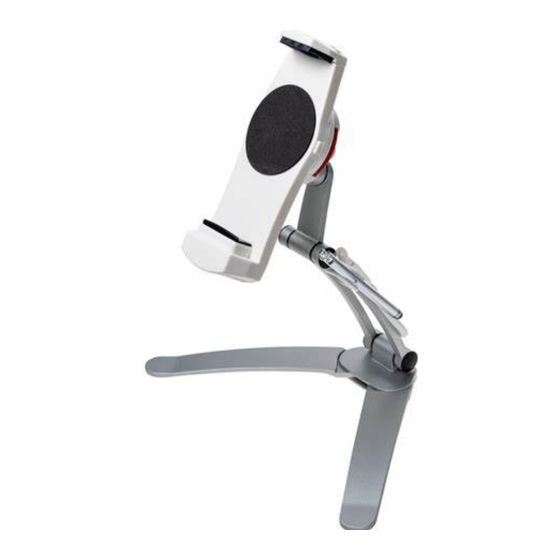
Special Function Product Component Item Description Item Description Qty. Attachment Button Tablet Stand Legs Tablet Mount Base Attachment Socket Universal Holder Button for Vertical Extension Hardware Kit Up Bracket A-A 3mm Allen Wrench Down Bracket A-B 4mm Allen Wrench A-C 5mm Allen Wrench B-A Ø5*1"... - Page 4 Diagram of Operable Parts...
- Page 5 Joint adjustment ※If joints begin to lose tension with use, you can tighten using included Allen keys. Remove caps G&H to adjust joints J&K. Use "A-A" + "A-B" to adjust the tightness of & J Use "A-B" + "A-C" to adjust Use "A-B"...
-
Page 6: Concrete Wall
Concrete Wall Mount Base Installation: 1. Drill hole of 7.30mm and then push B-B into wall. Use B-A to screw 2 . ※ If you are installing on wood wall or cabinet, drill hole of 4.20mm. Use C-A instead of B-A. There is no need to use B-B. - Page 7 Concrete Wall 2. Fold B and insert it into 2 . Note: be sure wall mount is tightly secured to wall before inserting tablet.
- Page 8 Mount Base on wall Mount Base under cabinet...
- Page 9 Note for Table-top Stand Forward position: ※ Do not let tablet exceed the front end of B , plane A , to prevent 1 from toppling and damaging tablet. Backward position: ※ When in backward position, do not let 1 exceed plane B to prevent 1 from falling backwards and damaging tablet.
- Page 10 Dimension of Folded Stand 3.20 81.4 mm 2.23 56.6 mm...
- Page 11 Attachment Description 1:Press button D and extended arm F wide enough to fit tablet diagonally. Then release button D. Attachment Description 2:Place tablet corner against E and press D. Then slide F back tightly against tablet corner. Attachment Description 3:After tablet is secured, release D. Check to be sure tablet is held tight.
- Page 12 Attachment Description 4:Press A to take off or attach C . * Note: After attaching, be sure the two items are fastened properly before using inserting tablet. Attachment Finished Attachment Description 5:After attaching, turn tablet clockwise or anti-clockwise to get the best view.
- Page 13 Add spacers for more room between cabinet or wall and mount if necessary using larger screws provided.
Need help?
Do you have a question about the PAD-KMS and is the answer not in the manual?
Questions and answers