Advertisement
Quick Links
Advertisement

Related Manuals for Modern Forms Renegade


Summary of Contents for Modern Forms Renegade
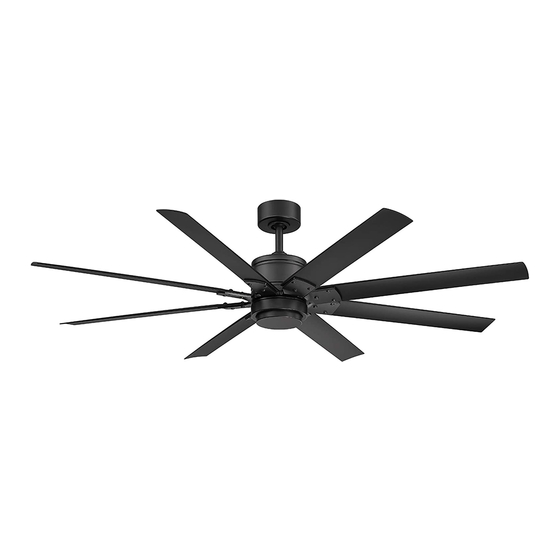
- Page 1 Renegade Installation Instructions works with the Google Assistant...
- Page 2 Model Name and Number 2. Part Number and Part Description 3. Date Of Purchase and Purchase Location 1-866-810-6615 option 1 MON-FRI 8AM-8PM EST Email: fansupport@modernforms.com F R- W 2 0 0 1 Renegade Instructions F R - W 2 0 01 Renegade Instructions...
- Page 3 To reduce the risk of electric shock, ensure electricity has been turned off at the circuit breaker product by Modern Forms could result in personal injury or property damage and will void the before beginning. All wiring must be in accordance with the National Electrical Code “ANSI/NFPA warranty.
- Page 4 Bluetooth Wall Control Dims light to 1% | ON/OFF 6 fan speeds | Sold separately Tools Required F-WCBT-WT White F R- W 2 0 0 1 Renegade Instructions F R - W 2 0 01 Renegade Instructions...
- Page 5 Non-brushed nickel finishes come with different blade arms, and do not include decorative screw nuts. The brushed nickel Renegade comes with decorative screw nuts in the hardware bag. You will need the screw nuts during the blade arm installation step. Replacement screw nuts are part no.
- Page 6 You may need a longer downrod to maintain proper blade clearance when installing on a steep, sloped ceiling (Fig. 1B). Outlet Box F R- W 2 0 0 1 Renegade Instructions F R - W 2 0 01 Renegade Instructions...
- Page 7 Make sure the screws securing the blade holders to the motor housing are on tight. (Fig. 3B) Use Part C. For Brushed Nickel version F R- W 2 0 0 1 Renegade Instructions F R - W 2 0 01 Renegade Instructions...
- Page 8 Safety cable is required for ceiling fan and light (combo) installations over 35 lbs. in both flush and downrod models in the United States. F R- W 2 0 0 1 Renegade Instructions F R - W 2 0 01 Renegade Instructions...
- Page 9 Follow the steps above to connect the fan to your household wiring. Use the plastic wire nuts with your fan. Secure the plastic wire nuts with electrical tape. Make sure there are no loose strands or connections. Use Part E. F R- W 2 0 0 1 Renegade Instructions F R - W 2 0 01 Renegade Instructions...
- Page 10 (Neutral) Green (Green or Bare) (Copper/Ground) (Ground) Neutral/White Fan Switch leg (Hot out to Fan) From Breaker * Home Wiring may vary F R- W 2 0 0 1 Renegade Instructions F R - W 2 0 01 Renegade Instructions...
- Page 11 Add metal light cover if you do not need lighting function or prefer a different aesthetic. NOTE: Do not connect the LED module if you are using the metal light cover. F R- W 2 0 0 1 Renegade Instructions F R - W 2 0 01 Renegade Instructions...
- Page 12 All fans will be set to summer mode (CCW rotation). This will bring all fans controlled by the remote into sync. F R- W 2 0 0 1 Renegade Instructions F R - W 2 0 01 Renegade Instructions...
- Page 13 (sold separately) or through the Modern Forms app. To use the Modern Forms app, download it for free from the App Store or Google Play. Open the app to create your account. You can also log in using your Facebook or Google account.
- Page 14 XF-24 - 24” Downrod | XF-36 - 36” Downrod XF-48 - 48” Downrod | XF-60 - 60” Downrod XF-72 - 72” Downrod F R- W 2 0 0 1 Renegade Instructions F R - W 2 0 01 Renegade Instructions...
- Page 15 10. Make sure your network’s SSID is not hidden. 11. Your fan does not support 5 GHz network connectivity connection. FR- W 2 0 0 1 Renegade Instructions FR- W 2 0 0 1 Renegade Instructions...
- Page 16 10 seconds and remote or wall control for 10 seconds. back on. If your fan is wired through a Modern Forms wall control NOTE: You will need to re-pair your remote or wall controls to the fan (P/N: F-WCBT-WT) pull the Air-Gap Switch on your wall control, wait following a factory reset.
- Page 17 (1) year Modern Forms dentro de los cinco (5) años a partir de la fecha de compra (o según el período de tiempo indicado from the date of purchase;...
- Page 18 F R- W 2 0 0 1 Renegade Instructions F R - W 2 0 01 Renegade Instructions...
- Page 19 FR- W 2 00 1 modernforms.com...
Need help?
Do you have a question about the Renegade and is the answer not in the manual?
Questions and answers