Table of Contents
Advertisement
Quick Links
SSV WORKS, 201 N. Rice Ave Unit A, Oxnard, CA 93030
www.SSVworks.com | Phone: 818-991-1778 | Fax: 866-293-6751
WARRANTY INFORMATION:
All SSV Works enclosures are covered by a limited lifetime warranty against defects in material
or workmanship. All SSV Works Electronics are covered by a limited 1 year warranty against
defects in material or workmanship. All Kicker Speakers are covered by a limited 1 year
warranty against defects in material or workmanship. All Kicker Amplifiers are covered by a
limited 2 year warranty against defects in material or workmanship. Labor for replacement of
defective components is not covered. Contact SSV Works for further warranty information.
TOOLS NEEDED FOR INSTALLATION
- 10mm & 18mm Deep Sockets & Ratchet
PARTS LIST IMAGES
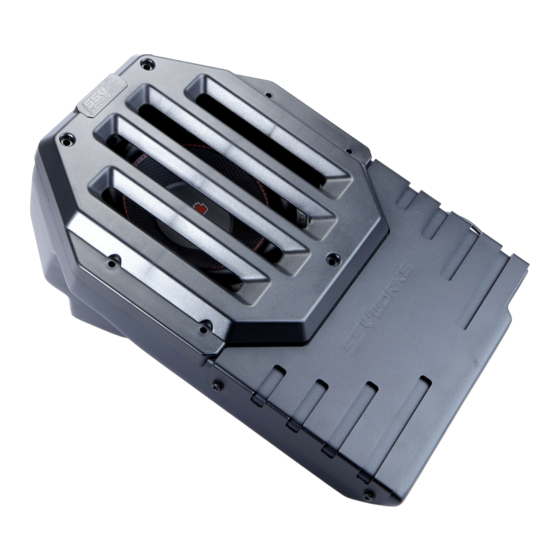
1. JJL-DS10 sub enclosure
5. M6 washer x15
INSTALLATION NOTES
- T-30 & T-50 Torx Driver
2. M6x1.0x16mm T30 torx
screw x8
6. Bracket "MB-1"
Disconnect the (-) negative battery cable on the Jeep using a 10mm wrench.
2018+ Jeep Wrangler JL 4-door
!
- #2 Phillips Screwdriver
3. M6x1.0x25mm T30 torx
screw x4
7. Bracket "MB-2"
JJL-DS10
10" subwoofer enclosure
Please read and understand these
instructions completely before
installation to avoid possible injury, or
damage to the accessory or vehicle.
4. M6x1.0x40mm T30 torx
screw x3
8. #7 - 19x1.25" screw x8
Advertisement
Table of Contents

Related Manuals for SSV Works JJL-DS10


Summary of Contents for SSV Works JJL-DS10
- Page 1 WARRANTY INFORMATION: Please read and understand these All SSV Works enclosures are covered by a limited lifetime warranty against defects in material instructions completely before or workmanship. All SSV Works Electronics are covered by a limited 1 year warranty against installation to avoid possible injury, or defects in material or workmanship.
- Page 2 A. Connect your subwoofer to the JJL-DS10 speaker harness. Using the provided (8) #7 screws, secure your subwoofer to the enclosure with a #2 phillips screwdriver. Do not over torque. B. Place the JJL-DS10 grill on the enclosure. Fasten the (3) C.
- Page 3 F. Remove the (2) T50 torx screws from the driver rear windowsill. The (2) factory screws will be re-used to fasten the MB-1 Bracket to the windowsill and secure the JJL-DS10 to the vehicle. G. Remove the (1) rear seat mounting nut with a 18mm socket. The MB-2 bracket will be placed over this mounting stud that the (1) nut was removed from.
- Page 4 For proper sound, ensure the speaker polarity is correct connect the “+” to the “+” and the “-“to the “-“from the speaker wire to the amplifier. If using with an SSV Works complete system refer to the amplifier wiring instructions for more detailed wiring information.
Need help?
Do you have a question about the JJL-DS10 and is the answer not in the manual?
Questions and answers