
Related Manuals for OpenEye CM-650


Summary of Contents for OpenEye CM-650
-
Page 1: Setup & Configuration
5MP Outdoor IP Box Camera User Manual Camera Accessories CM-650 CA-510G CA-510PML CA-510W CA-510PMS CA-510C CA-510PA25 CA-510P25 CA-510PA50 CA-510P50 www.openeye.net... -
Page 2: Connecting Over The Internet
The information in this publication is provided “as is” without warranty of any kind. The entire risk arising out of the use of this information remains with recipient. In no event shall OPENEYE be liable for any direct, consequential, incidental, special, punitive, or other damages whatsoever (in-... - Page 3 Important Safeguards Read Instructions Read all of the safety and operating instructions before using the product. Retain Instructions Save these instructions for future reference. Attachments / Accessories Do not use attachments or accessories unless recommended by the appliance manufacturer as they may cause hazards, damage product and void warranty. Installation Do not place or mount this product in or on an unstable or improperly supported location.
- Page 4 Installation and Storage Install electricity wiring carefully. Please note that input elec- tricity to the unit is at tolerance of DC 12V ± 10%. Do not in- stall the camera in areas of extreme temperatures in excess of the allowable range. ( 14°F ~ 122°F / -40°C ~ 50°C) ...
- Page 5 Warning DANGEROUS HIGH VOLTAGES ARE PRESENT INSIDE THE ENCLOSURE. DO NOT OPEN THE CABINET. REFER SERVICING TO QUALIFIED PERSONNEL ONLY. Caution C A U T I O N RISK OF ELECTRIC SHOCK DO NOT OPEN CAUTION: TO REDUCE THE RISK OF ELECTRIC SHOCK, DO NOT REMOVE COVER (OR BACK).
-
Page 6: Table Of Contents
Ethernet Cable Connection ..................15 LENS MOUNTING ......................16 alarm i/o connection ...................... 16 Locate Camera ..................17 OpenEye Network Camera manager ................17 Installation ......................... 17 Starting Network Camera Manager ................17 Camera Configuration ....................18 Device Addressing ....................18 Finding Network Devices .................. - Page 7 Viewer Software ......................4 Viewer Tabs ........................ 4 Live ......................5 Setup ......................6 System Setting ........................ 6 Camera Name ......................6 IP Address ........................7 Get IP an Address Automatically (DHCP) .............. 7 Use Static IP Address .................... 8 IPv6 Address Configuration ................
- Page 8 AdvancEd ....................18 System Setting ......................18 Network Setup ......................18 DDNS ........................18 Network Advanced ....................19 QoS ........................19 SNMP Settings ..................... 19 UPnP (Universal Plug N’ Play) ................19 Network Security ...................... 20 HTTP ........................20 IP Filtering ......................20 IEEE 802.1XSEAP-TLS ..................
- Page 9 Camera Specifications ....................32...
-
Page 10: Introduction
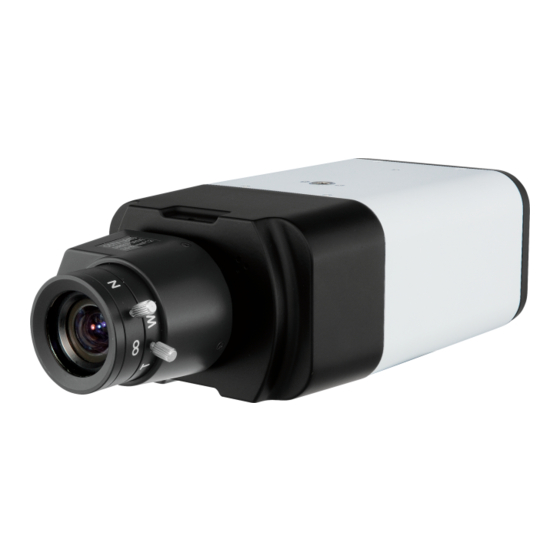
OpenEye’s CM-650 is a 5 megapixel box camera designed for indoor installations where high resolution images are required. The CM-650 transmits images across the network using MJPEG and H.264 codecs and offers dual and quad streaming capabilities as well as high-resolution analog out- put. -
Page 11: Getting Started
Before proceeding, please check that the box contains the items listed here. If any item is missing or has defects, DO NOT install or operate the product and contact your dealer for assistance. CM-650 Adjustment Tool Quick Start Guide... -
Page 12: Camera Overview
Before installing or connecting the camera, please refer to this section and complete preparations for setup and all switch settings. Dimensions Length – 5 inches (125 mm) Width – 3.25 inches (82 mm) Height – 2.08 inches (53 mm) 31100AD... -
Page 13: Connections
Connections VID- AUTO ALARM I/O CONNEC- LINE TION MIC IN MICROSD CARD SLOT LINE POW- NET- WORK Item Definition Video Connector Analog Video Output Alarm I/O Output + Output - Input + Input 1 Power Connection 12V Power Reset Button Reset to factory default Power LED Power connection indication... -
Page 14: Installation
Read the installation instructions before installing and connecting the IP camera. Power Connection You can use 12vDC power or Power over Ethernet (PoE) to power the CM-650 cam- era. When powered by PoE, any 802.3af compliant device may be used to provide power. -
Page 15: Lens Mounting
The lens for the CM-650 is shipped separate from the camera. To attach the CM-650 lens, remove the cover from the lens fixture on the body of the camera, and then at- tach the lens by screwing it onto the fixture. Be careful not to touch the photosensor inside the body of the camera. -
Page 16: Locate Camera
IP addresses, manage users, configure video settings, and update firmware on multiple cameras at once. The Network Camera Manager software is pre-installed on all OpenEye Recorders, and included on the software CD with all OpenEye IP cameras. It is also available for download on the OpenEye website. Installation... -
Page 17: Camera Configuration
Device Addressing The functions on the Device Addressing tab allow you to find, configure, and view network cameras. Click Find Devices on the Device Addressing tab. To narrow your search by Camera Model, Project, or Camera Name, select your desired criteria from the appropriate lists. - Page 18 Enter the Username and Password for the camera. The username and password are case sensitive. It is strongly recommended that the password be changed after the initial setup to prevent unauthorized access. The default username and password for OpenEye IP cameras are as follows. Username – Admin Password – 1234 The viewer software is now opened in Internet Explorer.
-
Page 19: Connecting To The Camera
Connecting to the Camera Locate the camera on the IP Finder list. Double-click the camera to open the Viewer software in your web browser. Click Browse in the pop-up window. Log in to the camera with the appropriate User Name and Password. The default User name is admin and the default Password is1234. - Page 20 OpenEye) as the default streaming option. RTSP, however, is not suitable for transmission between two locations that are behind different routers. In this case, the client (for example, the OpenEye HVR or NVR server software) connects to the camera, and then requests a stream. The...
Need help?
Do you have a question about the CM-650 and is the answer not in the manual?
Questions and answers