Table of Contents
Advertisement
Quick Links
Advertisement
Table of Contents

Related Manuals for Huvitz KAIZER HAB-8000


Summary of Contents for Huvitz KAIZER HAB-8000
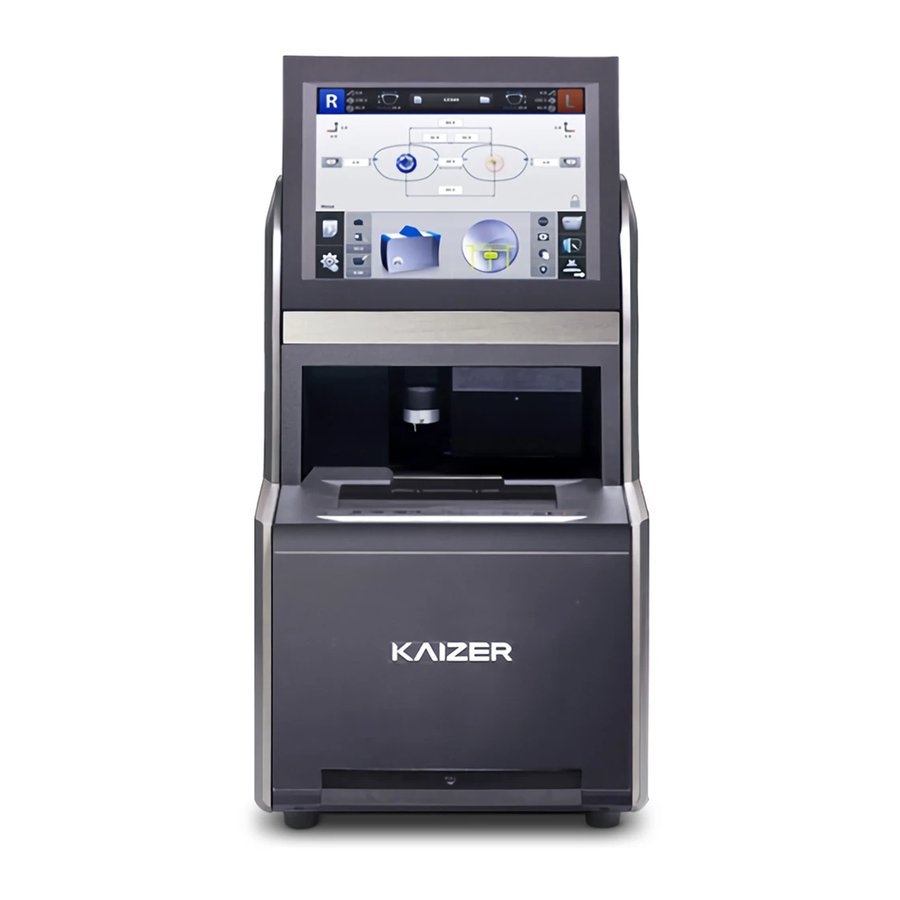
- Page 1 KAIZER (HAB-8000) Installation Guide Manual...
-
Page 2: Table Of Contents
KAIZER Install Guide Manual Table of Contents Installation Procedure ............................ 3 1.1. Removing the Fixing PE-Foam and Tape ........................3 1.2. Connecting the power cable and the communication cable ................4 Check / Adjustment Procedure ..............................5 2.1. Outline of the check and adjustment procedure....................5 2.2. -
Page 3: Installation Procedure
1. Installation Procedure 1.1. Removing the Fixing PE-Foam and Tape 1.1.1 Put the Auto Blocker on the place where it is to be installed. 1.1.2 Remove the PE-Foam that fixing the blocking arm as shown in the picture below. 1.1.3 Close the shutter. -
Page 4: Connecting The Power Cable And The Communication Cable
KAIZER Install Guide Manual 1.2. Connecting the power cable and the communication cable Power Switch Edger 1 Edger 2 Barcode RS232 Power inlet... -
Page 5: Check / Adjustment Procedure
2. Check / Adjustment Procedure 2.1. Outline of the check and adjustment procedure. Checking the PI status and the communication (Test Mode) Checking alignment conditions of the image camera and the lensmeter camera Checking the blocking condition / blocking calibration Checking LM Blocking / calibration Tracer Calibration Digital scan calibration... -
Page 6: Checking Alignment Conditions Of The Image Camera And The Lensmeter Camera
KAIZER Install Guide Manual 2.3. Checking alignment conditions of the image camera and the lensmeter camera. 2.3.1. Checking the alignment condition of the image camera 1. Going into the calibration screen. Touch the menu icon( )and then the calibration icon( Select the “Lensmeter”... -
Page 7: Checking The Alignment Condition Of The Lensmeter Camera
2.3.2. Checking the alignment condition of the lensmeter camera Going into the calibration screen. Touch the menu icon( )and then touch the calibration icon( Select the ‘Lensmeter’ tab at the bottom left side. Select the “LENSMETER” at the upper right side menu. -
Page 8: Checking The Blocking Condition / Blocking Calibration
KAIZER Install Guide Manual 5. Save the change Touch the “Save” button at the bottom right side. Touch the OK button at the pop up display (Save complete). 2.4. Checking the blocking condition / Blocking calibration. 2.4.1. Checking the blocking center / center calibration 1. - Page 9 3. Blocking center calibration Insert the leap block into the blocking arm. Touch the [Start Calibration] button at the upper right side. Move the ‘┼’mark to the center of the hole by using arrow buttons. Touch the [SET Blocking Center] button. Touch the OK button at the pop up window that shows the position value of block center.
-
Page 10: Blocking Axis Calibration
KAIZER Install Guide Manual 2.4.2. Blocking axis calibration 1. Going into the calibration screen. Touch the menu icon( ) and then touch the calibration icon( Select the “Blocking” tab. 2. Checking the blocking axis condition. Open the shutter. Place the lattice jig plate on the normal support plate. -
Page 11: Blocking Position Calibration
2.4.3. Blocking position calibration. Going into the calibration screen Touch the menu icon( ) and then touch the calibration icon( Select the “Blocking” tab. 2. Preparing the blocking position calibration A. Open the shutter. B. Place the image scan plate on the normal support plate. - Page 12 KAIZER Install Guide Manual “SET Position” accomplished (Black Circle) “SET Position” not accomplished (Gray Circle) Selected point to calibrate (Red Circle) 5. Checking the calibration data coordinate A. Touch the [SHOW DATA] button. B. Check the data table in the “Blocking Calibration Data” window. If there are abnormal points, repeat the calibration for those points.
-
Page 13: Checking Lm Blocking / Calibration
2.5. Checking LM Blocking / Calibration 2.5.1. Checking LM Blocking center and calibration Going into the calibration screen 1) Touch the menu icon ( ) and then touch the calibration icon( Select the “LM-Blocking” tab 2. Preparing the calibration lens Prepare the following lens for calibration. -
Page 14: Checking Lm Axis / Calibration
KAIZER Install Guide Manual 5. Save the calibration data. Touch the [Save] button. Touch the OK button at the pop up display (Save complete). 6. Checking the LM Blocking center calibration condition. Repeat 3 ~ 5 steps until two ‘┼’always coincide. 2.5.2. - Page 15 4. LM axis calibration Touch the [Start Calibration] button in the “Theta Axis” box. The yellow line is the axis measured by the lensmeter of the auto blocker. If the yellow line and the red horizontal line don’t coincide, rotate the yellow line by using up, down arrow buttons.
-
Page 16: Tracer (Frame Reader) Calibration
KAIZER Install Guide Manual 2.6. Tracer (Frame reader) calibration 1. Going into the calibration screen. Touch the menu icon( )and then ,touch the calibration icon. Select the “Tracer” tab. 2. Tracer calibration Perform the tracer calibration in same way as cfr-4000 2.7. -
Page 17: Calibration Tools
3. Calibration Tools 3.1. Calibration tools Item Picture Lattice pattern jig plate -Image camera alignment -Blocking Axis ☞ for Enginner Digital Scan calibration jig -Digital scan calibration ☞ for Engineer...
Need help?
Do you have a question about the KAIZER HAB-8000 and is the answer not in the manual?
Questions and answers