Table of Contents
Advertisement
Quick Links
Advertisement
Table of Contents

Related Manuals for PCE Health and Fitness PCE-RT 11


Summary of Contents for PCE Health and Fitness PCE-RT 11
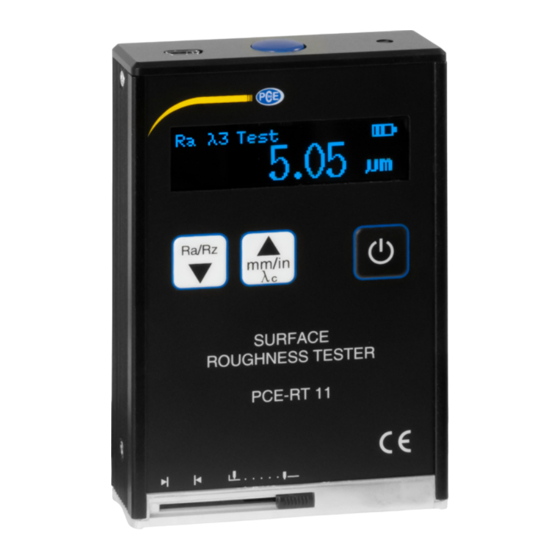
- Page 1 PCE-RT 11 Surface Roughness Tester Instruction Manual...
-
Page 2: Table Of Contents
Content 1 General Introduction ........2 2 Work Principle ..........3 3 Name of each components ......4 5. Operational Measure ........6 5.1 Measurement preparation ......6 5.2 Switch on, Switch off ........ 7 5.3 Selecting Parameter ........7 5.4 Measuring ...........8 5.5 Calibration..........9 5.6 Battery Recharge ........ -
Page 3: General Introduction
1 General Introduction The product is a new portable Surface Roughness Tester developed by our company. Featuring high accuracy, wide range application, simple operation stable performance. It is widely applicable in testing surfaces of all kinds of metals and non-metals. Integrated pick up within the main unit, it is a hand-held set, especially suitable for use on production sites. -
Page 4: Work Principle
Dot matrix LCD display making interface message clear. Real-time monitoring of lithium battery power and display, timely reminds users. Automatic shutdown function, low power consumption and hardware design make instrument working hours plentiful. It is suitable for all kinds of field use. ... -
Page 5: Name Of Each Components
3 Name of components Calibrate Type Sample 4. Technical Parameters Roughness Parameters(µm):Ra Rz Rq Rt Stroke Length(mm):6 Sampling Length(mm):0.25 ,0.80 ,2.50 Evaluation Length(mm):1.25 ,4.0 , Measurement Range(µm ): Ra, Rq: 0.05 ~ 10.0 Rz, Rt: 0.1 ~ 50 ... - Page 6 Repeatability: <12% Touch needle tip arc radius and angle of the sensor Tip arc radius:10 µm±1 µm +5° Angle:90 −10° The sensor touch needle static force measurement and its rate Touch needle static force measurement: ≤ 0.016N Force measurement rate:...
-
Page 7: Operational Measure
5. Operational Measure 5.1 Measurement preparation Remove instrument, right now the sensors head door should be closed ( see illustration below). Move to the right to trigger measuring head door switch. Open the sensors head protection door, to expose the sensor head and prepare to measure. -
Page 8: Switch On Switch Off
5.2 Switch on Switch off Depress on/off button. After sound indication (beep), place device on surface to be measured. Depress red button on top of device. This puts device in measurement state. Measuring parameters and sampling length will keep the last settings/readings before the shutdown of the meter. Depress on/off button a second time to shutdown. -
Page 9: Measuring
5.4 Measuring When the parameters are set up and the cut-off samples length is decided, it will come to measurement. Point the Stylus mark to the measured area stably and then press the Start Key on the top to start measurement, OLED will read “Testing”. -
Page 10: Calibration
5.5 Calibration Before use, calibration should be done with the standard sample plate. For example, there is a standard sample plate pointed to 3.14. In shutdown condition, Press and hold the start button. Release the start button. The tester will enter the status of Calibration as shown below. -
Page 11: Battery Recharge
After measuring, the new standard sample plate value will be stored to the memory instead of the old one. If the user has multi-reticle sample plate, he can choose the suitable sample plate to calibrate the tester against his measuring range in common use. This way, the tester’s precision can be improved greatly. -
Page 12: Repair
save the energy, and have the battery recharged promptly when necessary. The sensor is the precision part of the tester and particular care should be taken of it. After each use, put on the protective sheath gently to avoid violent shock to the sensor. - Page 13 Sample Length is the benchmark used to distinguish its surface roughness. Evaluation Length is the necessary length for evaluating the roughness profile. It may include one or more sampling lengths. Ra: Arithmetical Mean Deviation of the Profile is arithmetic mean value of the deviation of the profile within sampling length.
- Page 14 Rt is the sum of the height of the highest peak and the depth of the deepest valley over the evaluation length. 1 ∑ Rq = i =1...
-
Page 15: User Notes
8. User Notes During warranty, if the products have any trouble, we will fix or replace according to company rules. If the user disassemble this company product or practices improper safekeeping of transportation or use of products according to the instruction for use, correct operation damaged products, this company shall not be warranty. -
Page 16: Contact Information
PCE Instruments contact information Germany France Spain PCE Instruments France EURL PCE Deutschland GmbH PCE Ibérica S.L. Im Langel 4 23, rue de Strasbourg Calle Mayor, 53 67250 SOULTZ-SOUS-FORETS D-59872 Meschede 02500 Tobarra (Albacete) Deutschland France España Tel.: +49 (0) 2903 976 99 0 Téléphone: +33 (0) 972 3537 17 Tel.