Rice Lake LaserLight3 Quick Start Manual
Remote display
Hide thumbs
Also See for LaserLight3:
- Technical manual (140 pages) ,
- Installation setup and maintenance (12 pages) ,
- Quick reference manual (8 pages)
Advertisement
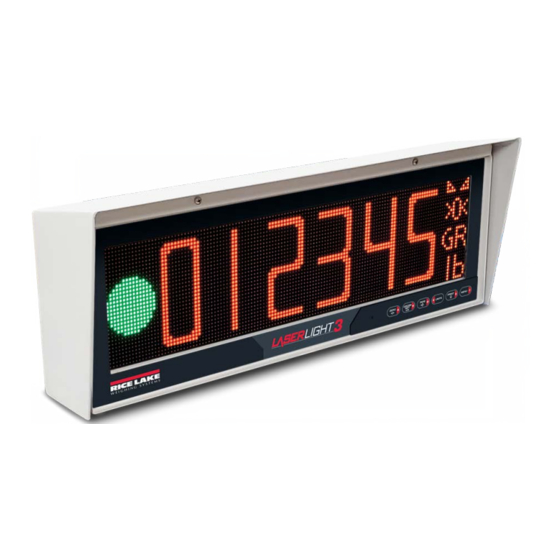
LaserLight3
Remote Display
™
Quick Start Guide
This document describes how to set up the LaserLight3 to operate as a remote display.
Manuals and additional resources are available from the Rice Lake Weighing Systems website at
Warranty information can be found on the website at
NOTE: For more information about LaserLight3, see LaserLight3 Remote Display Technical Manual (PN 214748).
Preliminary Tasks
• Unpack and visually inspect the LaserLight3 for damage. If parts were damaged in shipment, notify Rice Lake Weighing
Systems and the shipper immediately.
• Mount LaserLight3 with included mounting bracket.
Cable Connection
Connect data communication from an indicator to the CPU board..
NOTE: If using factory installed Wi-Fi communication, see addendum PN 214366 for configuration.
WARNING: The LaserLight3 has no on/off switch. Before opening the unit, ensure the power cord is disconnected from the
power outlet.
Use a ground wrist strap to protect components from electrostatic discharge (ESD) when working inside the enclosure.
1. Unplug LaserLight3 from power source.
2. Loosen captive thumbscrews then open enclosure front door.
3. Route communication cable from indicator through LaserLight3 cord grip into the enclosure.
4. Connect cable to one of the following communication ports RS-232 (J3), RS-482/422 (J4), Ethernet (J8) or 20 mA
(J11), while adhering to port pin assignment
NOTE: The LaserLight3 parts kit includes four, five and six pin connectors to facilitate connection with the CPU board ports.
September 30, 2022
www.ricelake.com/warranties
(Figure
1). Coordinate software settings with the installed wiring.
Figure 1. CPU Board Informational Label (PN 212330)
www.ricelake.com
PN 215476 Rev A
Advertisement
Table of Contents

Subscribe to Our Youtube Channel
Related Manuals for Rice Lake LaserLight3


Summary of Contents for Rice Lake LaserLight3
- Page 1 (Figure 1). Coordinate software settings with the installed wiring. NOTE: The LaserLight3 parts kit includes four, five and six pin connectors to facilitate connection with the CPU board ports. Figure 1. CPU Board Informational Label (PN 212330) PN 215476 Rev A...
- Page 2 Press Menu to access the setup menu in setup mode and configure the LaserLight 3. If Setup mode is inaccessible by pressing the Menu Button, perform the following: 1. Plug in LaserLight3 and allow to power on and initialize. 2. Open front door using captive thumbscrews.
- Page 3 Auto-Learn is capable of recognizing several common data string formats used in the weighing industry. If enabled, LaserLight3 attempts to learn the incoming data steam when it is powered on, when the data stream starts or when the data stream is paused and restarted.
- Page 4 (six characters). Manual mode can frequently resolve character quantity issues. If the LaserLight3 does not match a data format, it automatically attempts to parse the weight, units, mode, status and weight data out of frame. If a valid weight is not found, manual mode must be used to configure LaserLight3.
Need help?
Do you have a question about the LaserLight3 and is the answer not in the manual?
Questions and answers