Advertisement
Tools required
Step 1:
Install the table legs
Lay the Table Top face down on a soft
level surface. Slide a washer and a nut
over each bolt and hand tighten. Then
use the wrench to tighten the nuts
securely (Figure 1). Repeat this to
attach the other legs. Then place the
table in its upright position.
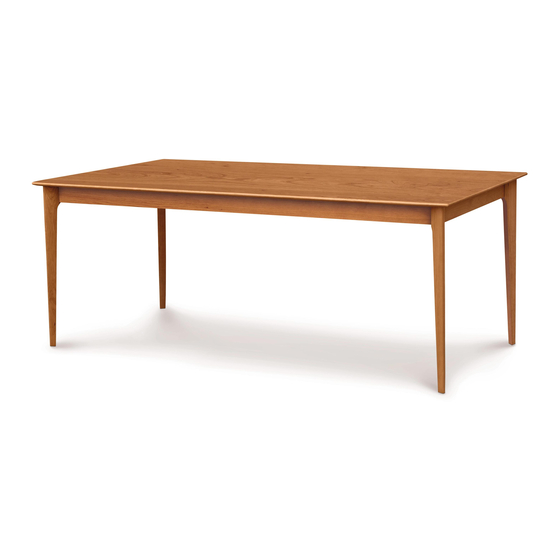
Table top
Instructions for Sarah Fixed Top Tables
Unpack the table
onto a soft level
surface and identify
the listed items.
Sarah Fixed Top Dining Tables:
36" x 36" Table, 6-SAR-01-xx
36" x 48" Table, 6-SAR-02-xx
36" x 60" Table, 6-SAR-03-xx
36" x 78" Table, 6-SAR-04-xx
40" x 40" Table, 6-SAR-05-xx
40" x 60" Table, 6-SAR-06-xx
40" x 78" Table, 6-SAR-10-xx
7/16" wrench
Hardware included:
#20 x ¼" nuts (8)
Washers (8)
Nuts and
washers
Table leg
Figure 1.
Install Table legs
Components included:
Table top (1)
Legs (4)
Wrench
1
Advertisement
Table of Contents

Related Manuals for Copeland Furniture Sarah 6-SAR-01 Series


Summary of Contents for Copeland Furniture Sarah 6-SAR-01 Series
- Page 1 Instructions for Sarah Fixed Top Tables Unpack the table Hardware included: Components included: onto a soft level #20 x ¼” nuts (8) Table top (1) surface and identify Washers (8) Legs (4) the listed items. Sarah Fixed Top Dining Tables: 36”...
- Page 2 Care Instructions To care for and preserve the finish on your new Copeland Furniture piece, please keep the following recommendations in mind. While our furniture has been finished with a durable top coat, the surface may be sensitive to dents and abrasions during the first 30 days in your home.
Need help?
Do you have a question about the Sarah 6-SAR-01 Series and is the answer not in the manual?
Questions and answers